Replacing the vRealize Automation 7.3 Appliance VAMI Site Certificate
Certificates
Published on 7 April 2019 by Christopher Lewis. Words: 711. Reading Time: 4 mins.
Introduction
This is the sixth post in a series of posts covering the replacement of vRealize Automation SSL Certificates. In this post, we will tackle the replacement of the vRealize Automation Appliance VAMI Site Certificate.
This post is based on the VMware procedure and this is documented here .
Step By Step Guide
Prerequisites
The following are expected prerequisites for this walkthrough:
- A fully deployed and working vRealize Automation solution.
- A set of certificate files:
- The RSA Private Key used to encrypt the vRA Appliance certificate.
- The Root CA Certificate file.
- The vRA Appliance Certificate file.
- The new Server.PEM file.
- The Root CA Certificate and any Subordinate/Intermediate CA Certificates are installed within the appropriate Certificate store on the local machine (normally the Trusted Root Certification Authorities and the Intermediate Certification Authority respectively).
The Problem
The issue we see is that when you browse to https://vra.fqdn:5480, the site is untrusted.

In addition, when using the embedded vRealize Orchestrator, the same certificate is used for vRealize Orchestrator Control Center the https://vra.fqdn:8283/vco-controlcente.

In fact, in my experience, with Google Chrome (and if you are using self-signed certificates), you can’t actually access the vRO Control Center until the certificate has been updated due to HSTS errors.
Locate the Management Agent Identifier
- Log into any of the vRA IaaS Servers (IaaS Web, IaaS Manager, DEM Worker or Agent Servers) using RDP or VMRC using an appropriate user/administration account.
- Open Windows Explorer and navigate to the vRA Management Agent folder.
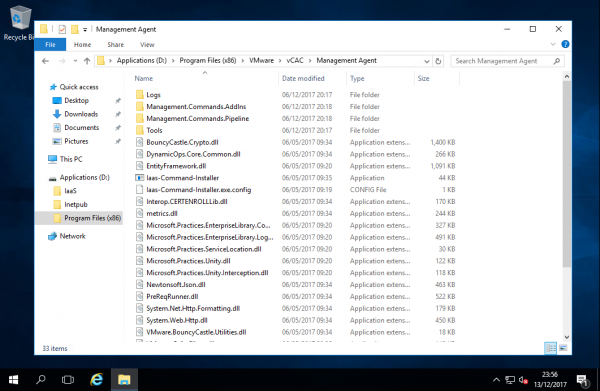
- Open the Management Agent Configuration File (
VMware.IaaS.Management.Agent.exe.config) using your text editor of choice.
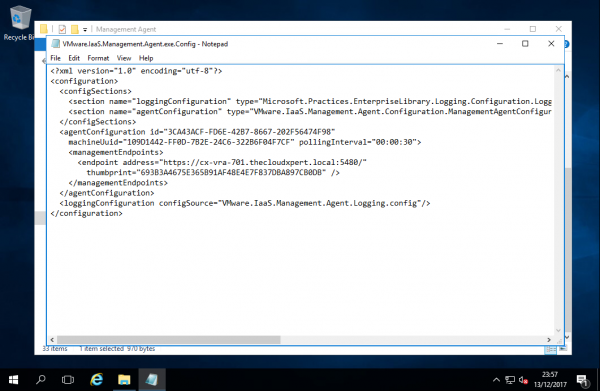
- Record the value from the
idattribute of theagentConfigurationelement.
Replacing the vRealize Automation VAMI Site Certificate
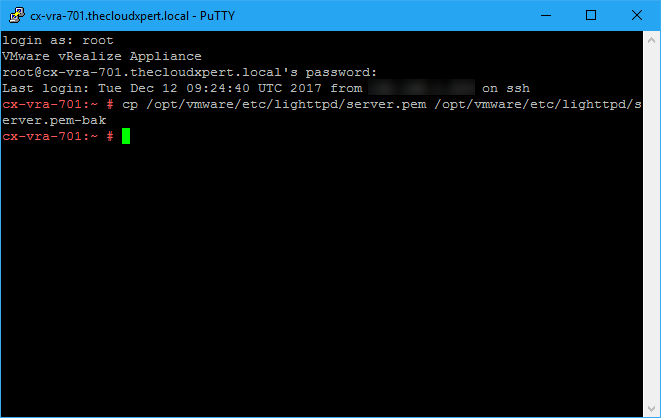
- Open an SSH session to the vRealize Automation appliance,
vra.fqdnusing your tool of choice (I tend to use PuTTY).
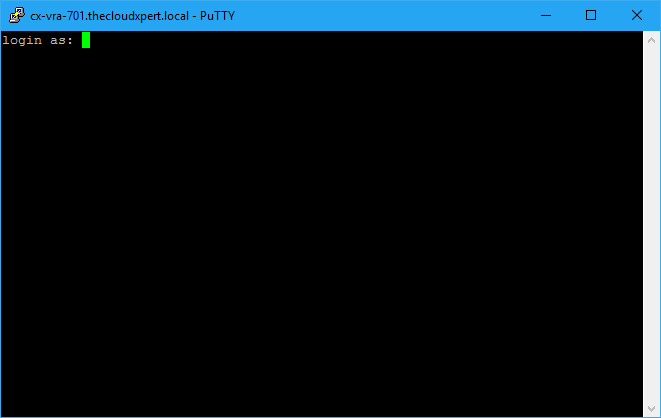
- Log into the session using the
rootuser and the password specified for the root account during the deployment.

- Take a backup of the existing SSL certificate by typing:
cp /opt/vmware/etc/lighttpd/server.pem /opt/vmware/etc/lighttpd/server.pem-bak
- Press enter.
-
Copy the new
server.pemfile onto the vRA Appliance using your preferred method (I personally use WinSCP). The file should replace the existingserver.pemfile, which is located in/opt/vmware/etc/lighttpd/server.pem. -
Restart the VAMI-lighttp service by typing
service vami-lighttp restartand pressing enter.

- Restart the haproxy service by typing
service haproxy restartand pressing enter.
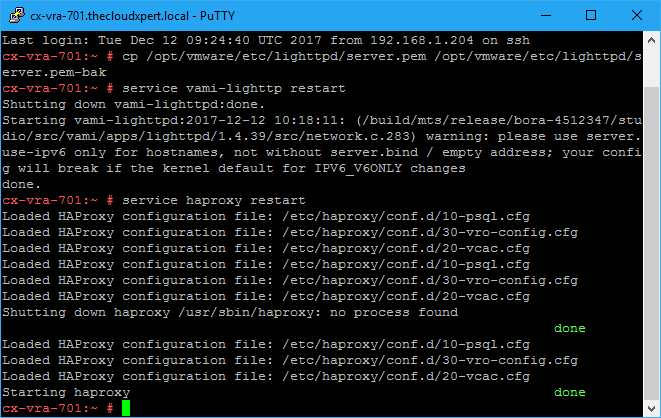
- Type
exitand press enter.
Check the Certificates
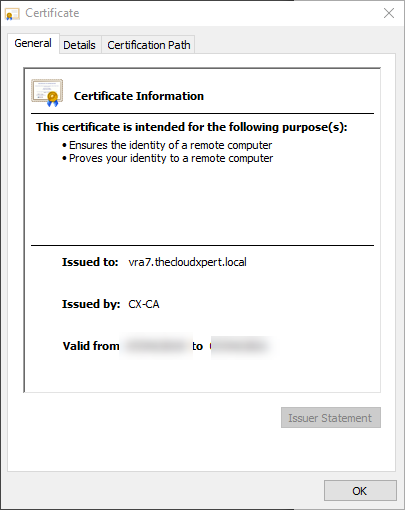
- When you now browse to
https://vra.fqdn:5480, the site certificate should have been updated.

- When you now browse to
https://vra.fqdn/vcoand click Orchestrator Control Center, the certificate for the site should be now be secured.

Get the new Certificate SHA1 Thumbprint/Fingerprint
To obtain the new SHA1 SSL Thumbprint to use with the Management Agent, navigate to the Virtual Appliance Management Interface (https://vra.fqdn:5480) click on the Certificate in a web browser.
- Click the Details tab and scroll down to the certificates Thumbprint attribute.
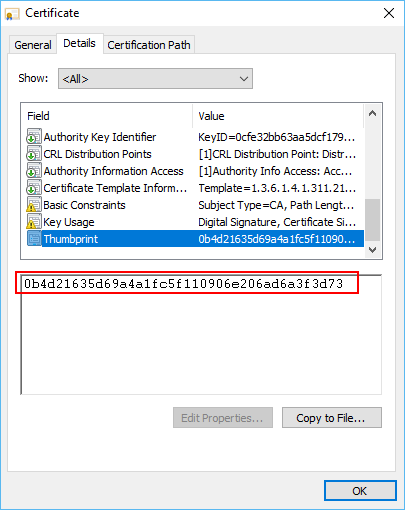
This will be required in the next section!
Manually Updating Management Agent Certificate Recognition
- Log into any of the vRA IaaS Servers (IaaS Web, IaaS Manager, DEM Worker or Agent Servers) using RDP or VMRC using an appropriate user/administration account.
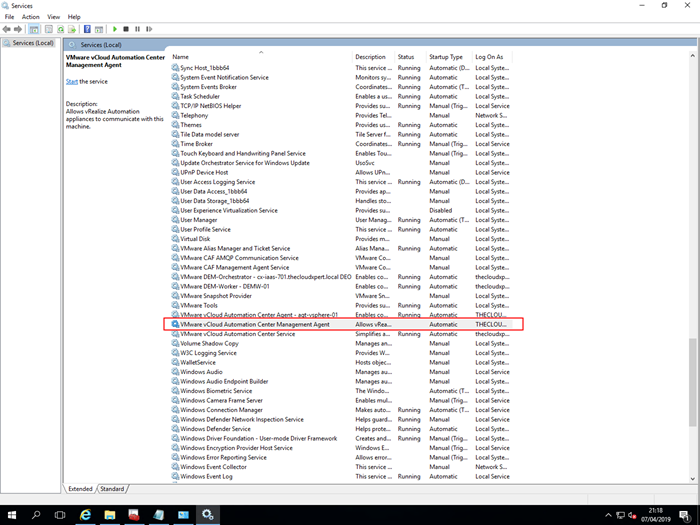
- Open the Services by navigating to Start > Administrative Tools and select Services.
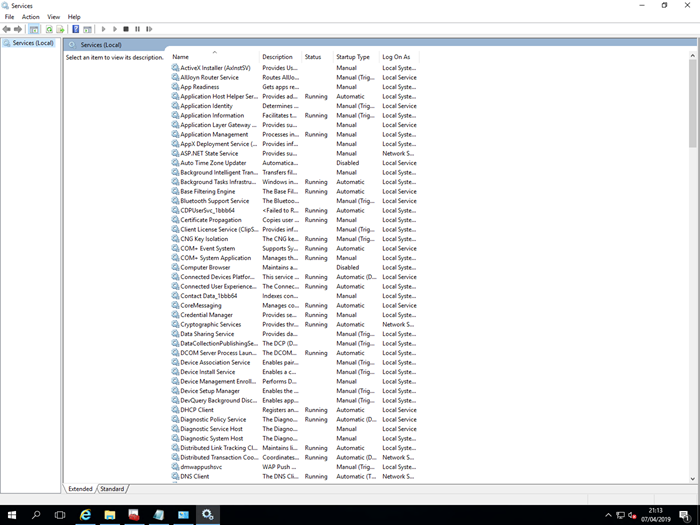
- Scroll down and highlight the VMware vCloud Automation Center Management Agent Service and click Stop.
- Open Windows Explorer and navigate to the vRA Management Agent (in my case that is
D:\Program Files\vCAC\Management Agent) folder.
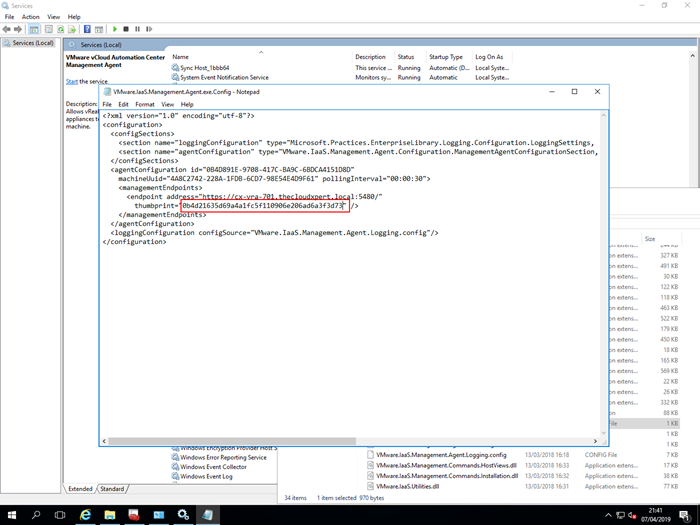
- Copy the Management Agent Configuration File (
VMware.IaaS.Management.Agent.exe.config) to create a backup and then open the file using your text editor of choice.
- Locate the the correct
IDand then replace the thumbprint with the SHA1 Fingerprint value from the new certificate.
-
Save the changes to the Management Agent Configuration File and restart the VMware vCloud Automation Center Management Agent Service service.
-
As a final check that everything is still working, log back into the Virtual Appliance Management Interface (
https://vra.fqdn:5480) and confirm that the Cluster is still communicating.
Published on 7 April 2019 by Christopher Lewis. Words: 711. Reading Time: 4 mins.
- Updating the embedded vRealize Orchestrator 7.3 Certificate ()
- Replacing the vRealize Automation 7.3 IaaS Manager Service Certificate ()
- Replacing the vRealize Automation 7.3 IaaS Web Certificate ()
- Replacing the vRealize Automation 7.3 Appliance Certificate ()
- Replacing SSL Certificates in vRealize Automation 7.3 ()