VCAP6-CMA Deploy - Objective 3.2: Deploy and Manage Certificates and Access Control
VMware vRealize Automation VCAP6 VCAP6-CMA
Published on 22 December 2016 by Christopher Lewis. Words: 1379. Reading Time: 7 mins.
Objective 3.2 - Deploy and Manage Certificates and Access Control
Objective Overview
- Create/add/modify users and groups for specific roles.
- Assign new administrative users to different Business Groups.
- Create custom groups that grant users/groups multiple roles.
- Assign a user to specific Custom Groups and Business Groups.
- Configure user access to Identity Store Groups, Custom Groups, Business Groups, and Entitled Items according to a deployment plan.
- Generate new certificate requests.
- Deploy and Update certificates for multiple vRealize appliances.
- Replace self-signed certificates with signed certificates.
Objective Prerequisites
The following prerequisites are assumed for this Objective:
- A fully deployed vRealize Automation Solution (See Objective 1.1 ).
Objective Breakdown
Create/add/modify users and groups for specific roles
In this example, we are going to assign the Approval Administrator role directly to a AD User and AD Global Group within the identity source without the use of a Custom Group.
- Navigate to the vRealize Automation Default Tenant Portal (
https://vra.fqdn/vcac/).
- Log into the Portal as a user with the Tenant Administrator role assigned.
- Click Administration > Users & Groups > Identity Store Users & Groups.
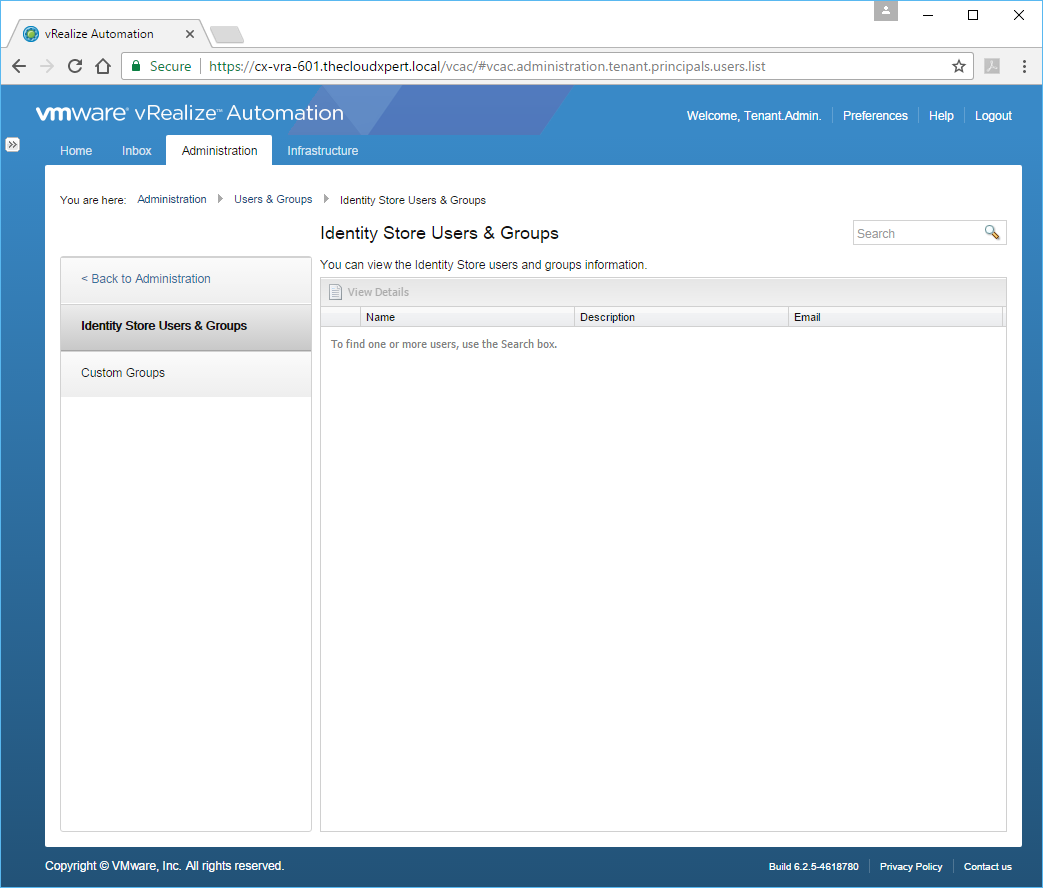
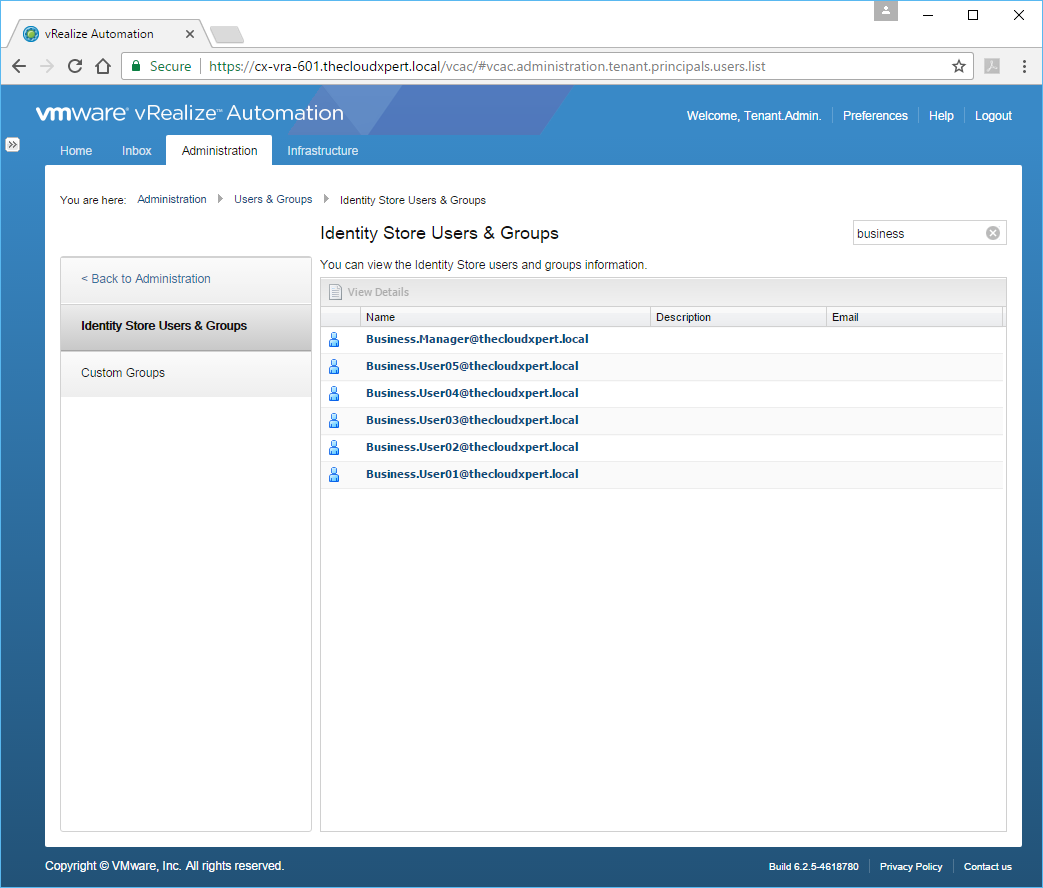
- Enter a search criteria for the user into the Search text field and press Enter.
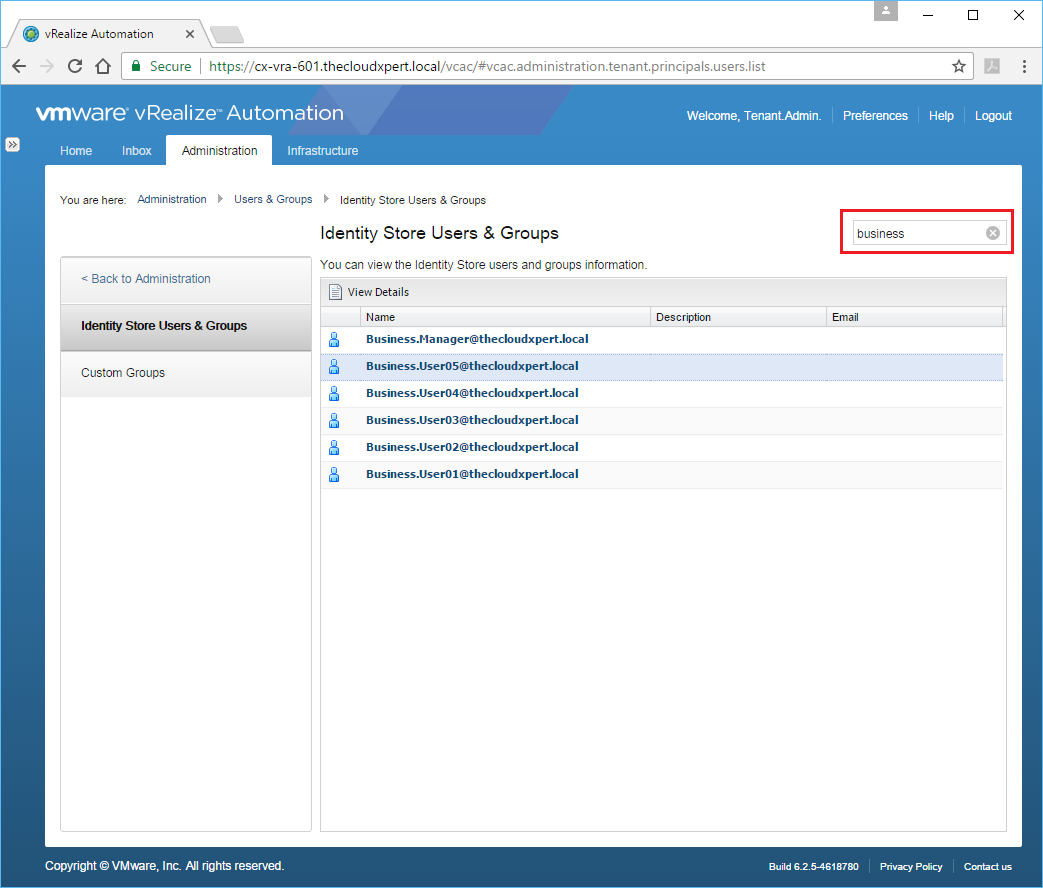
- Highlight the user and click View Details.
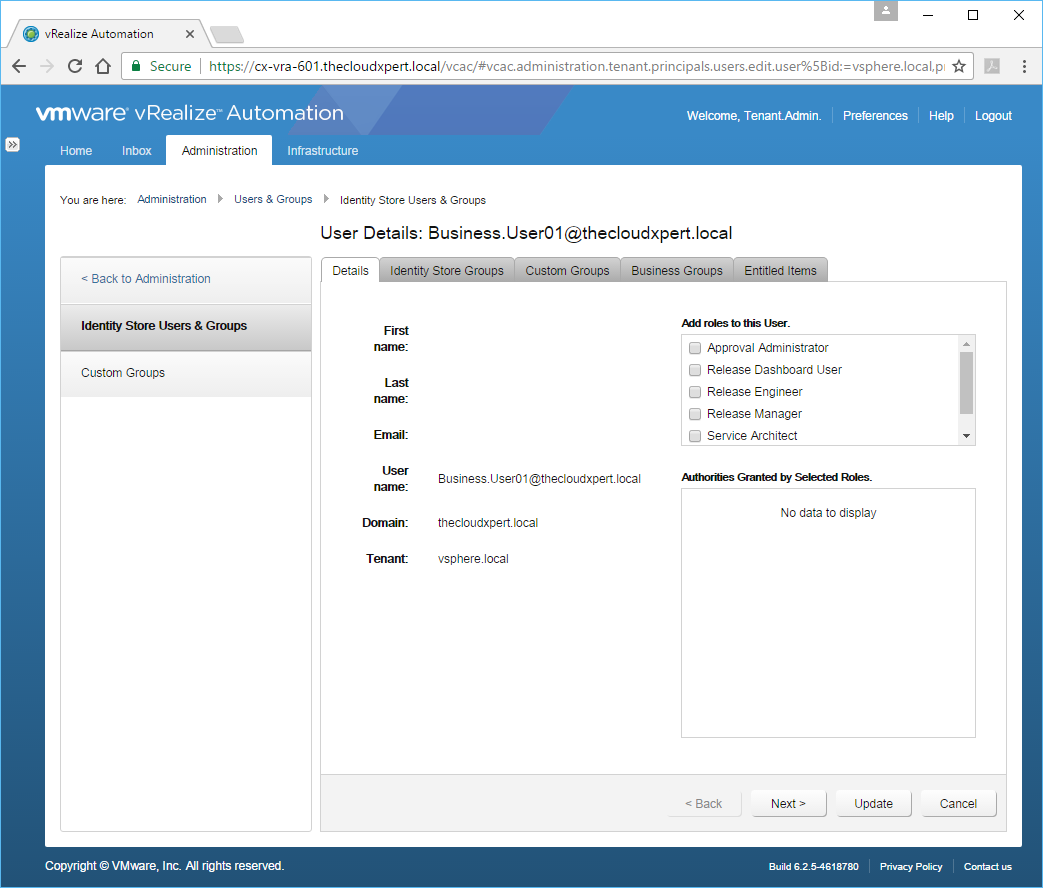
As you will see from the available Tabs, you can check the following memberships from this screen:
- Identity Store Groups (or AD Groups)
- Custom Groups
- Business Groups
You can also view the Entitled Items the user has.
- Check the Approval Administrator checkbox from the Add roles to this User list and then click Update.
Now, for good measure, and to show it is an identical process, lets also do a Group.
- Enter the name (or partial name) of a group into the Search text box and click Enter.
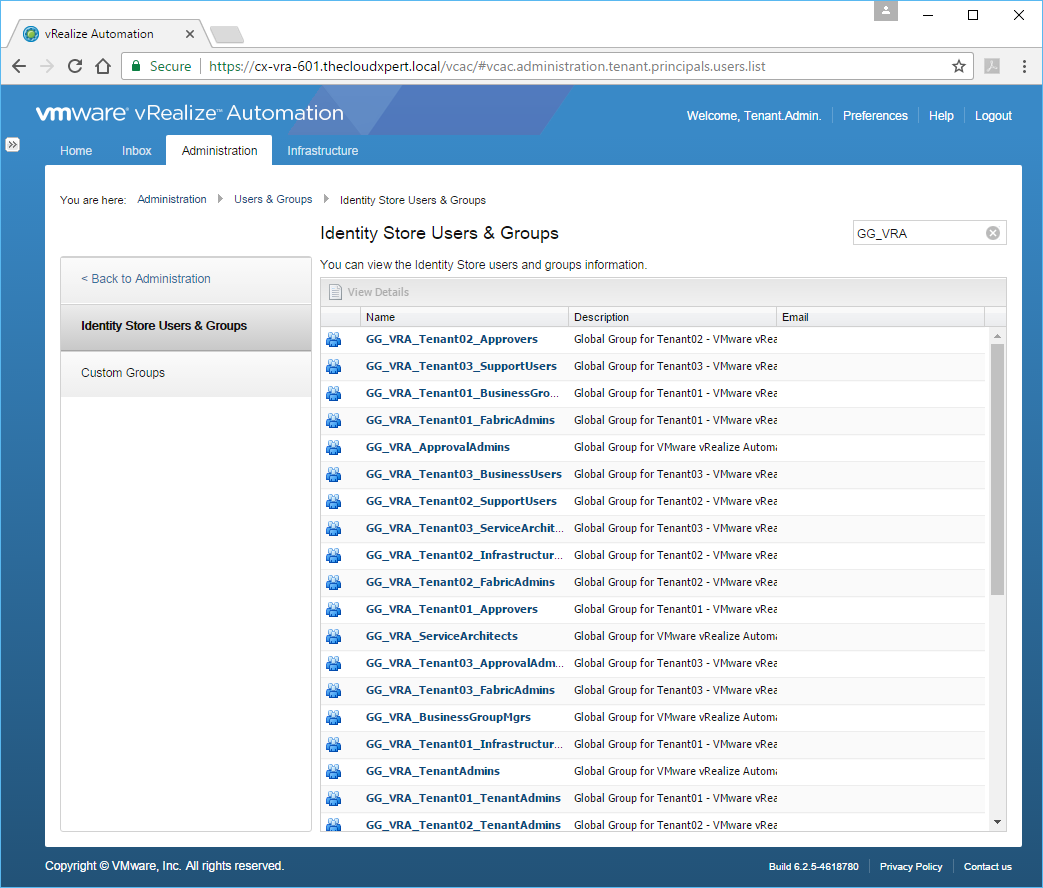
- Highlight the appropriate group and click View Details.

- Check the Approval Administrator checkbox from the Add Roles to this Group list.
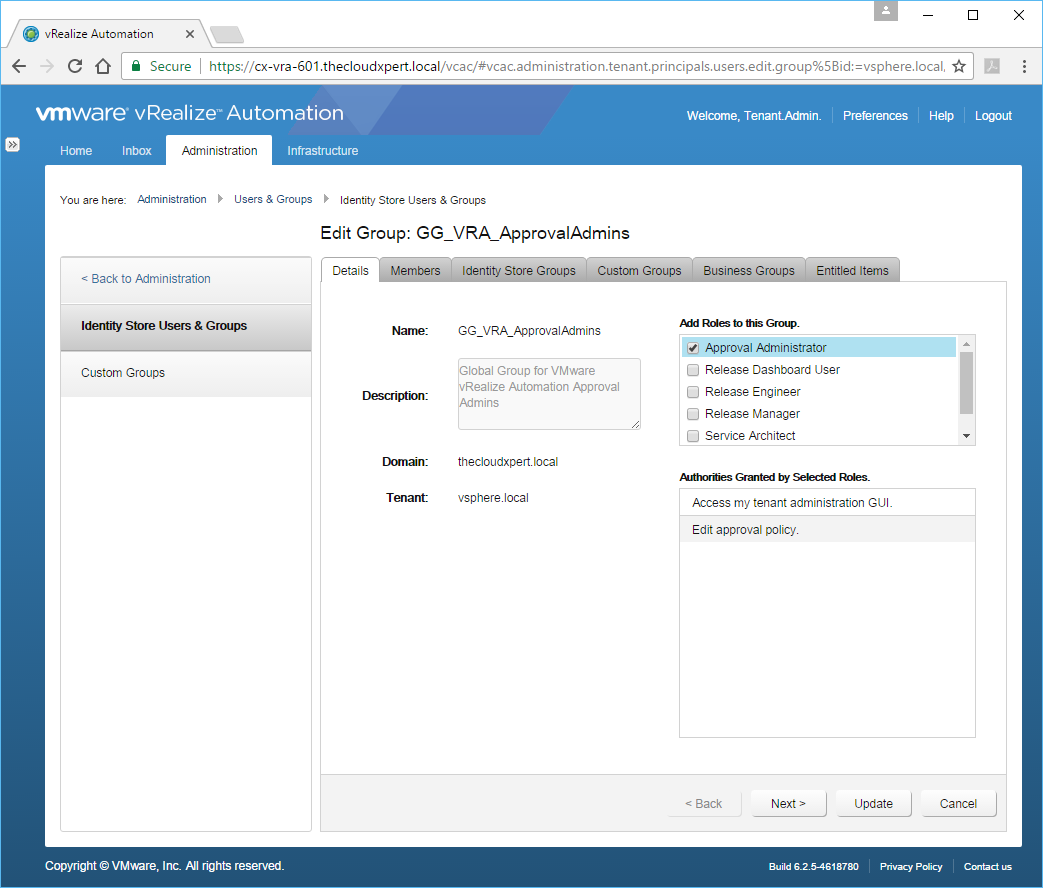
- Click Update.
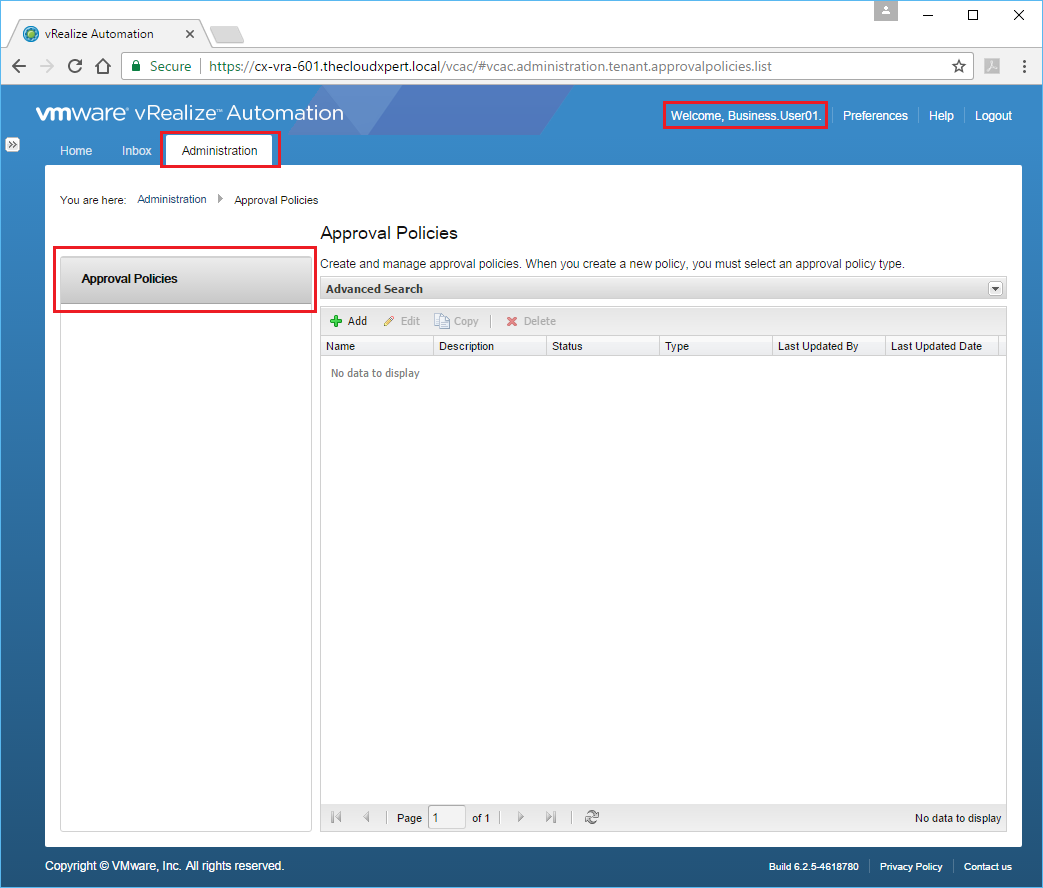
There we have it, we have successfully given the User (Business.User01) and all users of the AD Group (GG_VRA_ApprovalAdmins) the Approval Administrator role within the Default Tenant. Remember that Approval Administrator is a Tenant-Wide Role.
Let’s Log in to the Default Tenant and Business.User01 just to confirm its worked!
Assign new administrative users to different Business Groups
In this example, we are going to assign a User (Business.Manager) to the Business Group Manager role of a Business Group (Sales).
- Log in to the portal with a User that has been granted the Tenant Administrator role.
- Navigate to Infrastructure > Groups > Business Groups
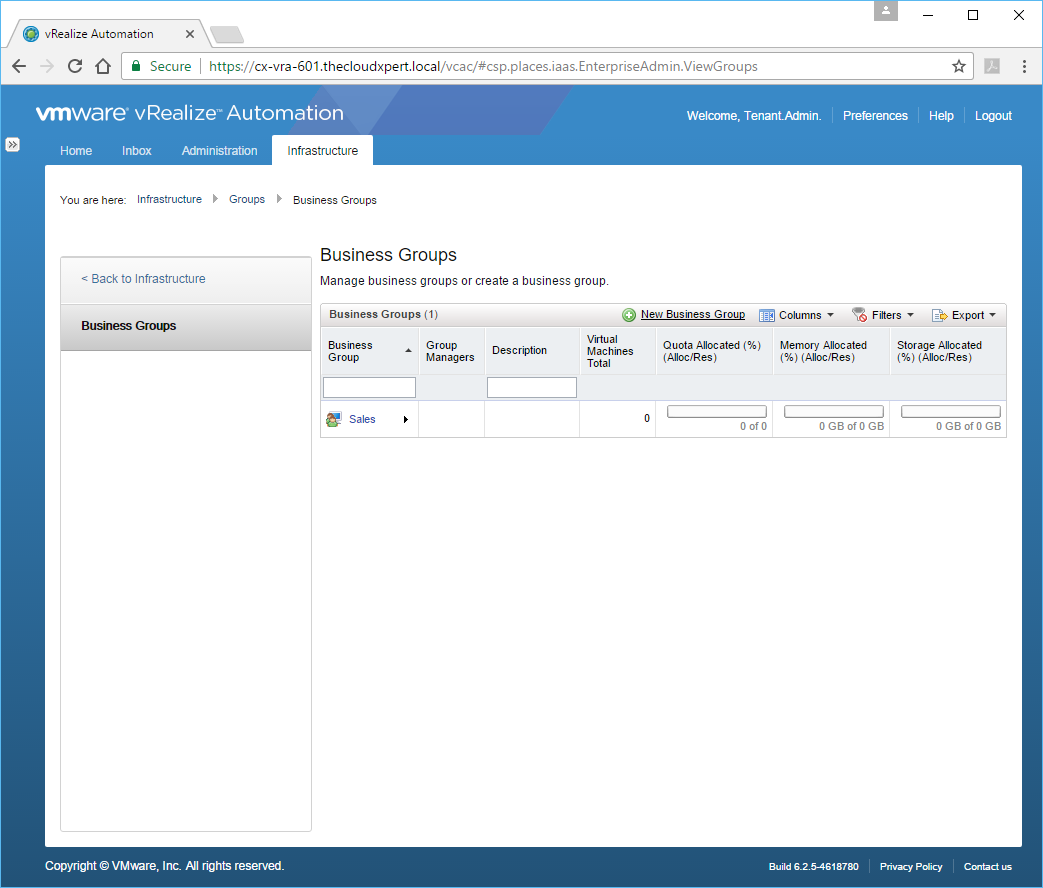
- Click the target Business Group.
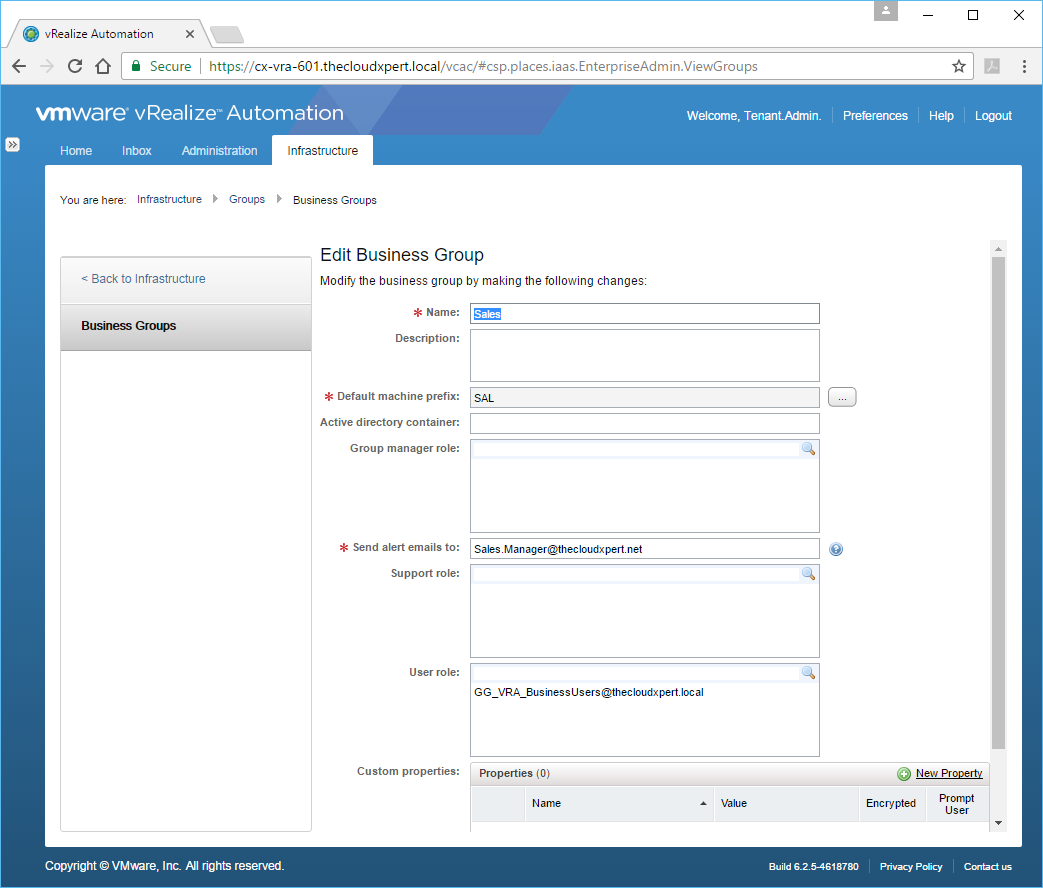
- Enter the name (or partial name) of User/Group you want to add to the Business Group into the Group Manager Role text box, press Enter.
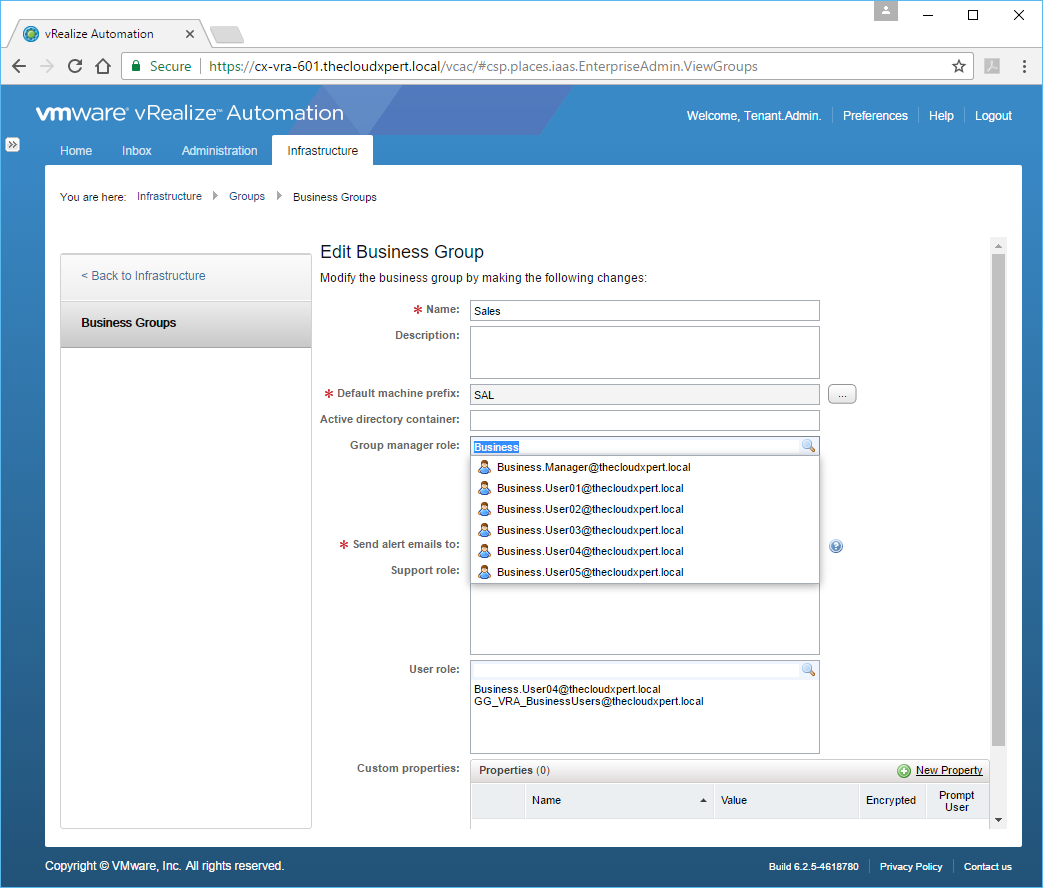
- Select the appropriate Group/User from the list.
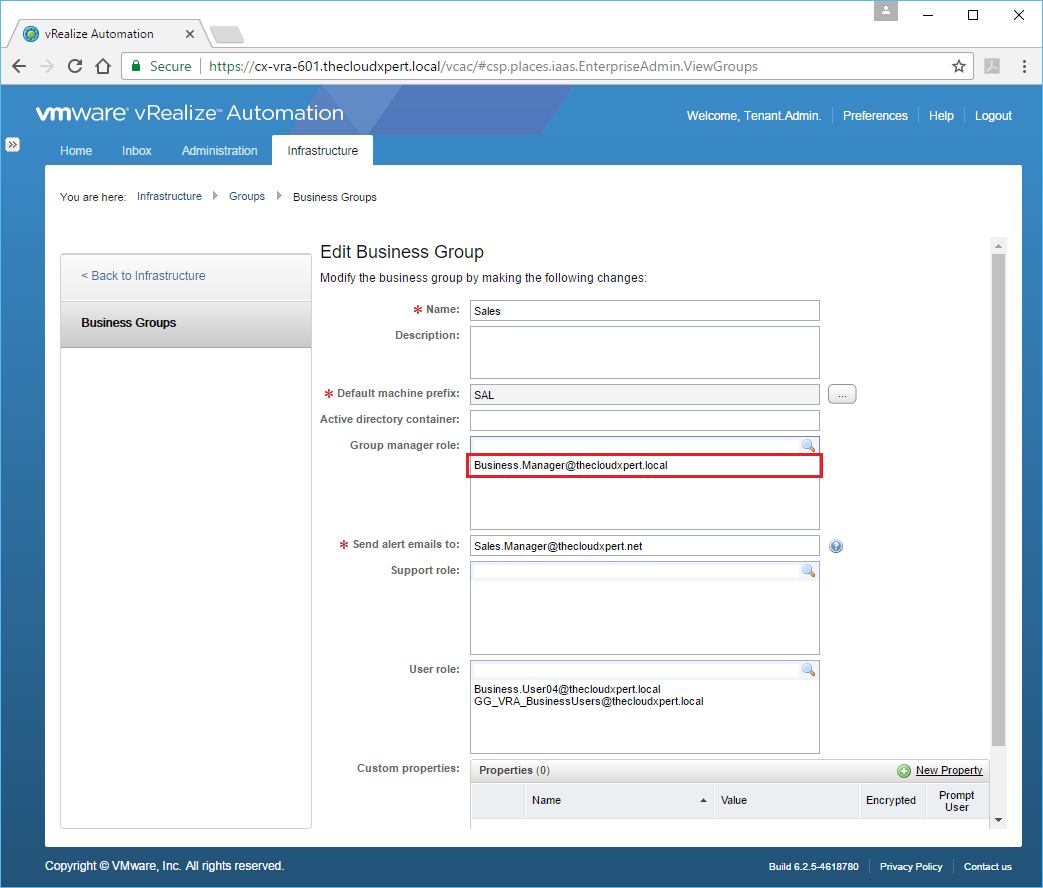
- Click OK.
Create custom groups that grant users/groups multiple roles
In this example, I’m going to be creating a new Custom Group for Service Architects in the Default Tenant (but the process is the same for any tenant or any of the other available roles).
- Navigate to the vRealize Automation Default Tenant Portal (
https://vra.fqdn/vcac/).
- Log into the Portal as a user with the Tenant Administrator role assigned.
- Click Administration > Users & Groups > Custom Groups.
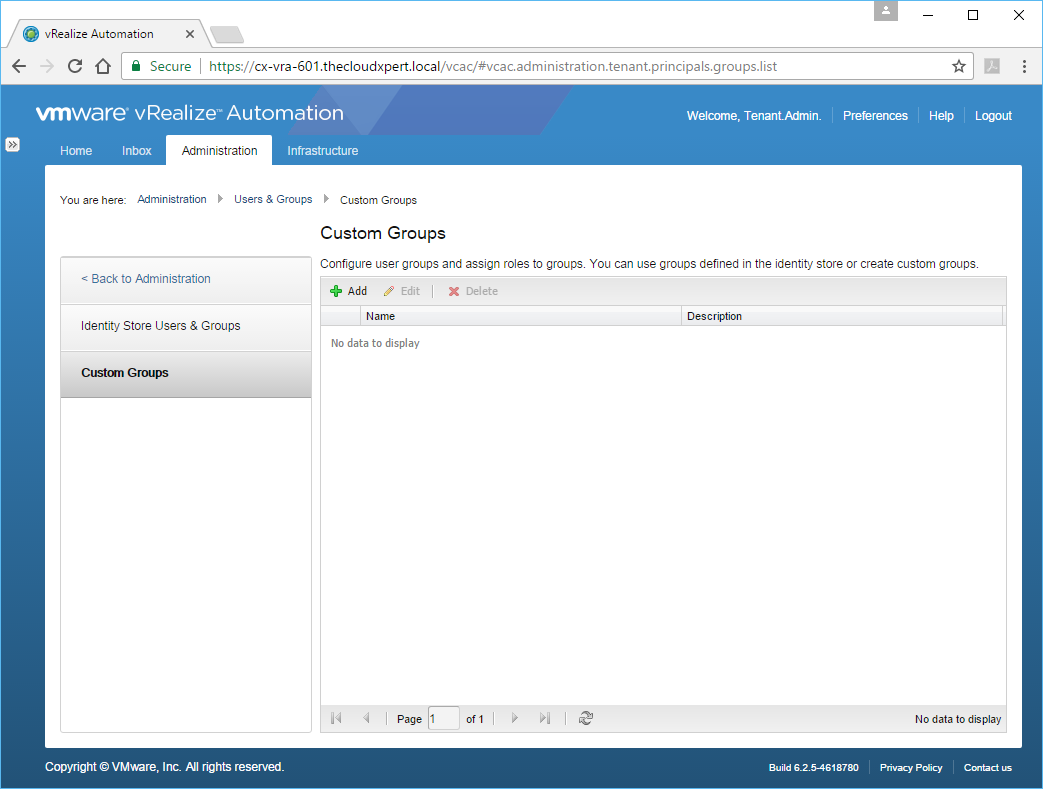
- Click Add.
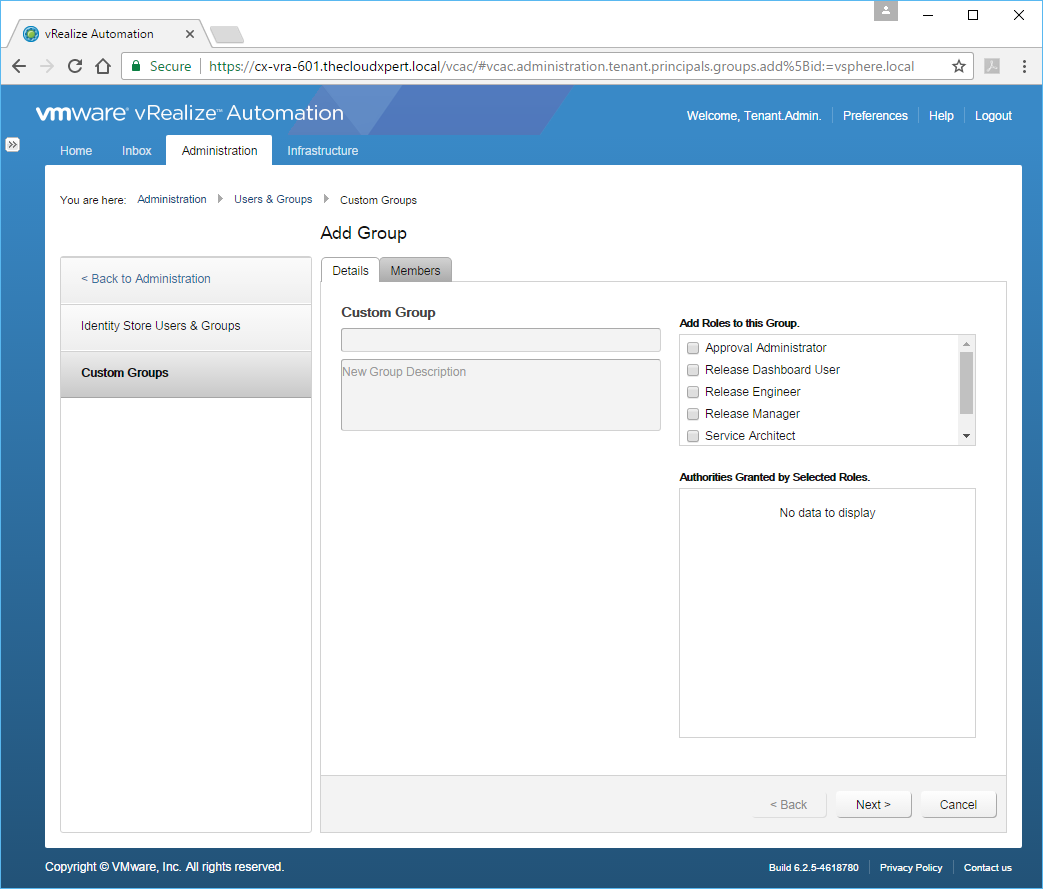
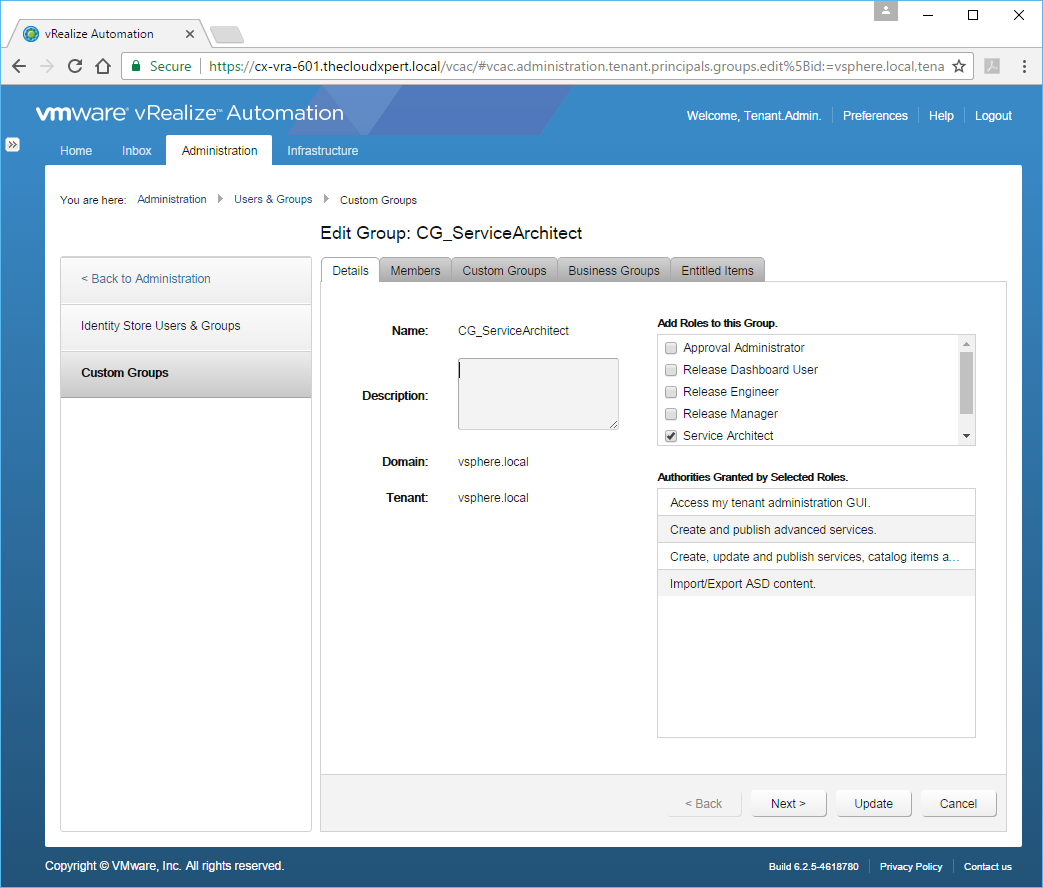
- Enter the name of the Custom Group into the text box and check the check box of 1 or more roles from the Add Roles to this Group list.
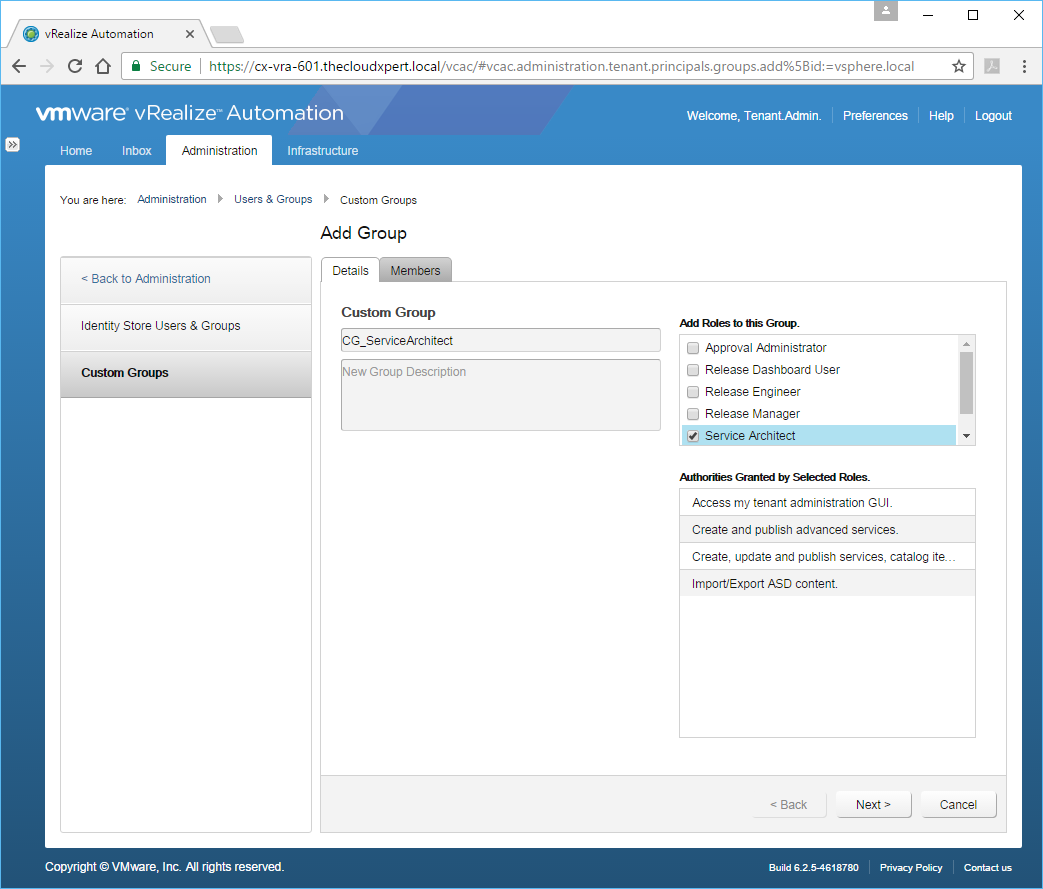
- Click Next.
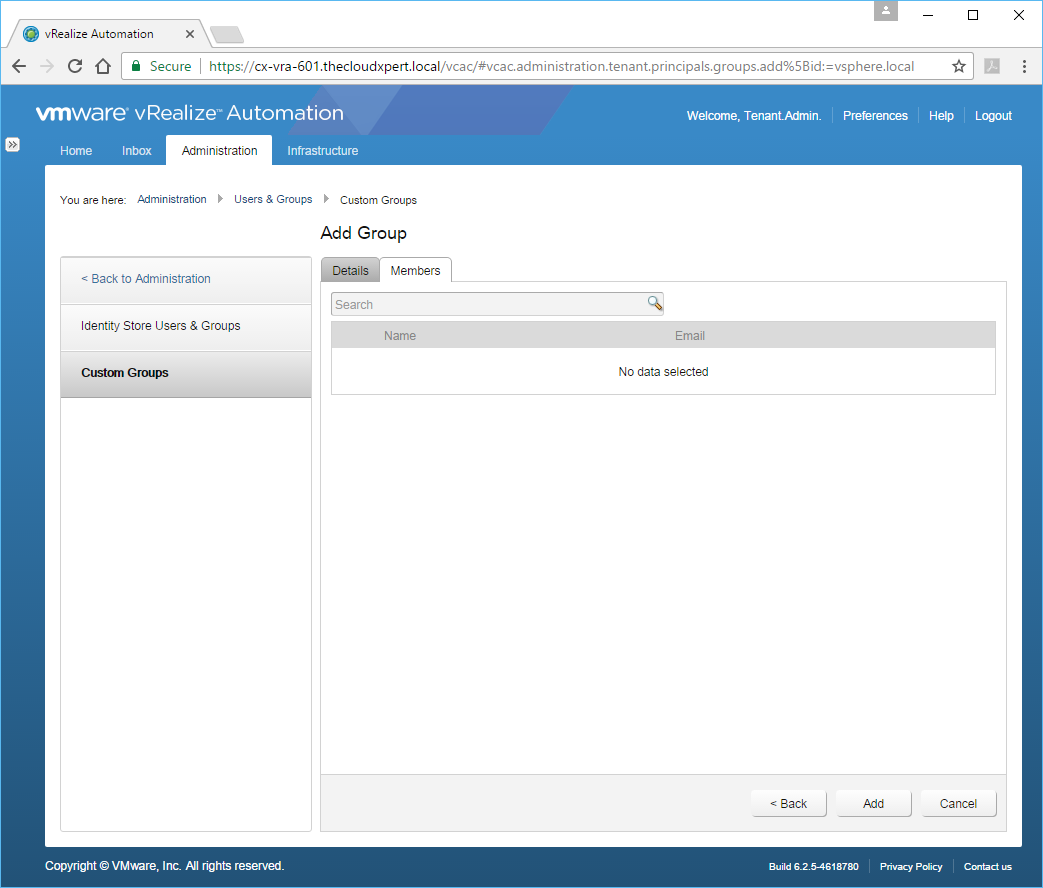
- Enter the name of the Active Directory User or Group you want to add to this group into the Search text box and click on the users/groups.
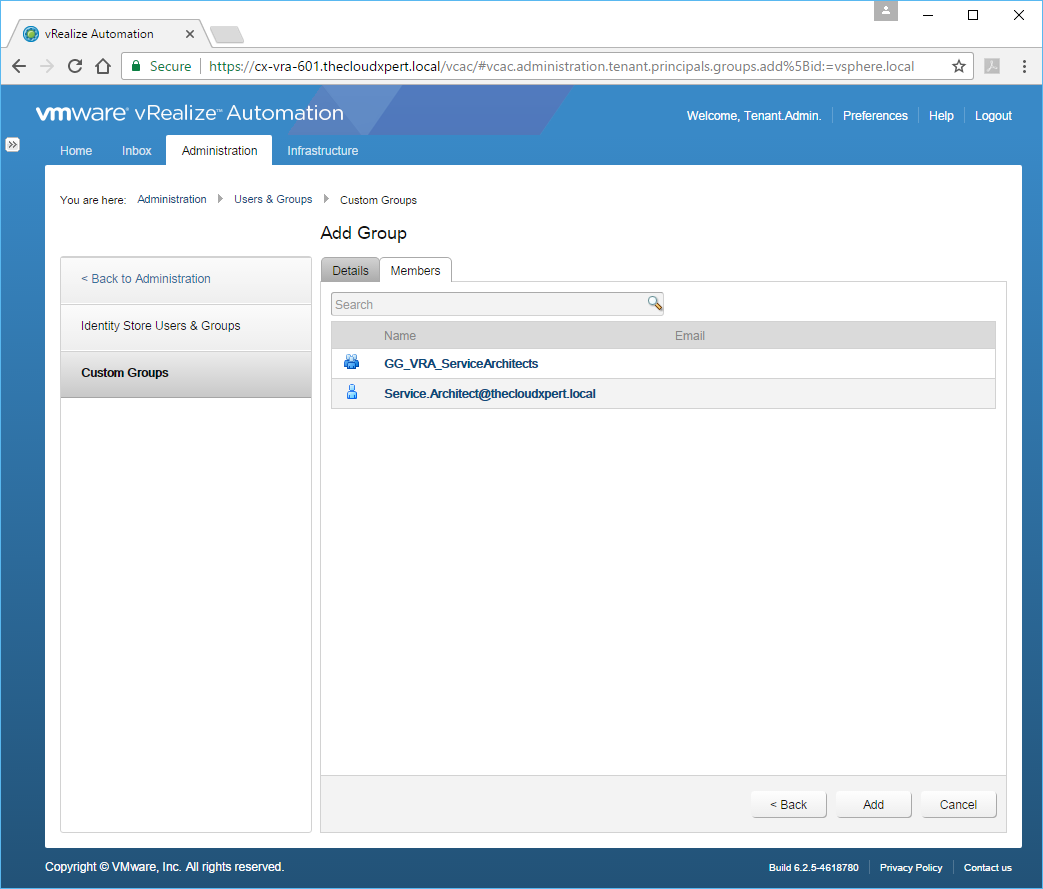
- Click Add.

Assign a user to specific Custom Groups and Business Groups
This is an interesting objective because, ideally, this would all happen in Active Directory. You would normally create a Custom Group or Business Group and its members would only Active Directory Groups. If you wanted to someone to be a member of the Custom or Business Group you would add that AD User to the AD Group thus ensuring that your RBAC model is all in one place (i.e. AD). However, it is of course possible to do this in vRealize Automation too (just not recommended) and that is what we’ll be doing next.
Assign a user to a specific Custom Group
In this example, we are going to assign a User (Business.User05) to the Custom Group (CG_ServiceArchitect).
- Log in to the portal with a User that has been granted the Tenant Administrator role.
- Navigate to Administration > Users & Groups > Custom Groups
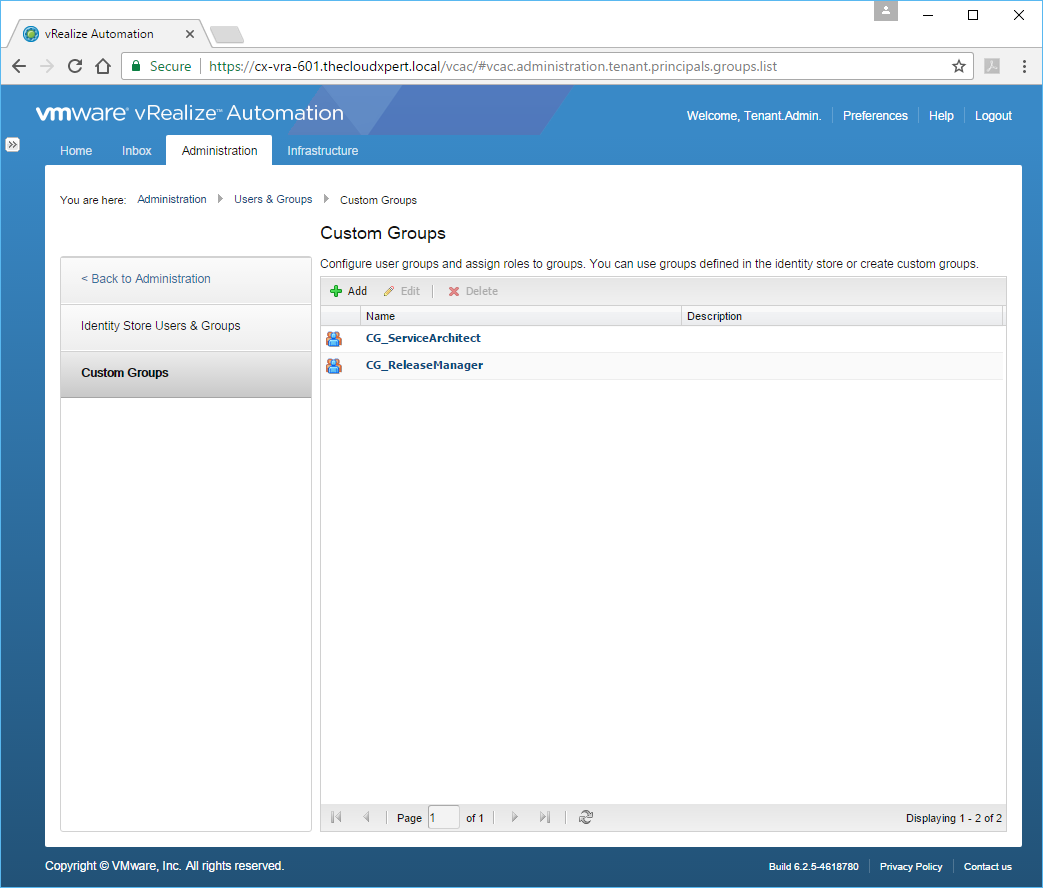
- Select the Custom Group you want to add the user too and click Edit.
- Click Members.
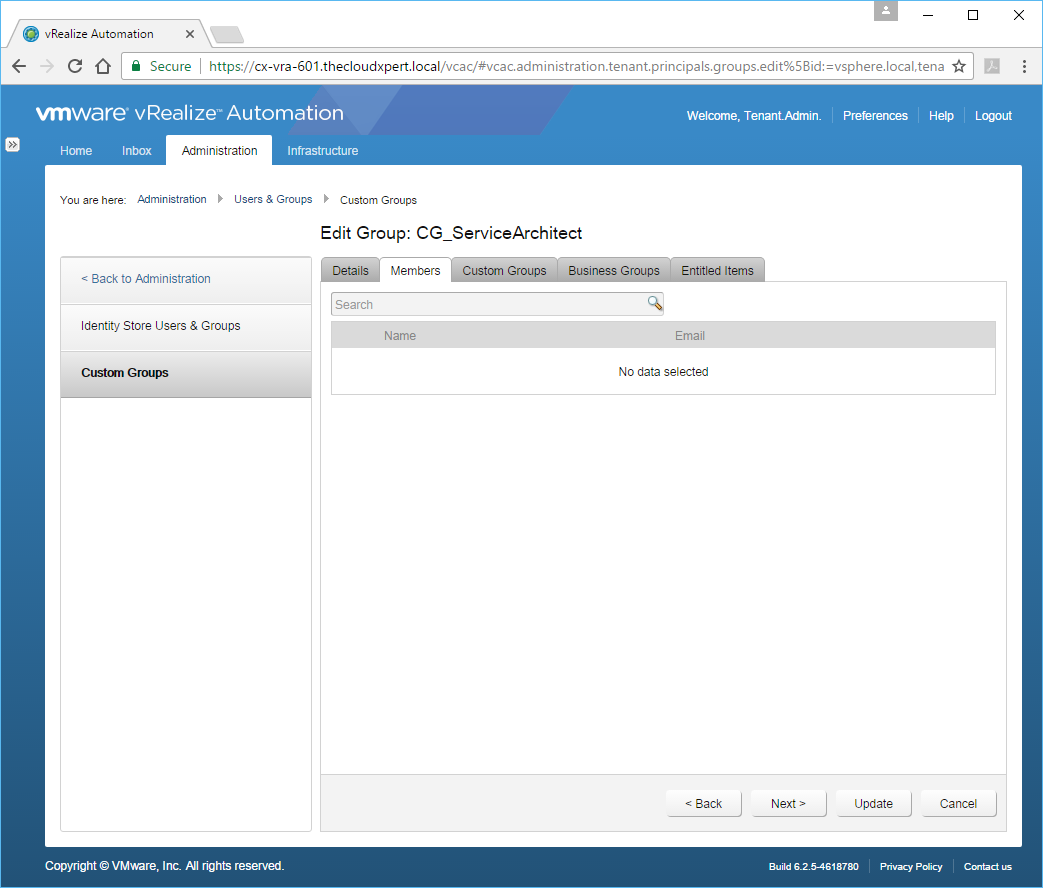
- Enter the name (or partial name) of User/Group you want to add to the Custom Group in the Search text box, press Enter.
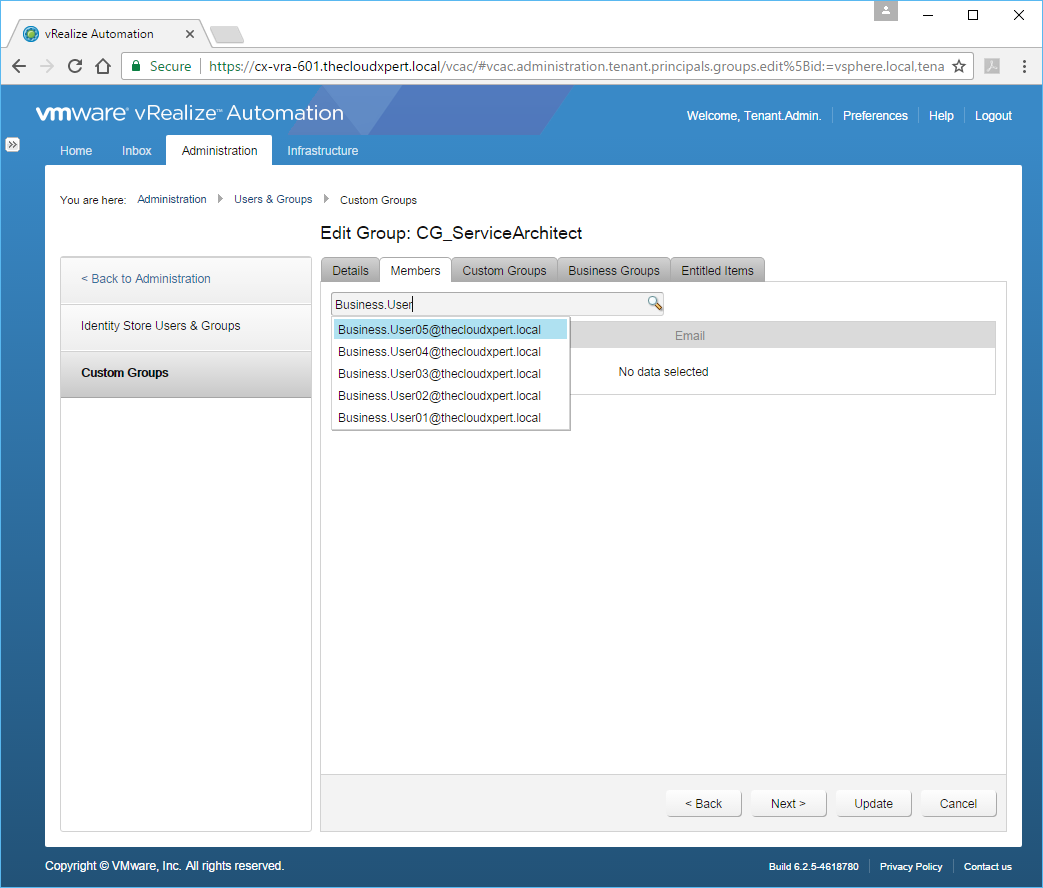
- Select the User from the subsequent list.
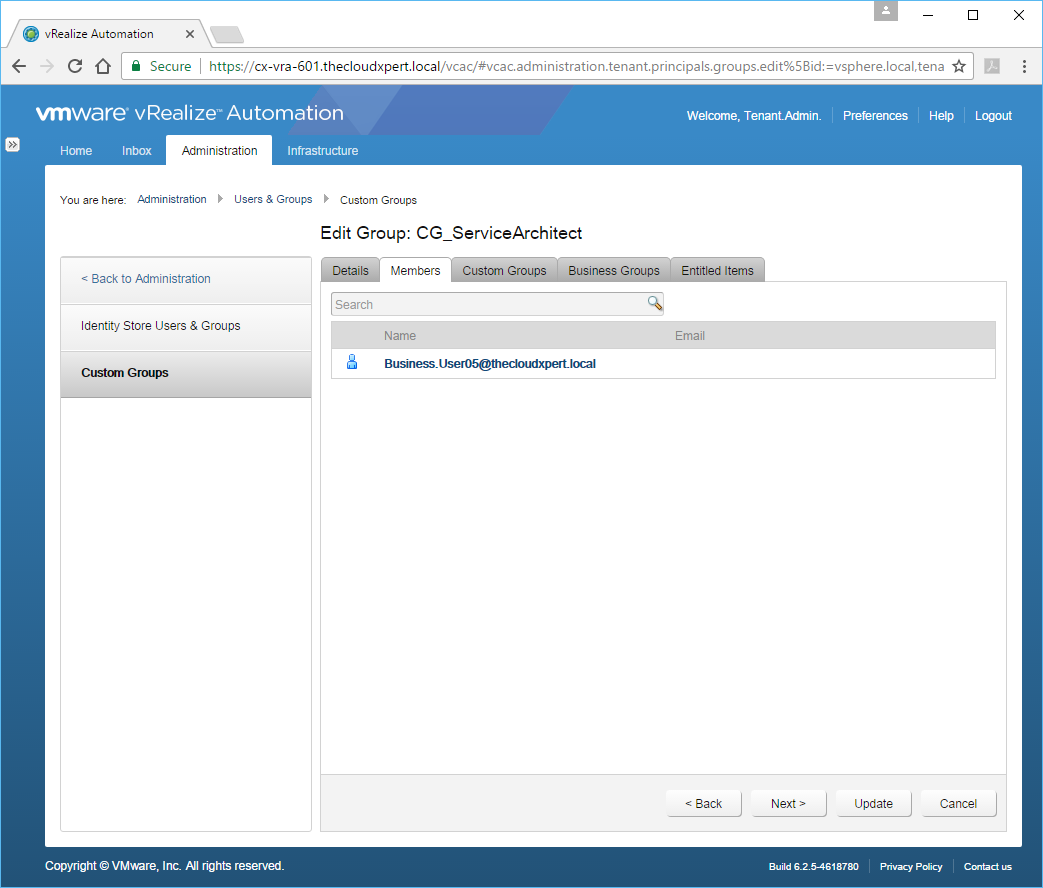
- Click Update.
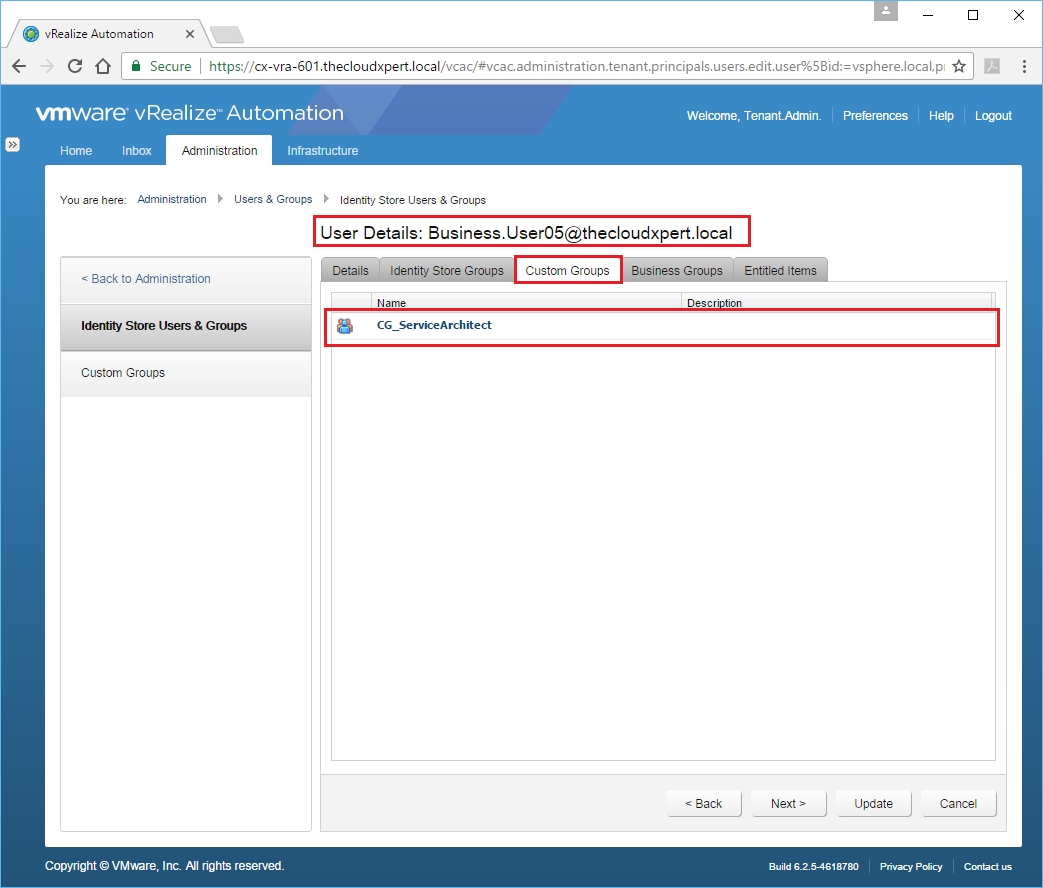
To confirm this has been updated we can go back to Administration > Users & Groups > Identity Store Users & Groups and look at the User Details for the user we have just added to the Custom Group.
Assign a user to a specific Business Group
In this example, we are going to assign a User (Business.User04) to a Business Group (Sales).
- Log in to the portal with a User that has been granted the Tenant Administrator role.
- Navigate to Infrastructure > Groups > Business Groups.
- Click the target Business Group.
- Enter the name (or partial name) of User/Group you want to add to the Business Group into the User Role text box, press Enter.
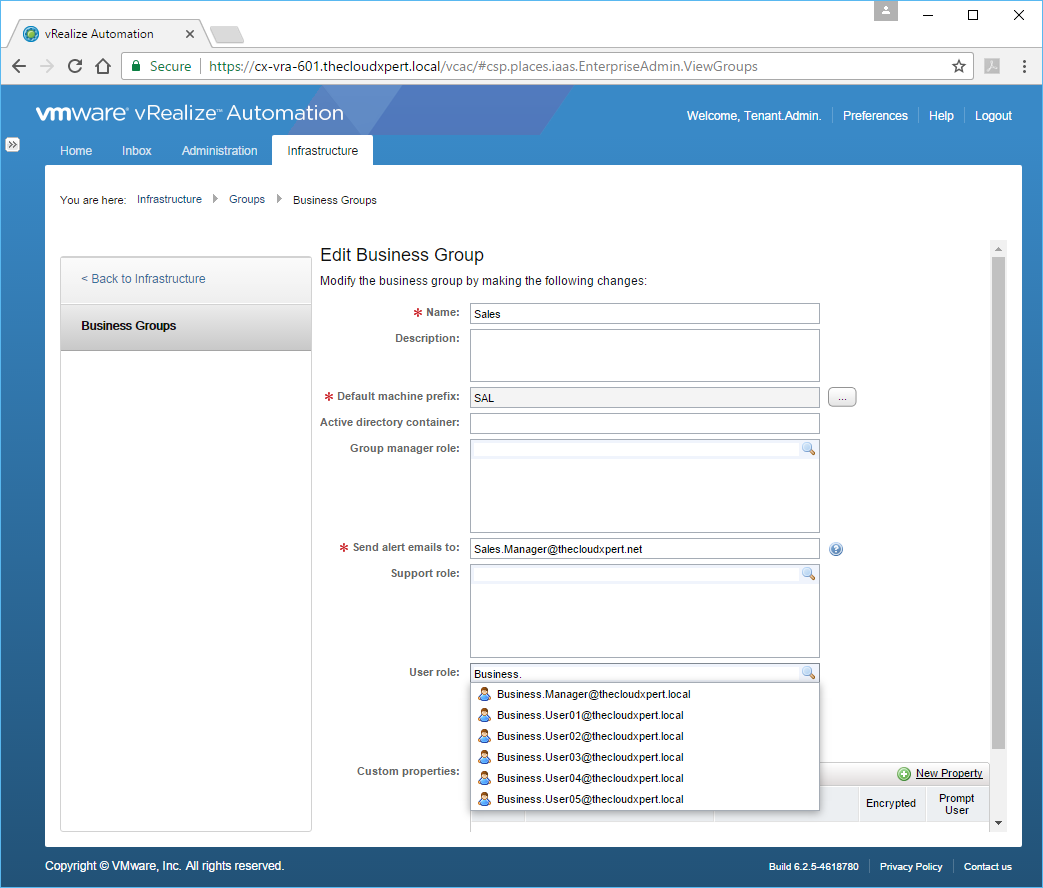
- Select the target User/Group from the list.
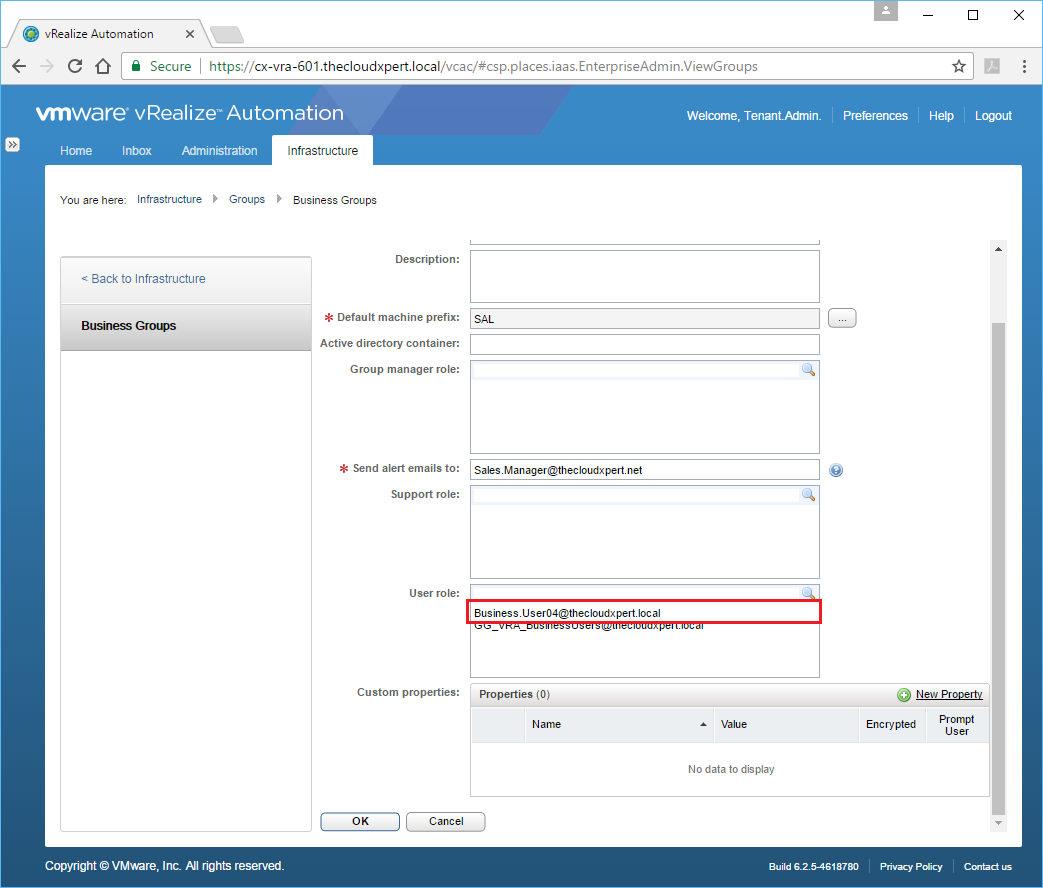
- Click OK.
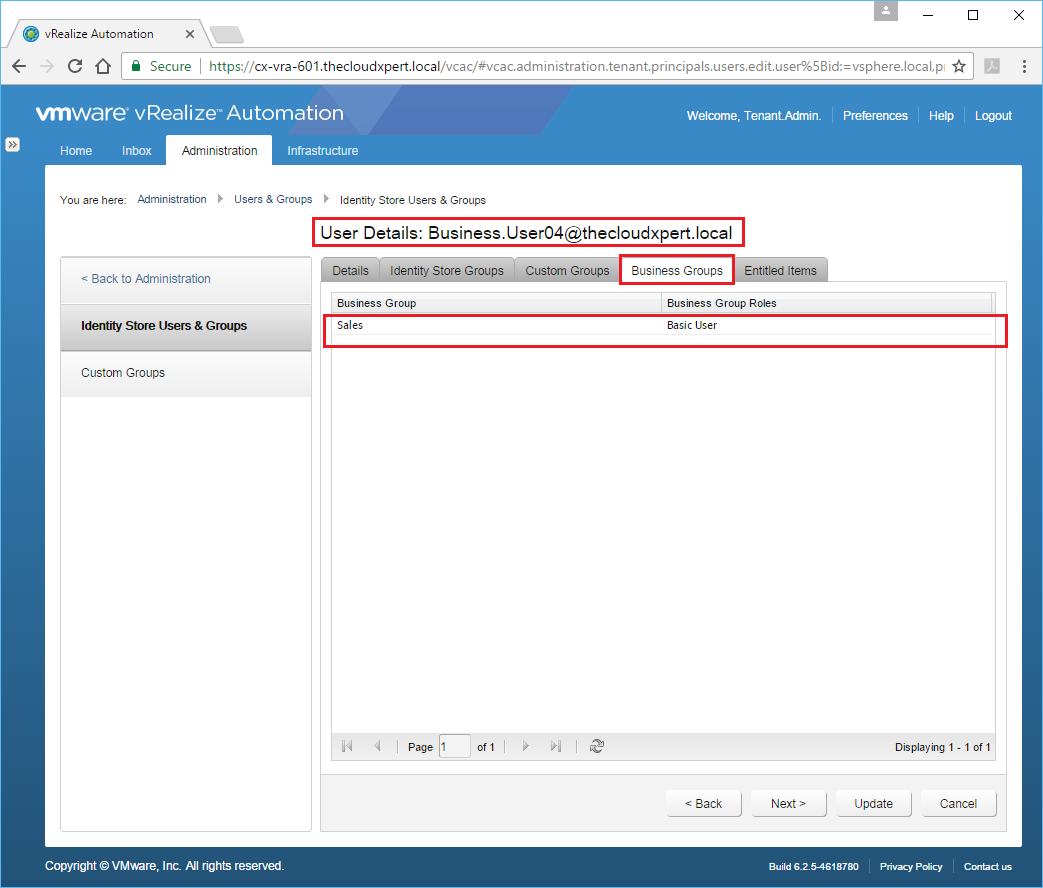
To confirm this has been updated we can go back to Administration > Users & Groups > Identity Store Users & Groups and look at the User Details for the user we have just added to the Business Group.
Configure user access to Identity Store Groups, Custom Groups, Business Groups, and Entitled Items according to a deployment plan
I believe I have covered the majority of this subject in the sections of this post. The only thing I haven’t touched upon is adding users to Entitlements and that is covered nicely in Objective 4.2
Generate new Certificate Requests
In the following example, I’m going to create a Certificate Signing Request for Subject Alternative Name (SAN) certificate for the vRealize Automation 6 Appliance Load Balanced VIP, vra6.thecloudxpert.local.
- The first step is to create a configuration (.cfg) file for the certificate. We do this by opening Notepad and using the following information and save it to a file called
vra6.thecloudxpert.local.cfg:
[ req ]
default_md = sha512
default_bits = 2048
default_keyfile = vra6.thecloudxpert.local.key
distinguished_name = req_distinguished_name
encrypt_key = no
prompt = no
string_mask = nombstr
req_extensions = v3_req

[ v3_req ]
basicConstraints = CA:FALSE
keyUsage = digitalSignature, keyEncipherment, dataEncipherment, nonRepudiation
extendedKeyUsage = serverAuth, clientAuth
subjectAltName = @alt_names

[ alt_names ]
DNS.1 = cx-vra-601.thecloudxpert.local
DNS.2 = cx-vra-602.thecloudxpert.local
DNS.3 = vra6.thecloudxpert.local

[ req_distinguished_name ]
countryName = GB
stateOrProvinceName = United Kingdom
localityName = London
0.organizationName = thecloudxpert
organizationalUnitName = thecloudxpert
commonName = vra6.thecloudxpert.local
- Next we need to generate an RSA private key for the certificate. We do this by running the following command:
openssl.exe genrsa -out "vra6.thecloudxpert.local.key" 2048
- Now we have the RSA Private Key and and the configuration file, we can generate the CSR using the following command:
openssl.exe req -new -nodes -out "vra6.thecloudxpert.local.csr" -key "vra6.thecloudxpert.local.key" -config "vra6.thecloudxpert.local.cfg"
- We can then take the
vra6.thecloudxpert.local.csrfile and give that to the security team to generate the SSL SAN Certificate we need.
This is a similar process for the IaaS Web and IaaS Manager certificates.
Deploy and Update certificates for multiple vRealize Appliances
Watch this space!
Replace self-signed certificates with signed certificates
Watch this space!
Published on 22 December 2016 by Christopher Lewis. Words: 1379. Reading Time: 7 mins.
- Achievement Unlocked: VMware Certified Implementation Expert 6: Data Center Virtualization ()
- Achievement Unlocked: VMware Certified Advanced Professional 6 - Data Center Virtualization Design ()
- Achievement Unlocked: VMware Certified Advanced Professional - Data Center Virtualization Deploy ()
- VMware vRealize Automation 7.2 Available! ()
- Installing the vRealize Automation IaaS Management Agent ()