VCAP6-CMA Deploy - Objective 5.2 - Modify a Blueprint to invoke a Workflow during a Lifecycle Change
VMware vRealize Automation VCAP6 VCAP6-CMA
Published on 7 February 2017 by Christopher Lewis. Words: 713. Reading Time: 4 mins.
Objective 5.2 - Modify a Blueprint to invoke a Workflow during a Lifecycle Change
Objective Overview
- Configure vRealize Orchestrator plug-in for vRA
- Associate a vRO workflow with a specific lifecycle state change for a Machine Blueprint
- Associate a vRO Endpoint with a Machine Blueprint
Objective Prerequisites
The following prerequisites are assumed for this Objective:
- A fully deployed vRealize Automation Solution (See Objective 1 ).
Objective Breakdown
Configure vRealize Orchestrator plug-in for vRA**.**
The installation of the vRA Plug-in is not required for the embedded vRO. However, we covered the “Configure” of the Plug-in in Objective 5.1 .
When using External vRO, we have covered the installation and configuration of this in a separate post HOWTO: Deploy the vRealize Orchestrator 6.x Appliance for vRealize Automation
Associate a vRO Workflow with a Specific Lifecycle State Change for a Machine Blueprint
There are two ways to do this, the Manual way and the Workflow way. We’ll cover both just to make sure :)
Manually Editing the Blueprint
- Navigate to and log into the vRealize Automation Portal with either a Tenant Administrator or Business Group Manager user.

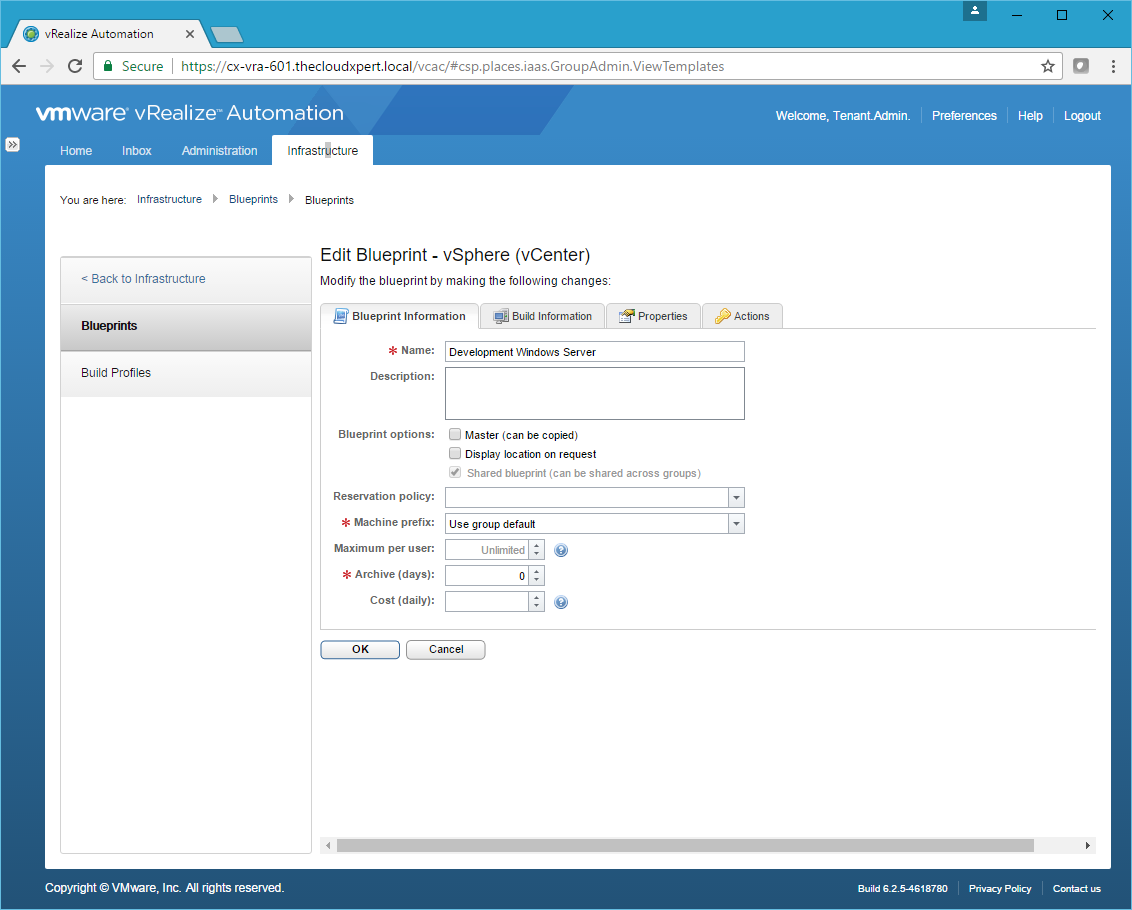
- Click Infrastructure > Blueprints > Blueprints.
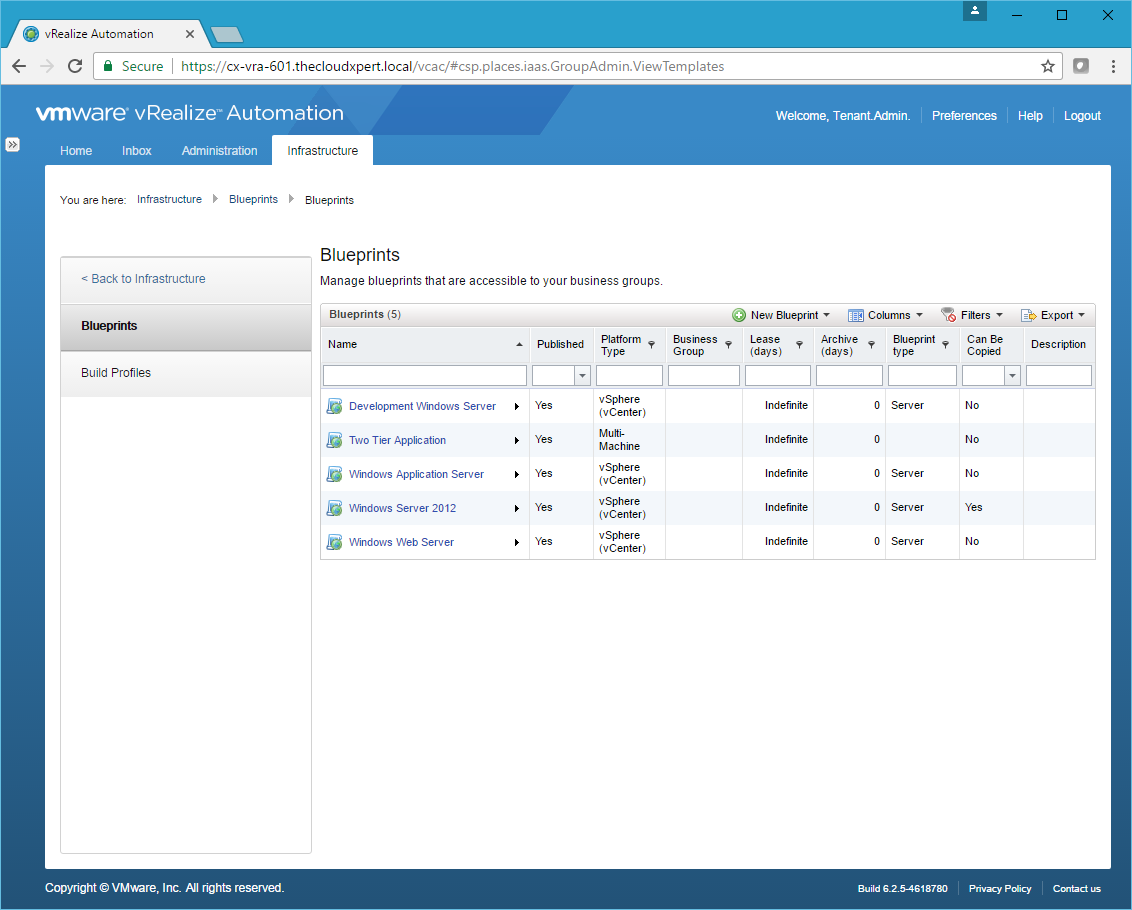
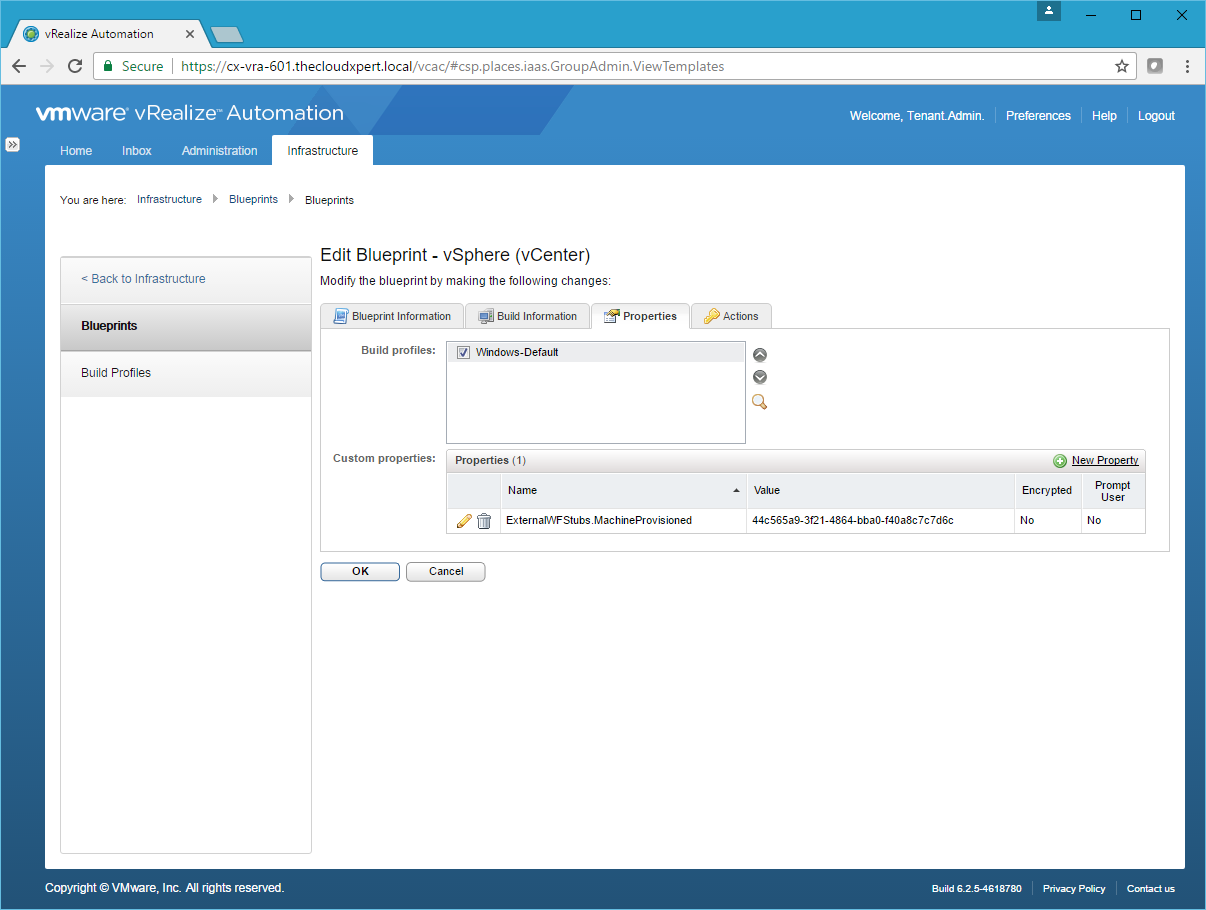
- Click the Blueprint you want to Edit and click on the Properties Tab.
- Click New Property.

- Enter the Name of the workflow to be
ExternalWFStubs.[LifeCycleState]and the Value should be the ID of the vRO Workflow.
The value of LifeCycleState should be replaced with the appropriate state such as:
- BuildingMachine
- MachineProvisioned
- MachienRegistered
- MachineExpired
- UnprovisionMachine
- MachineDisposing

- Click Save and then click OK.
Run the Assign a State Change Workflow to a Blueprint and Its Virtual Machines Workflow
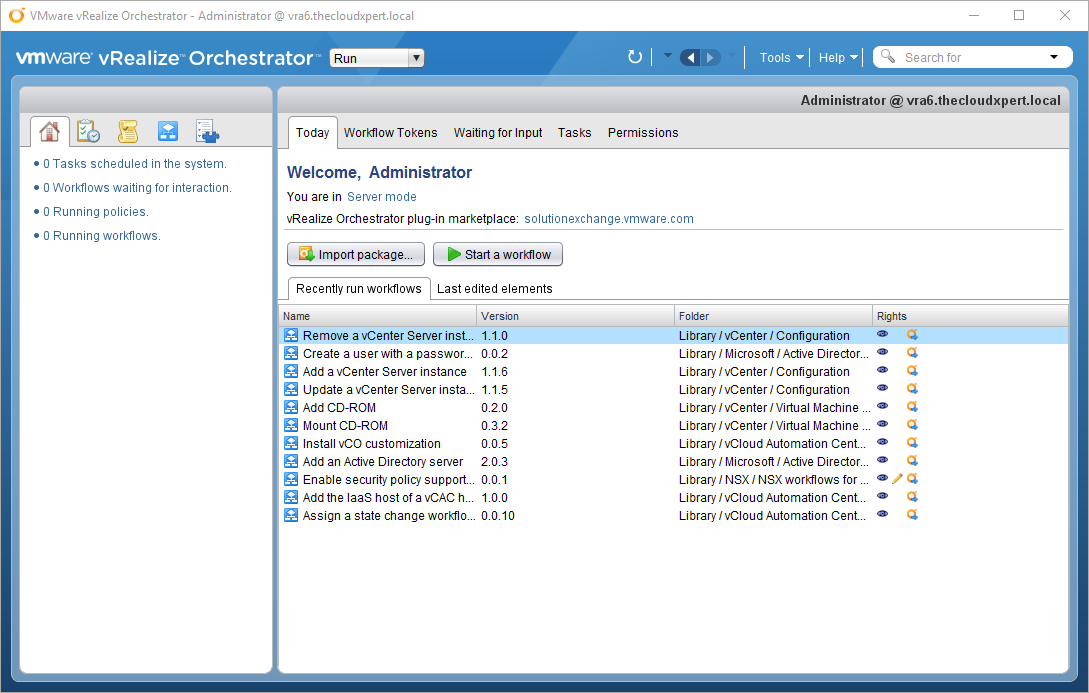
- Log into the vRealize Orchestrator Client and navigate to Library > vCloud Automation Center > Infrastructure Administration > Extensibility.
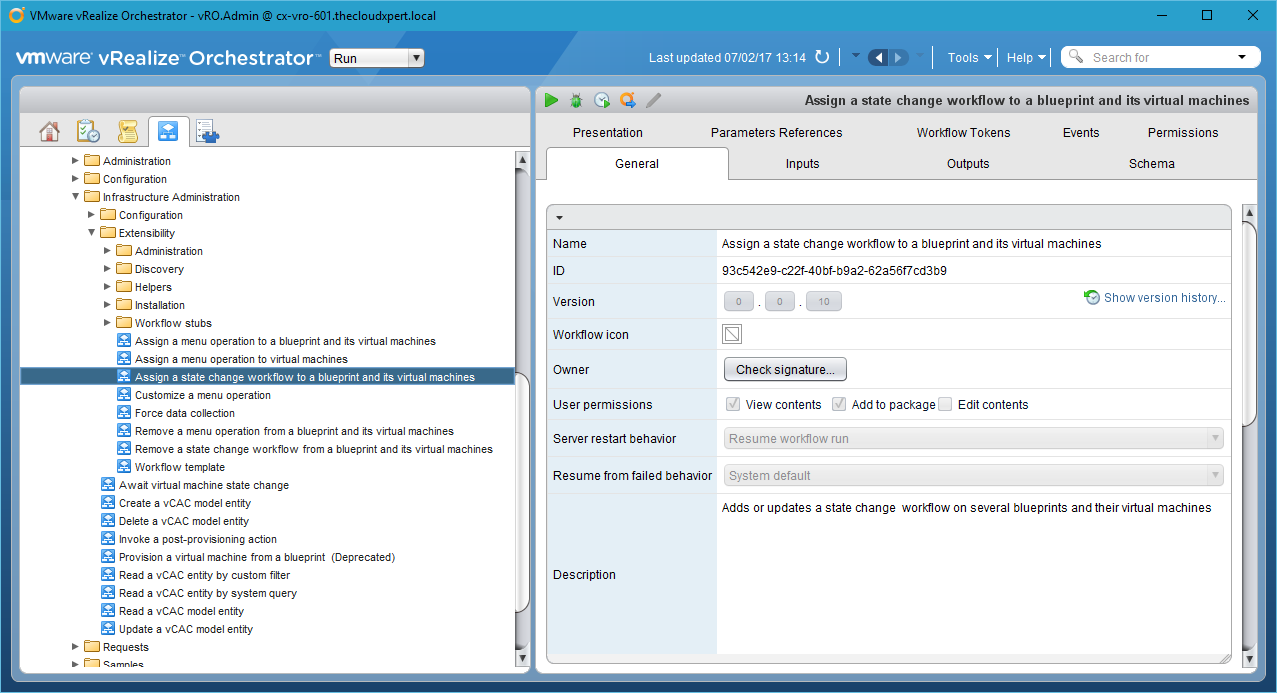
- Select the Assign a State Change Workflow to a Blueprint and its Virtual Machines workflow and click Start Workflow…
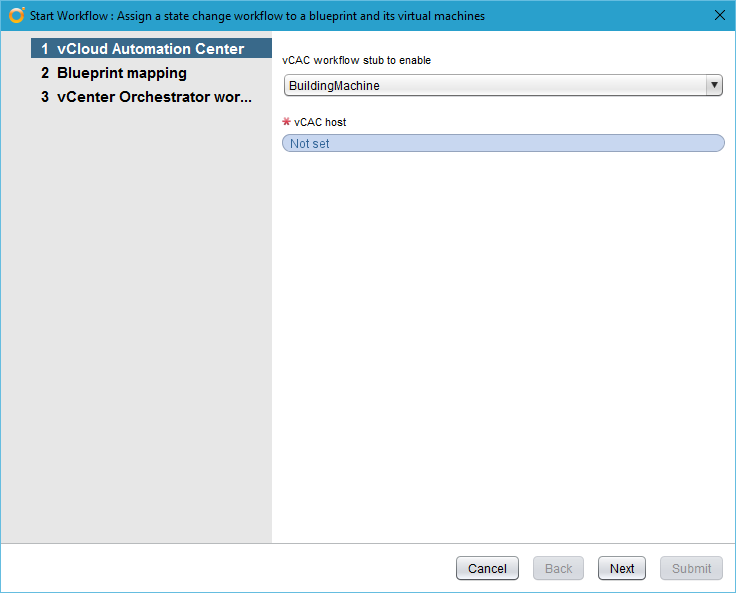
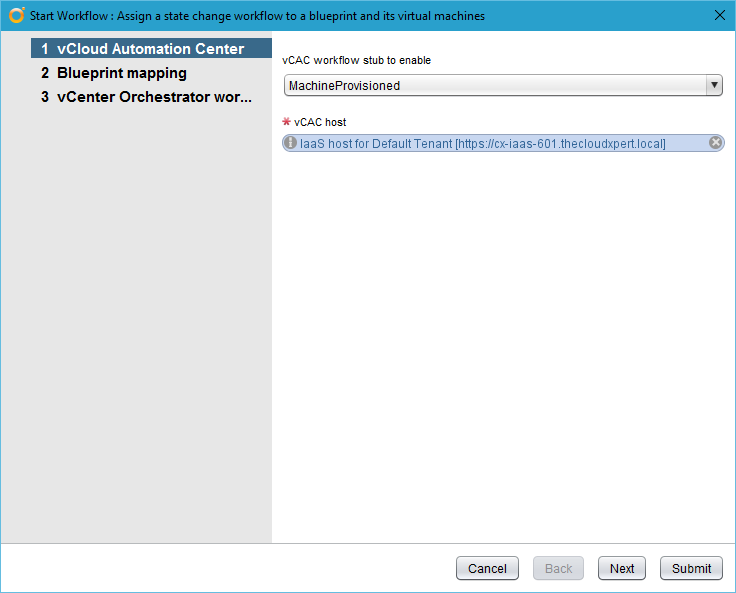
- Select the appropriate workflow stub from the vCAC workflow stub to enable dropdown and then click Not set.
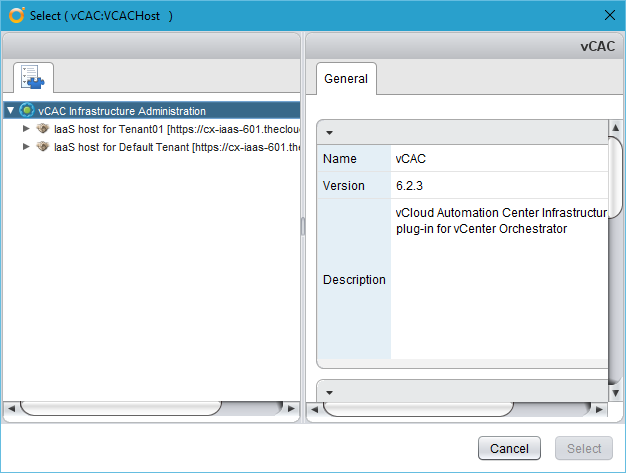
- Select the IaaS Host for the Tenant in which the Blueprint resides and then click Select.
- Click Next.

- Under Blueprints, click Array.
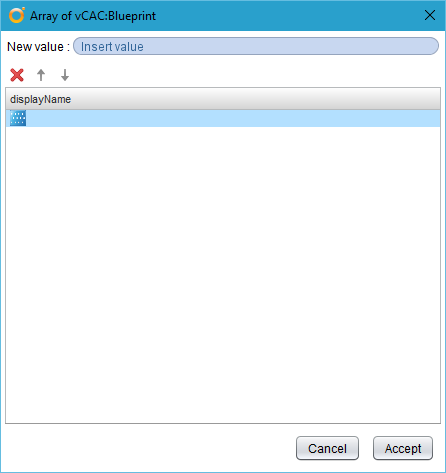
- Click insert value.
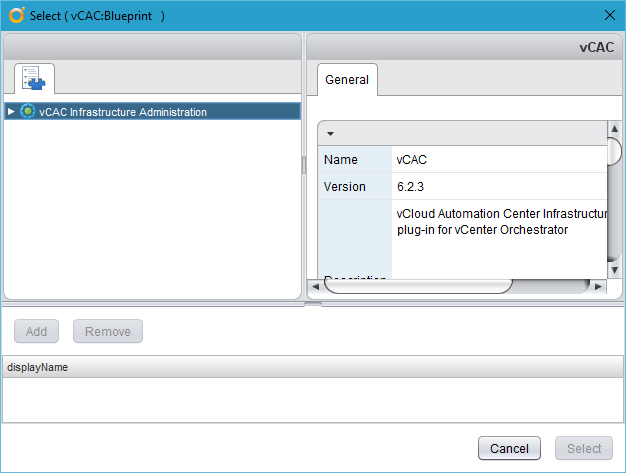
- Select the IaaS Host and then drill down and double click on the Blueprint from the list and then click Select.
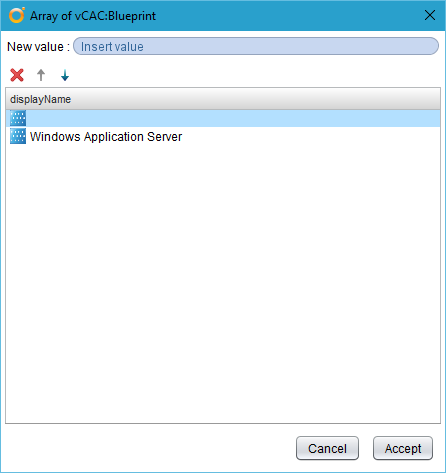
- Highlight the blueprint and click Accept.
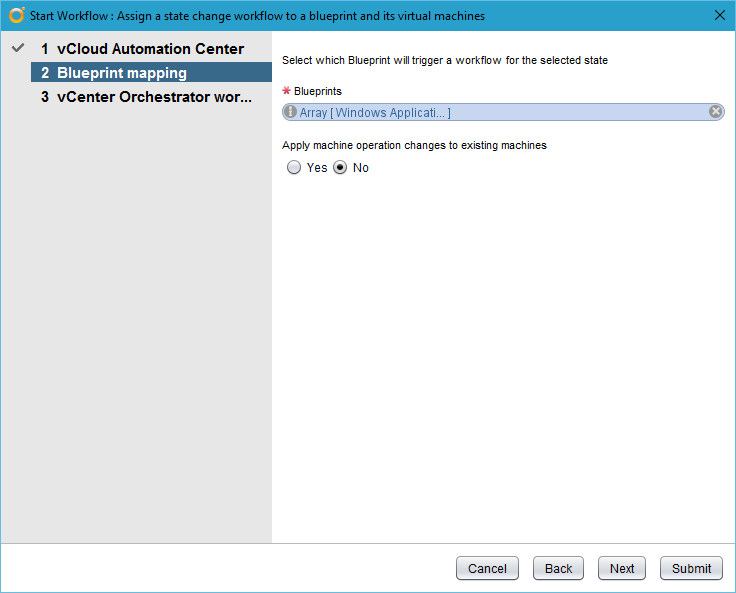
MachineProvisioned we’re going to leave the Apply machine operation changes to existing machines set to No.
- Click Next.
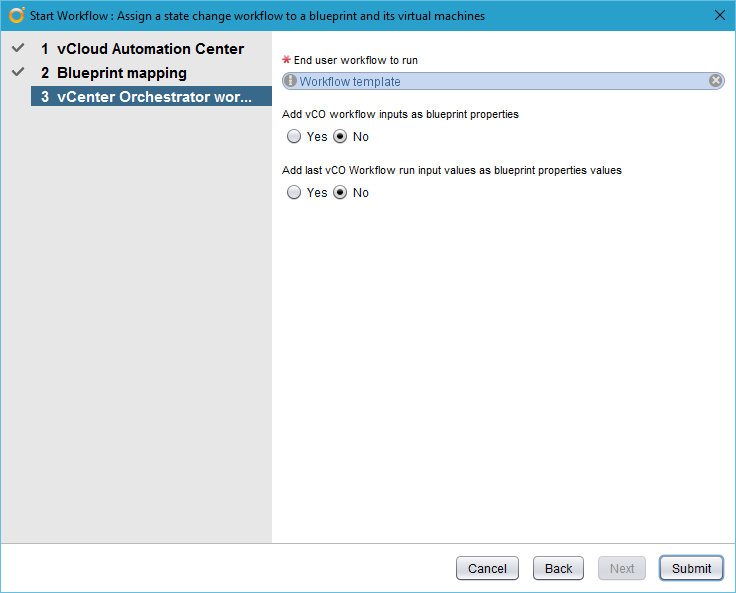
- Click Workflow template.
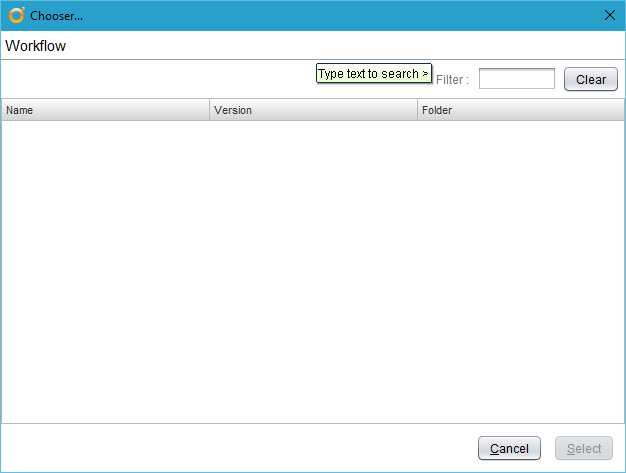
- Enter search criteria into the Filter textbox, press Enter, then highlight the workflow and click Select.
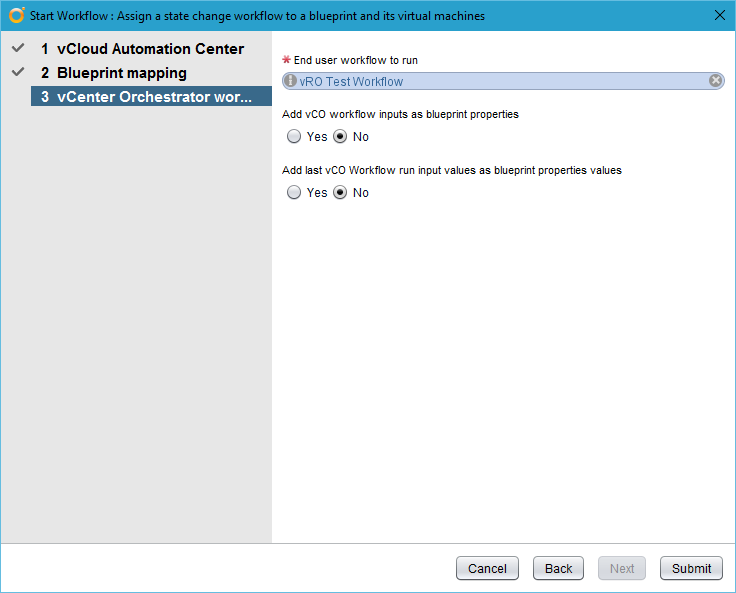
- Click Submit.
When you look back at the Blueprint you will see it has been updated!

Associate a vRO Endpoint with a Machine Blueprint
So as part of creating the vRO endpoint in vRA you would have assigned the VMware.VCenterOrchestrator.Priority as this is a mandatory setting. If you have more than one vRO Endpoint (let’s say an Embedded and External), this gives the vRO endpoint a Priority weighting (1 being highest) and the highest priority orchestrator will be used unless its unavailable.
However, you can also choose to allocate a specific vRO endpoint to run the workflows using the VMware.VCenterOrchestrator.EndpointName Custom Property which isn’t necessarily just for a Blueprint, but lets do it there as the item suggests.
- Navigate to and log into the vRealize Automation Portal with a user that has Tenant Administrator (or Business Group Manager) role.
- Click Infrastructure > Blueprints > Blueprints.
- Click the Blueprint you want to edit.
- Click on the Properties tab.
- Click New Property.

- Type
VMware.VCenterOrchestrator.EndpointNameinto the Name text box and the name of the vRO endpoint in the Value text field and click Save.

- Click OK.
Now the workflows associated with the Blueprint will only run on the specified vRO Endpoint no matter the Priority Weighting!
Published on 7 February 2017 by Christopher Lewis. Words: 713. Reading Time: 4 mins.
- VCAP6-CMA Deploy - Objective 4.3: Manage Custom Properties and Build Profiles ()
- VCAP6-CMA Deploy - Objective 4.2: Publish a Machine Blueprint to a Service Catalog ()
- VCAP6-CMA Deploy - Objective 4.1: Create and Configure vRealize Automation Machine Blueprints ()
- VCAP6-CMA Deploy - Objective 5.1: Configure vRO for vRA ()
- HOWTO: Deploy the vRealize Orchestrator 6.x Appliance for vRealize Automation ()