Configuring Multi-Org Tenancy in vRA 8.x - Part 3: Enabling Multi-Tenancy
vRealize Automation vRA Multi-Tenancy
Published on 16 April 2020 by Christopher Lewis. Words: 784. Reading Time: 4 mins.
Introduction
In this series of posts, we will be taking a look at how to configure a Multi-Organization Tenancy (aka Multi-Tenancy) in vRealize Automation (vRA) 8.x.
Now that all the prerequisites are complete, we will finally start to configure vRealize Automation 8.x to support Multi-Organization Tenancy. All the Multi-Organization Tenancy configuration is completed through VMware vRealize Suite Lifecycle Manager (vRSLCM). In this post, I will cover how to upload the SSL Certificates created in the previous post into vRSLCM, then I will cover how to apply the new Workspace ONE Access SSL certificate to the WOA deployment for vRA 8.x and finally I will cover how to enable Multi-Organization Tenancy with vRealize Automation 8.x.
For more information on the rest of the posts in this series, click here .
Walkthrough
Uploading the SSL Certificates into vRSLCM
In this section, we will import the both of the SAN SSL certificates created in Part 2 into vRSLCM so they can subsequently be deployed.
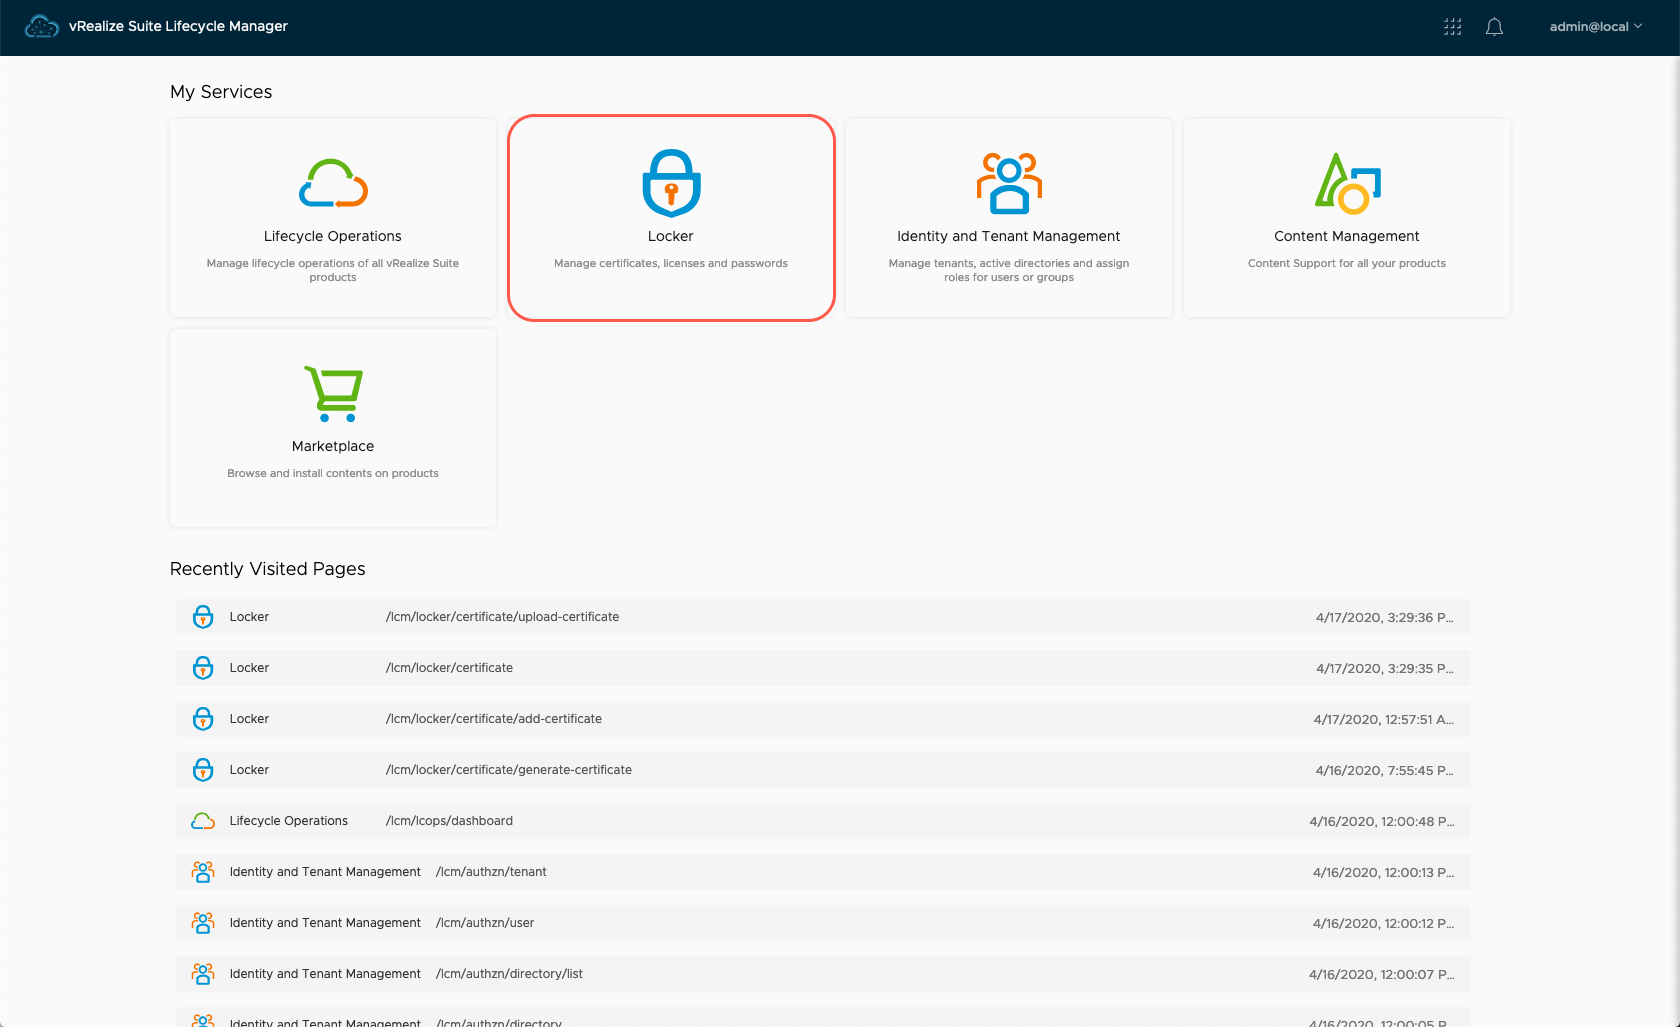
- From the vRSLCM homepage, click Locker.
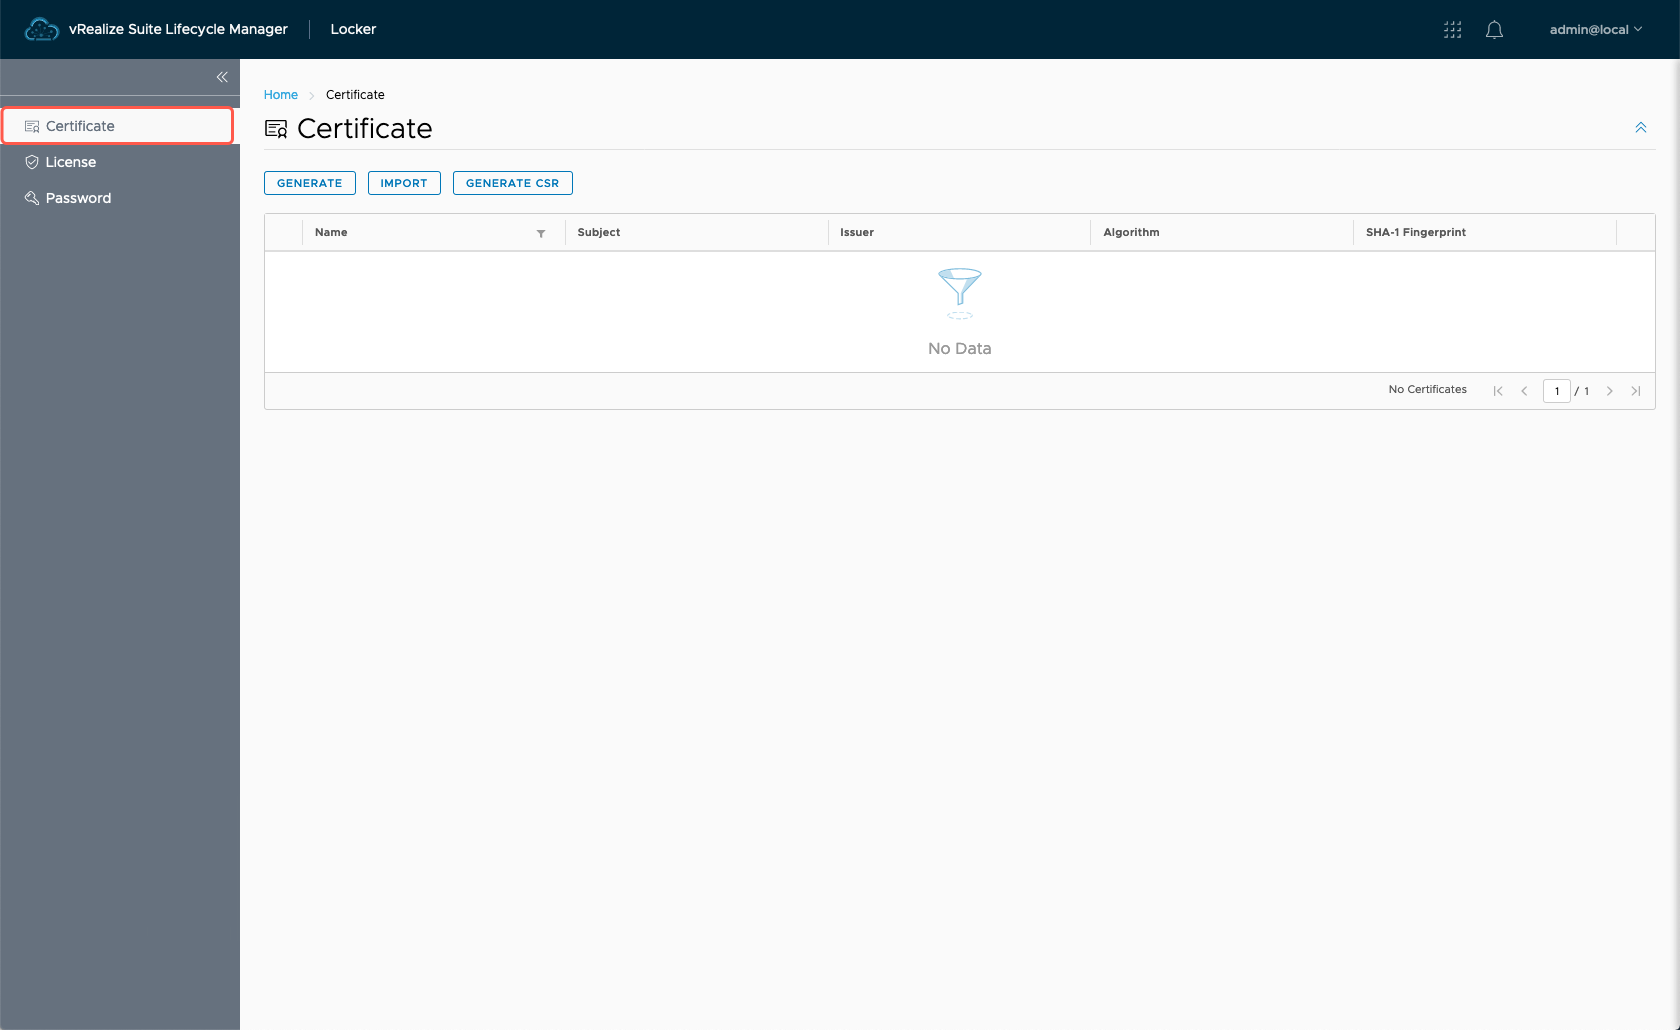
- Select Certificate.
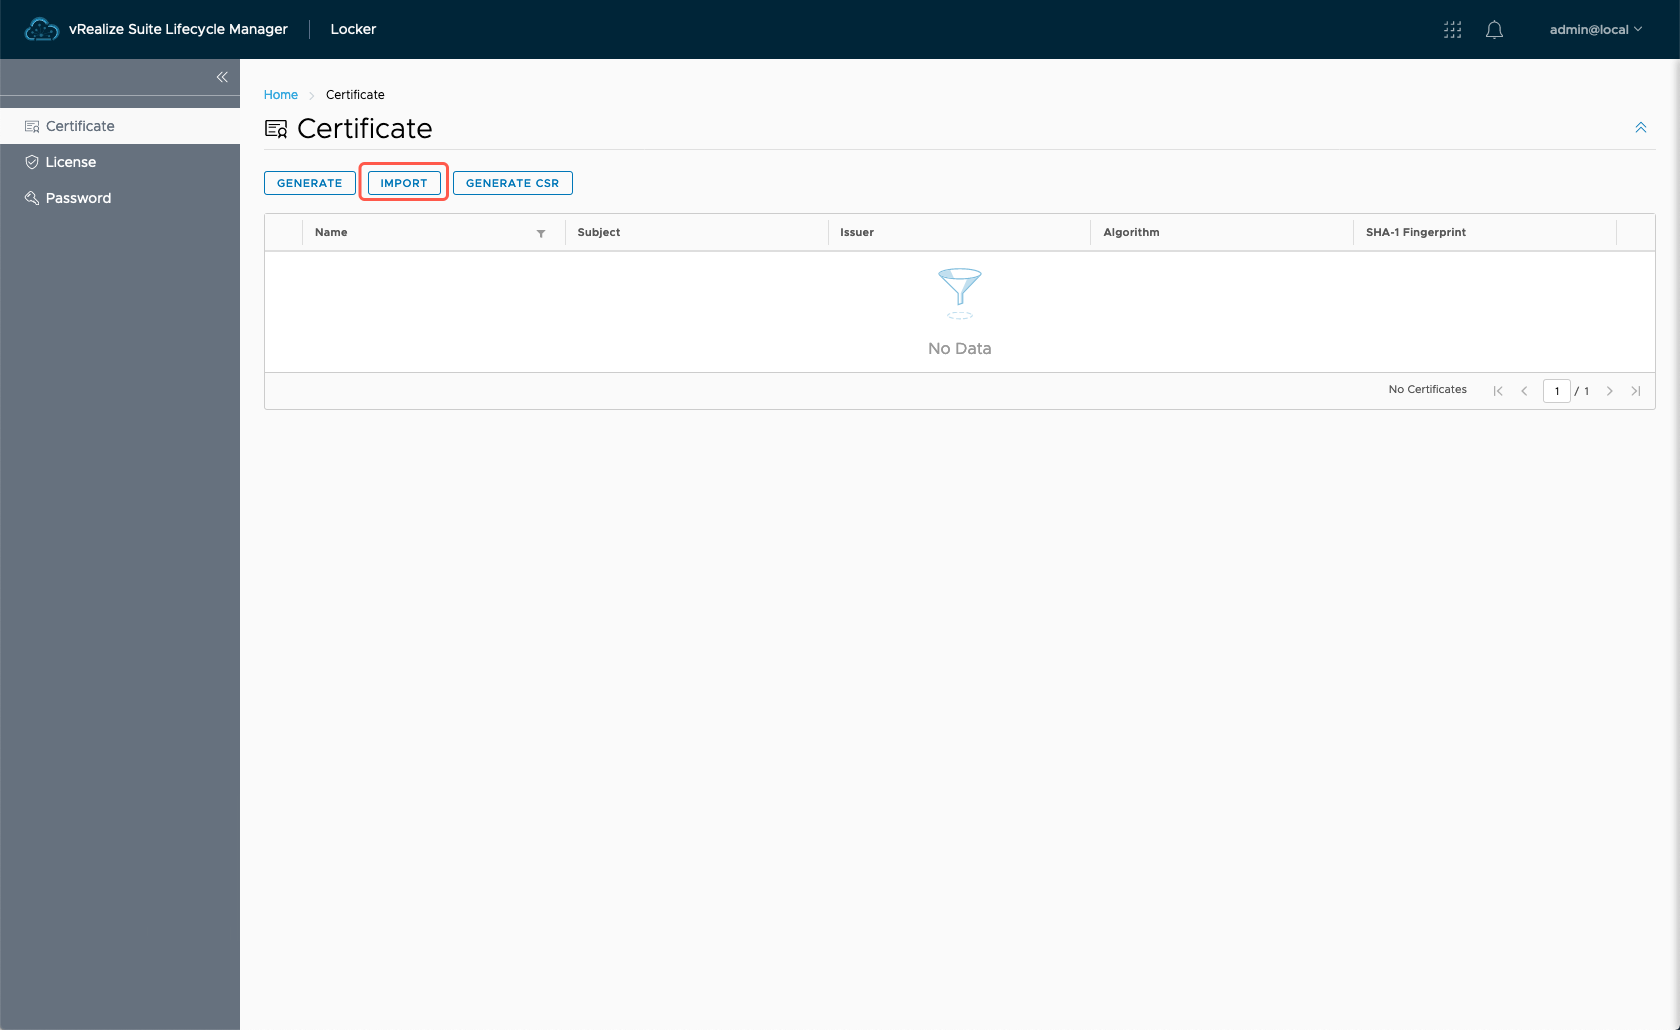
- Click Import.
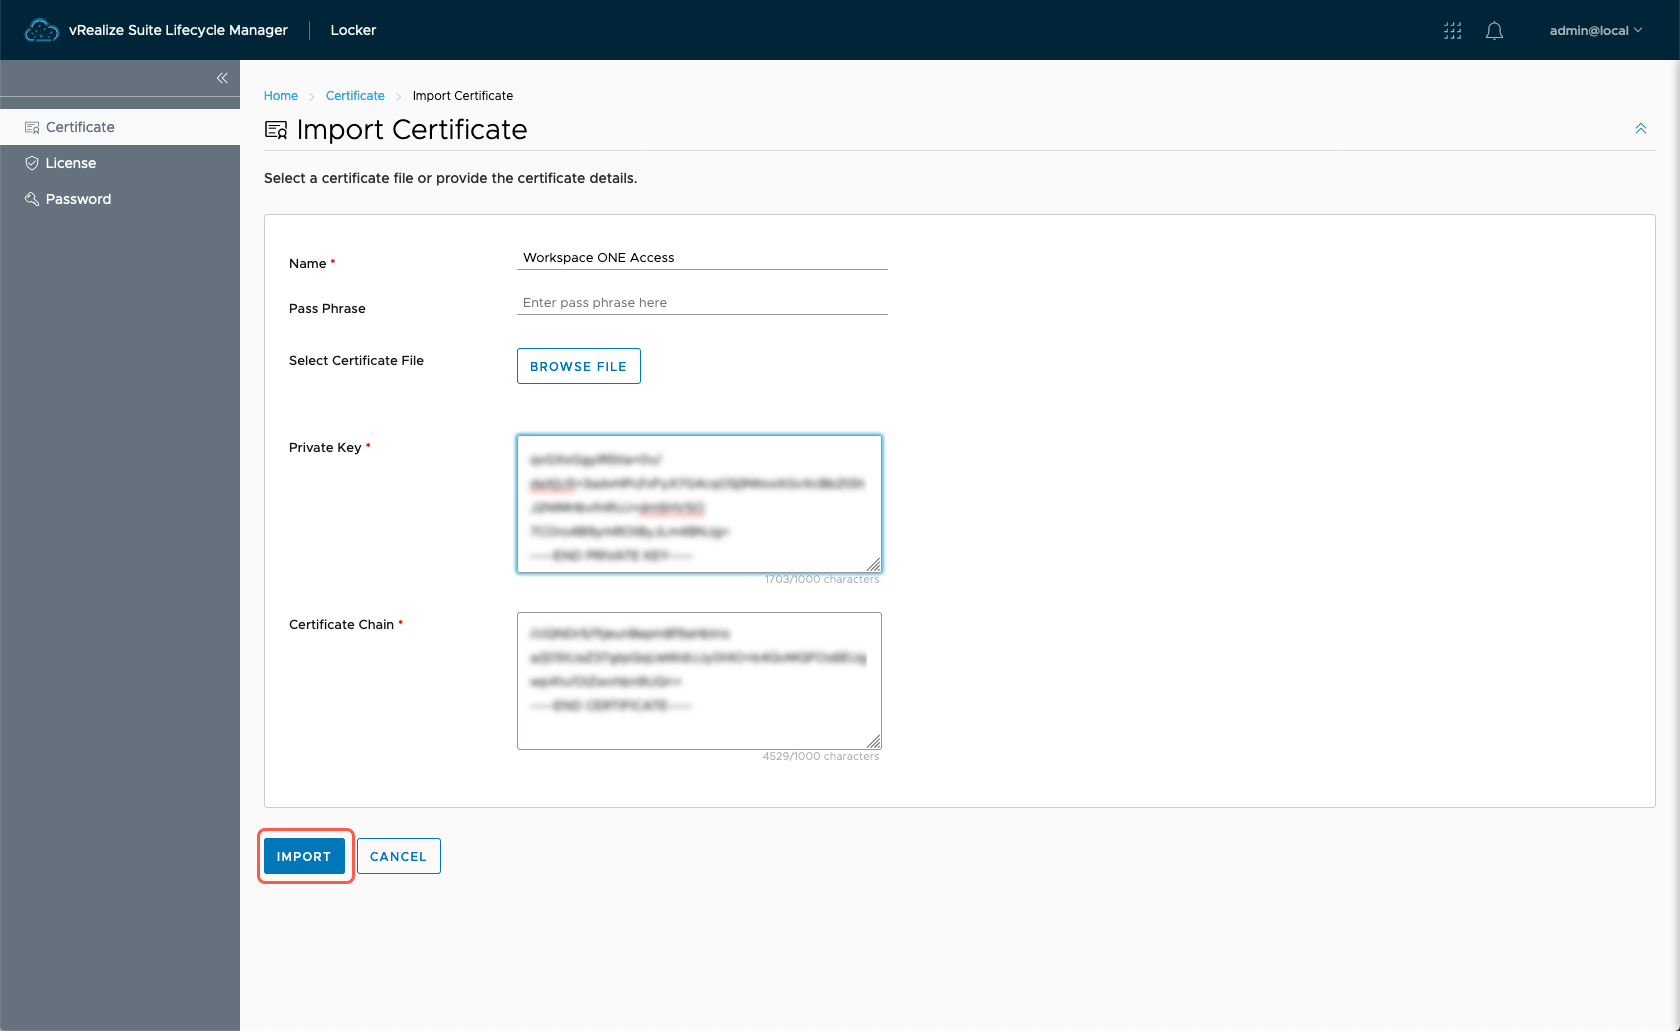
- Enter a Name for the imported certificate.
- Open
vra.domain.name.keyin a text editor and then copy the entire contents of the file into the Private Key text field. - Open
vra.domain.name.cerin a text editor and then copy the entire contents of the file into the Certificate Chain text field. - Open
ca.cerin a text editor and then copy the entire contents of the file into the Certificate Chain text field.
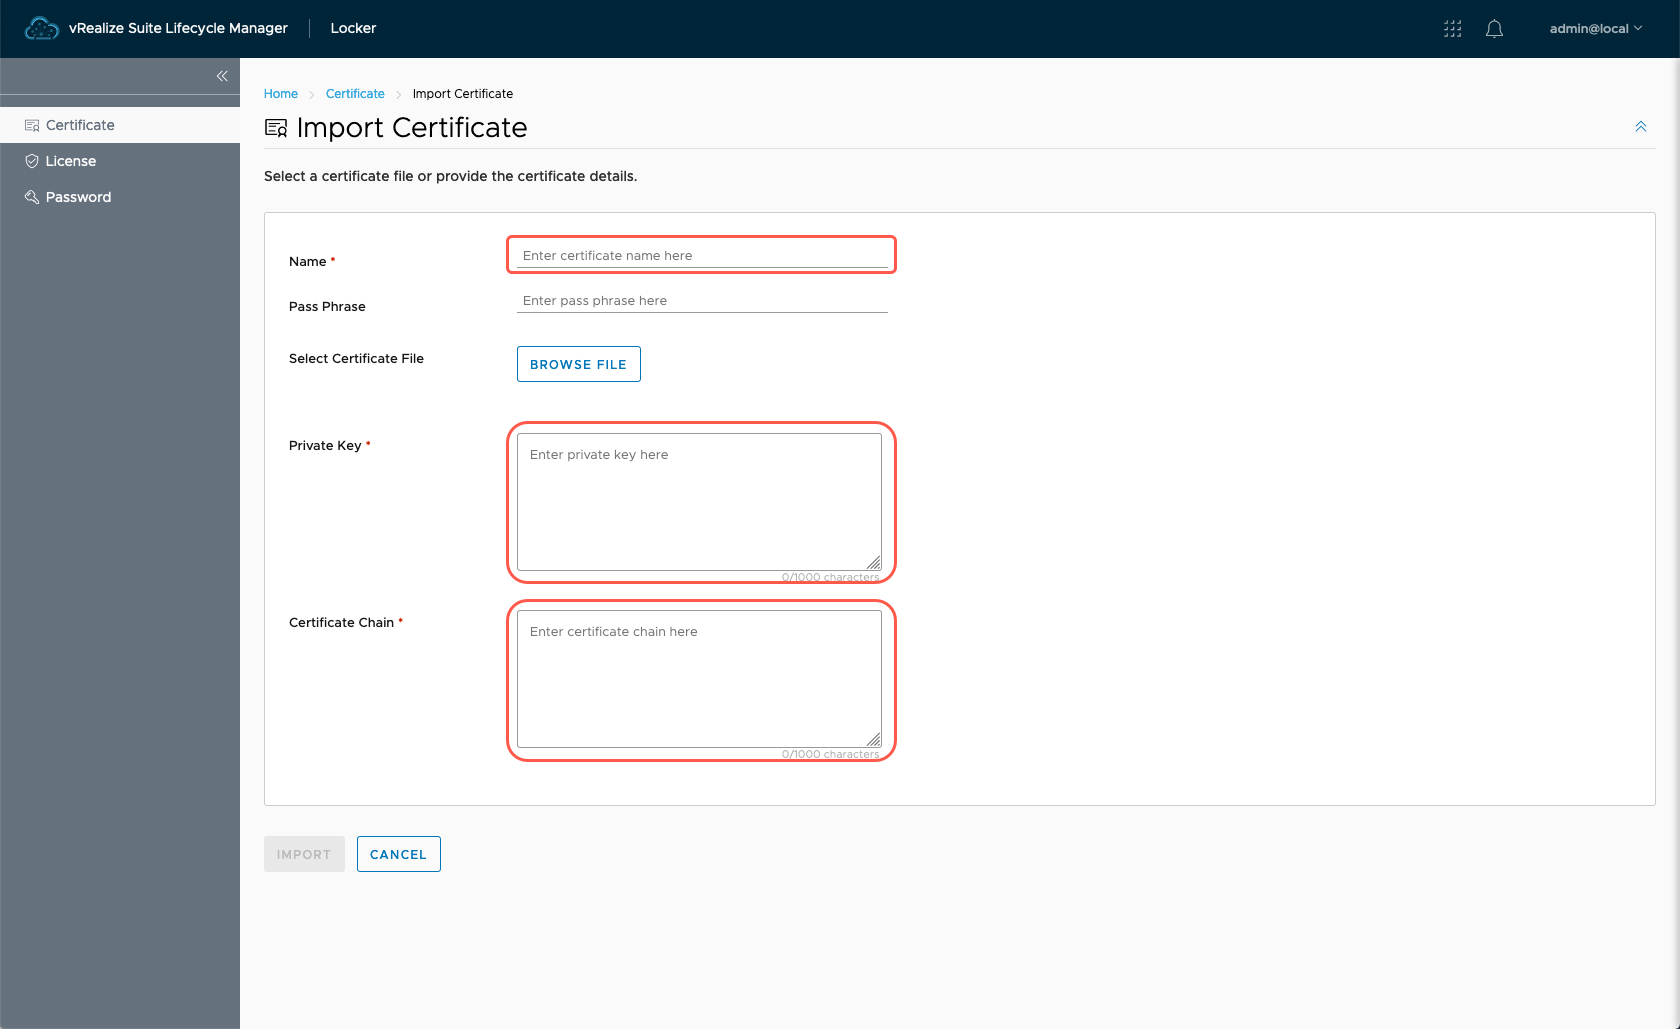
- Click Import.
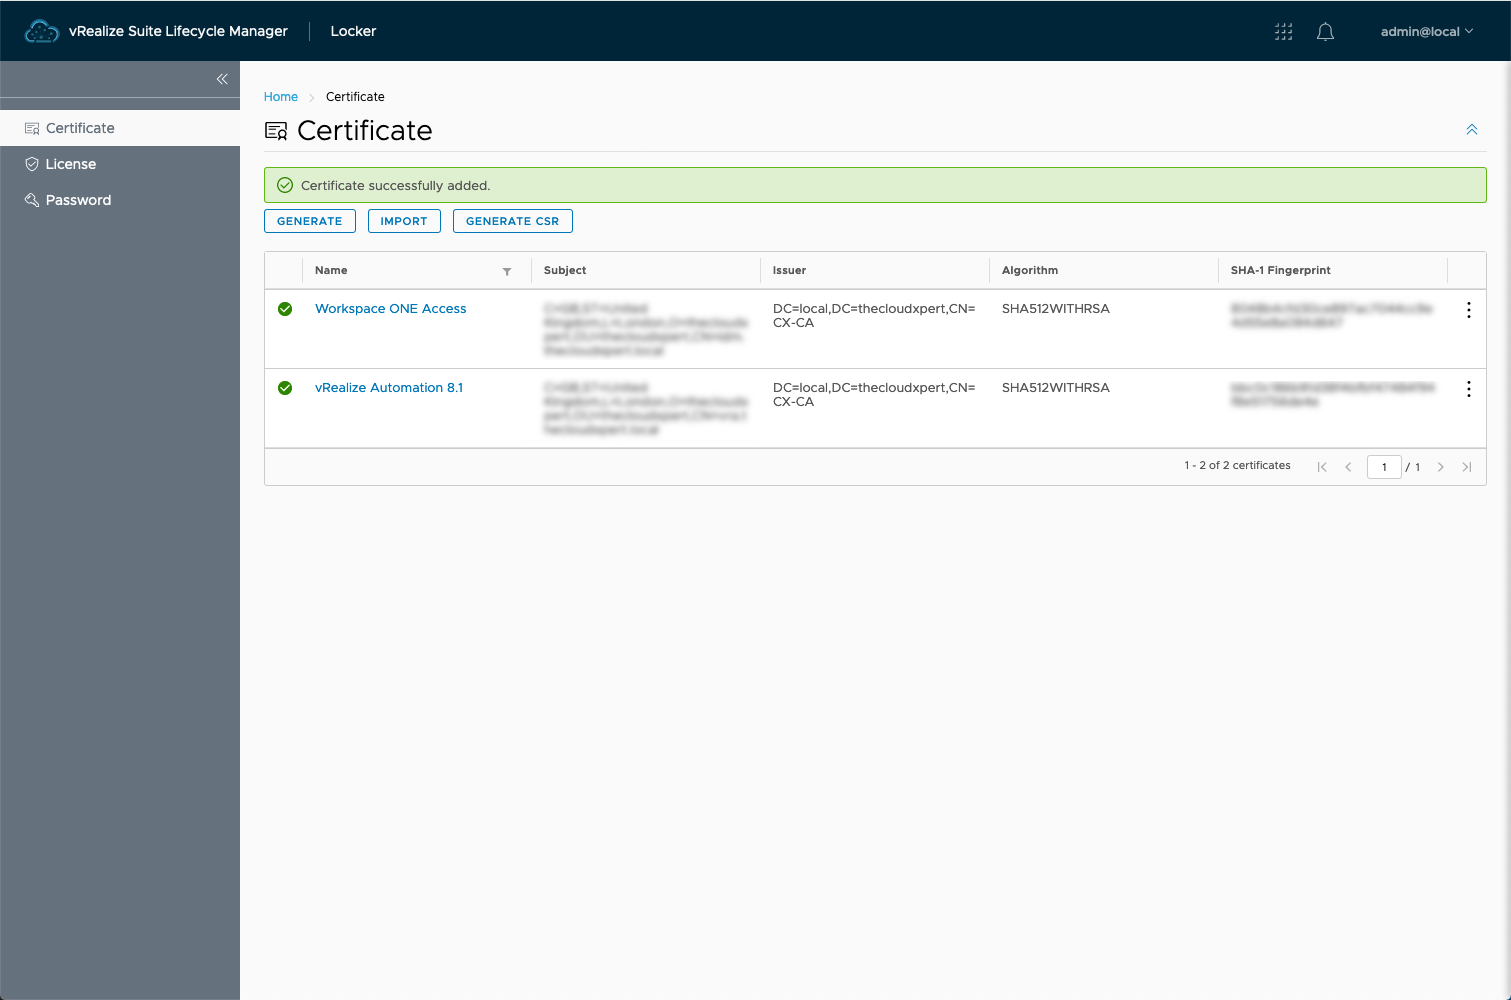
The certificate should now be imported and ready to apply to your deployment!
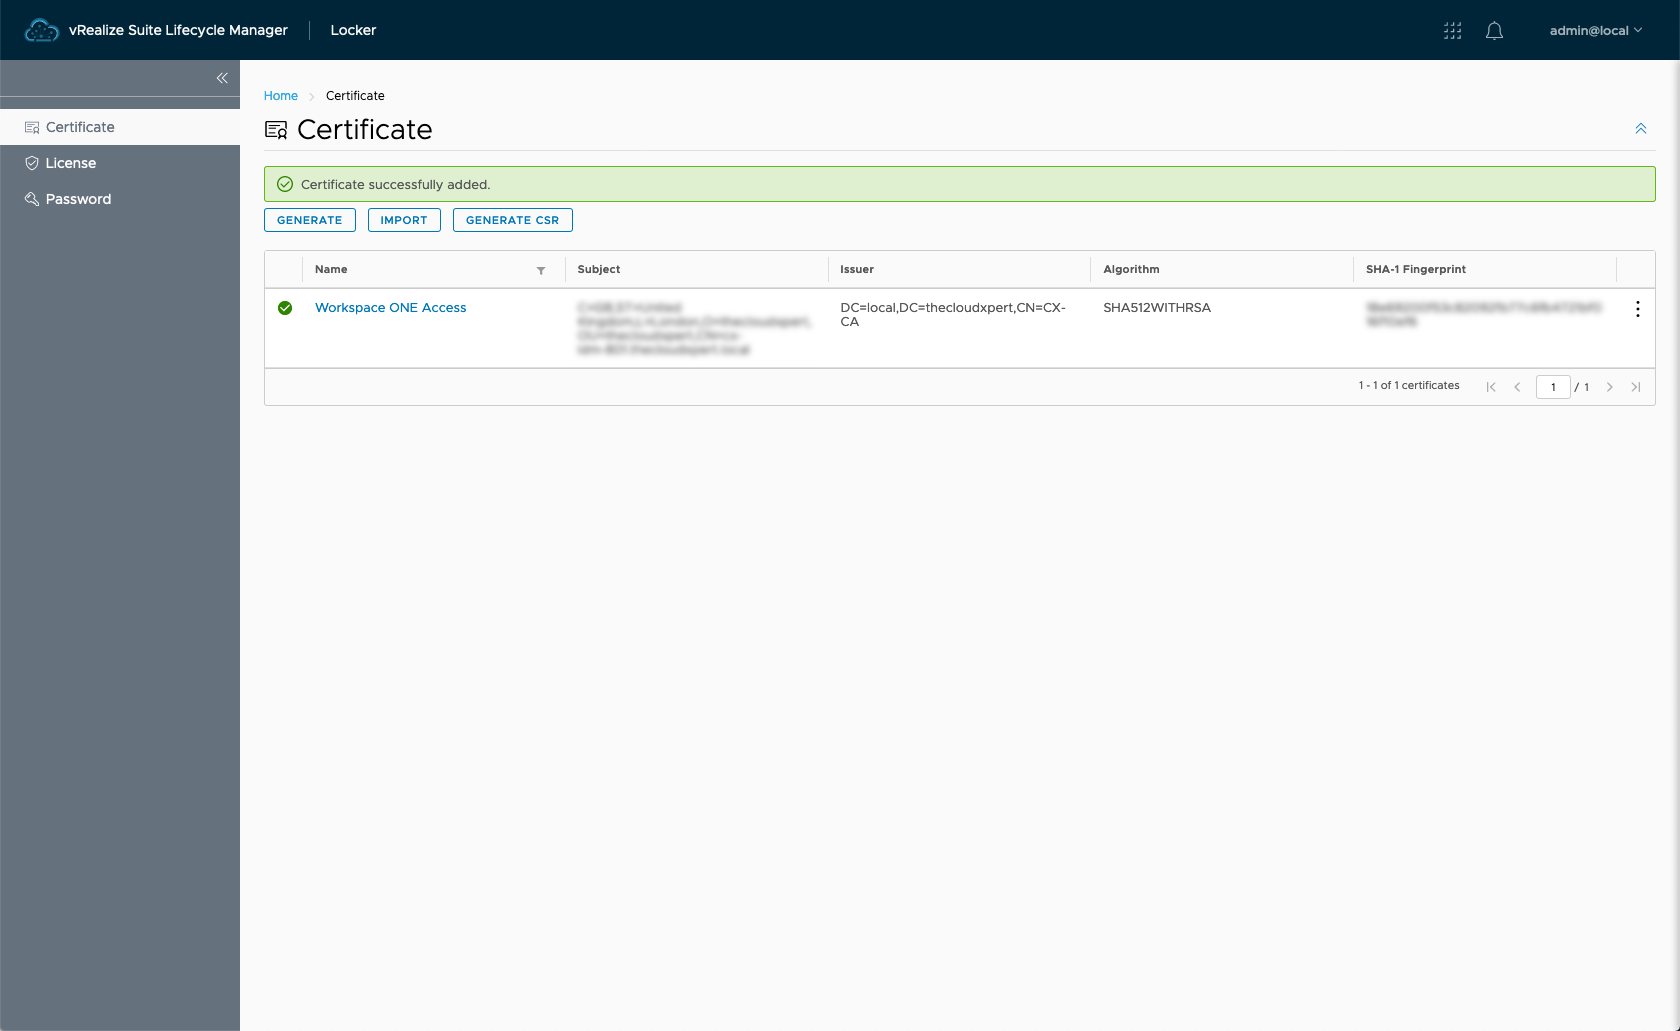
Remember to follow the same process to import the vRealize Automation SAN SSL certificate before moving onto the next stage of the implementation.
Apply the WOA Multi-Organization Tenancy Certificate
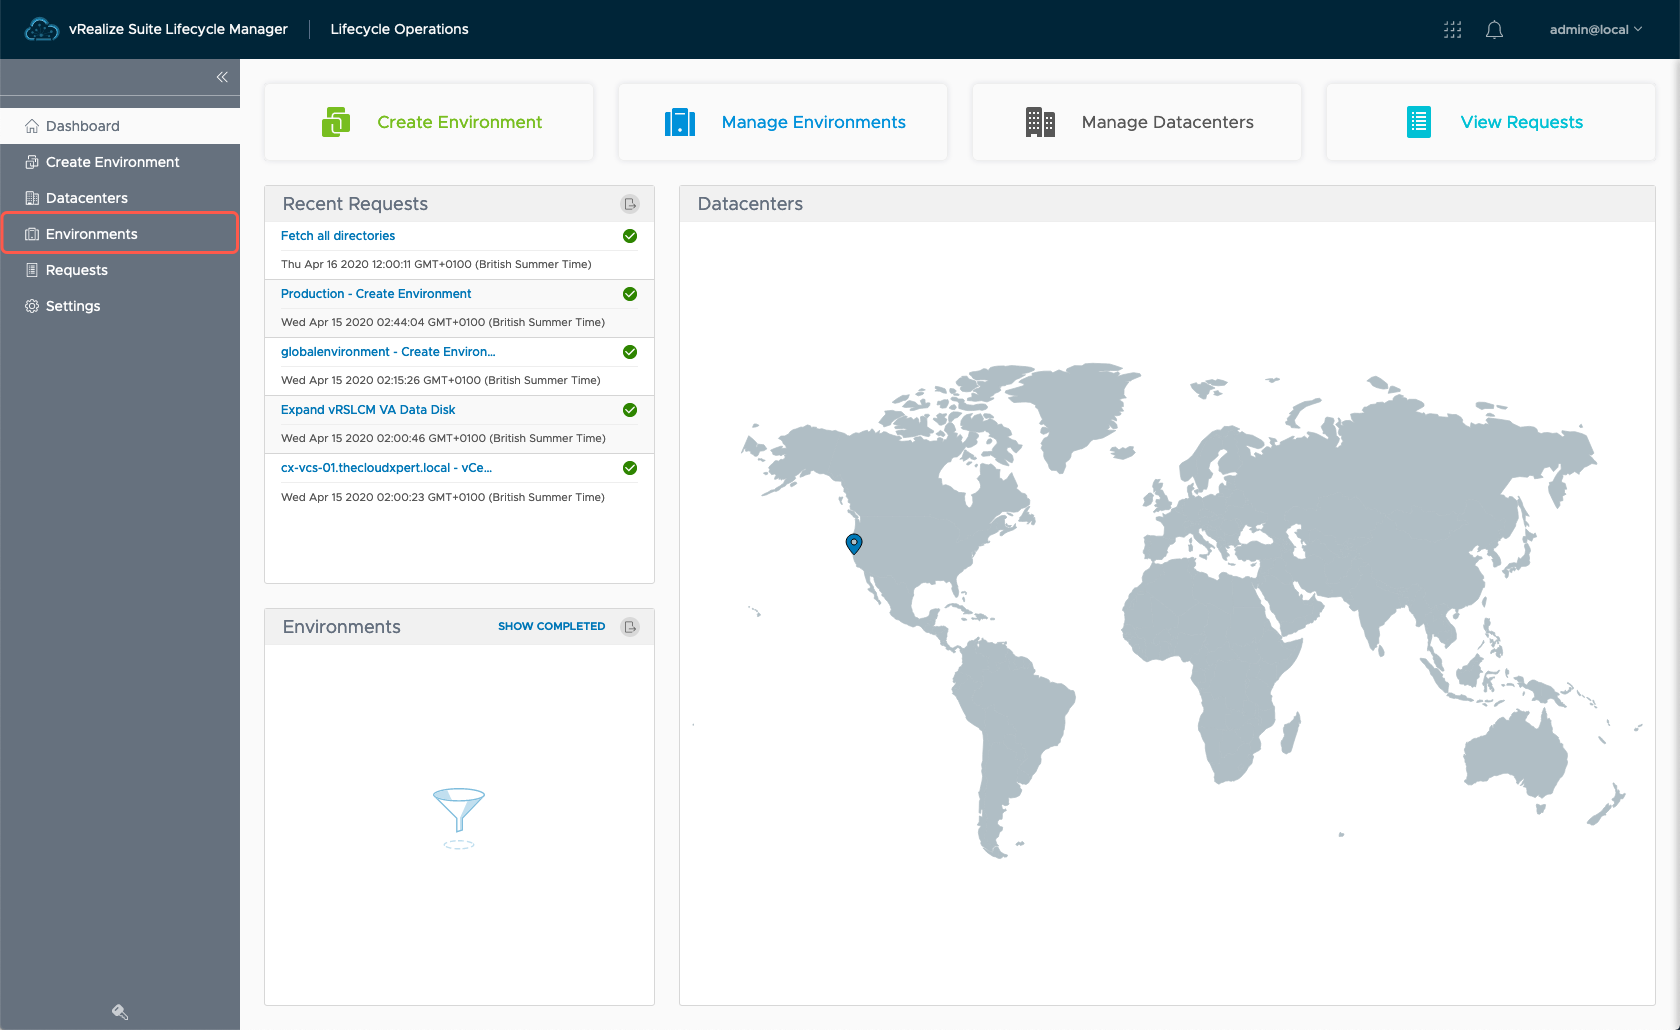
- From the vRSLCM homepage, click Lifecycle Operations.
- Click Environments.
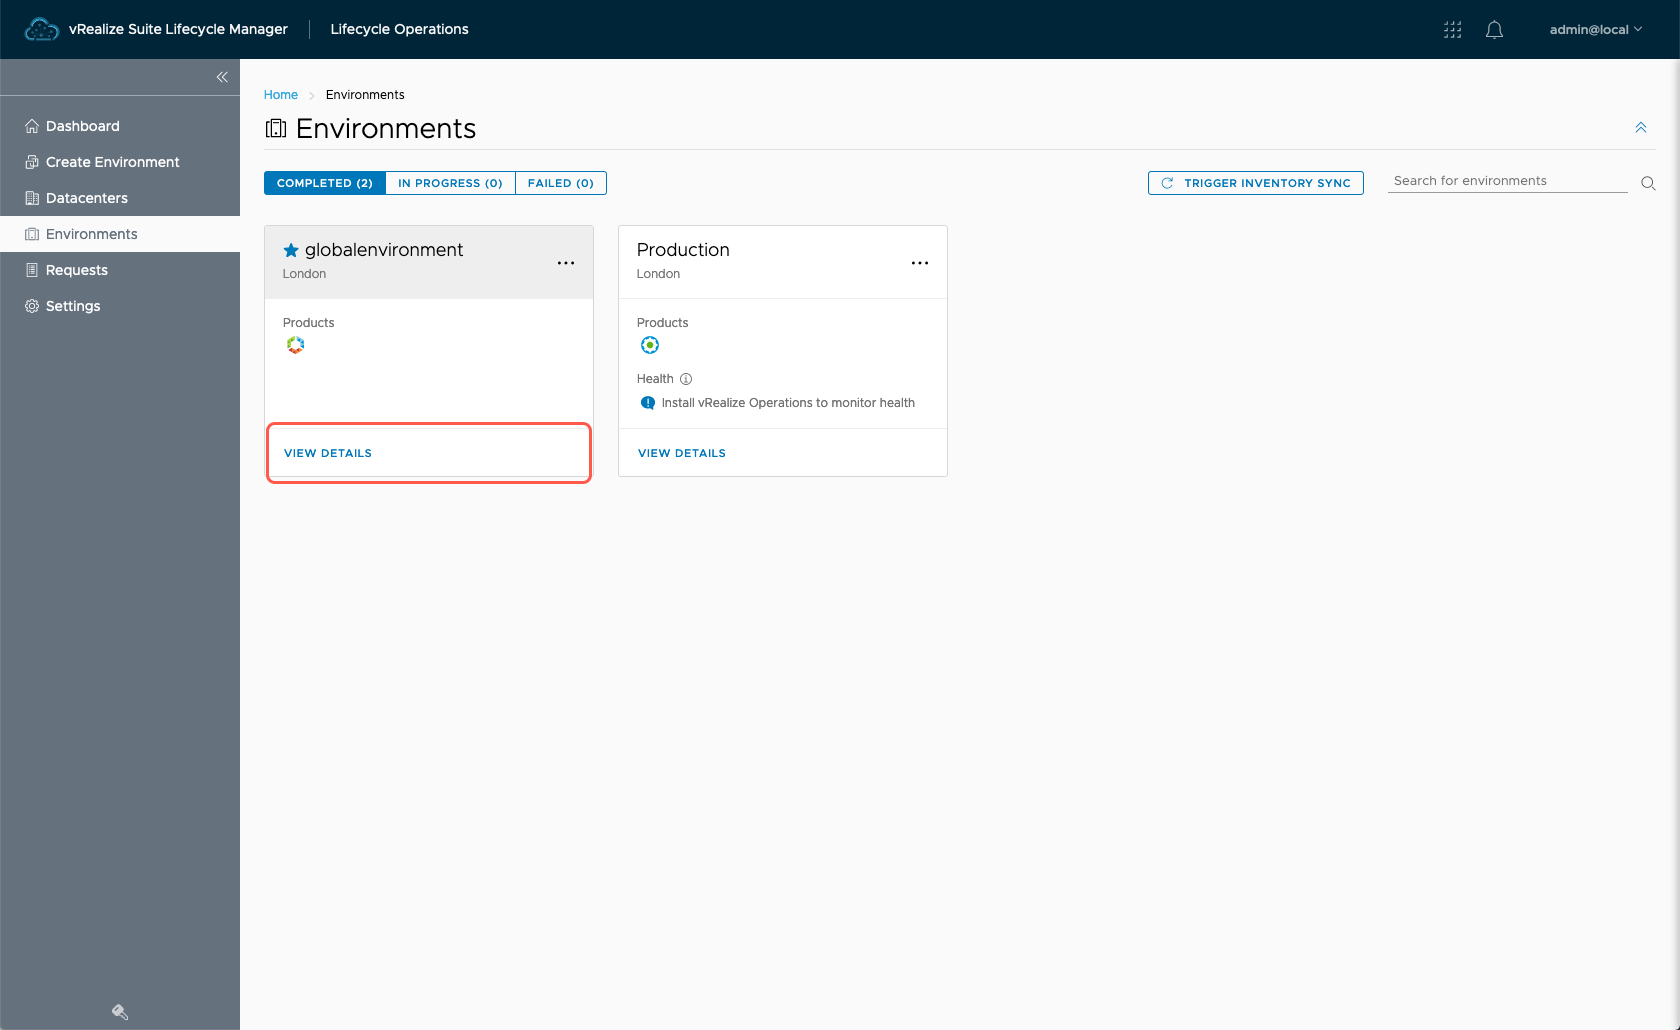
- Identify the target vRA Environment and click View Details.
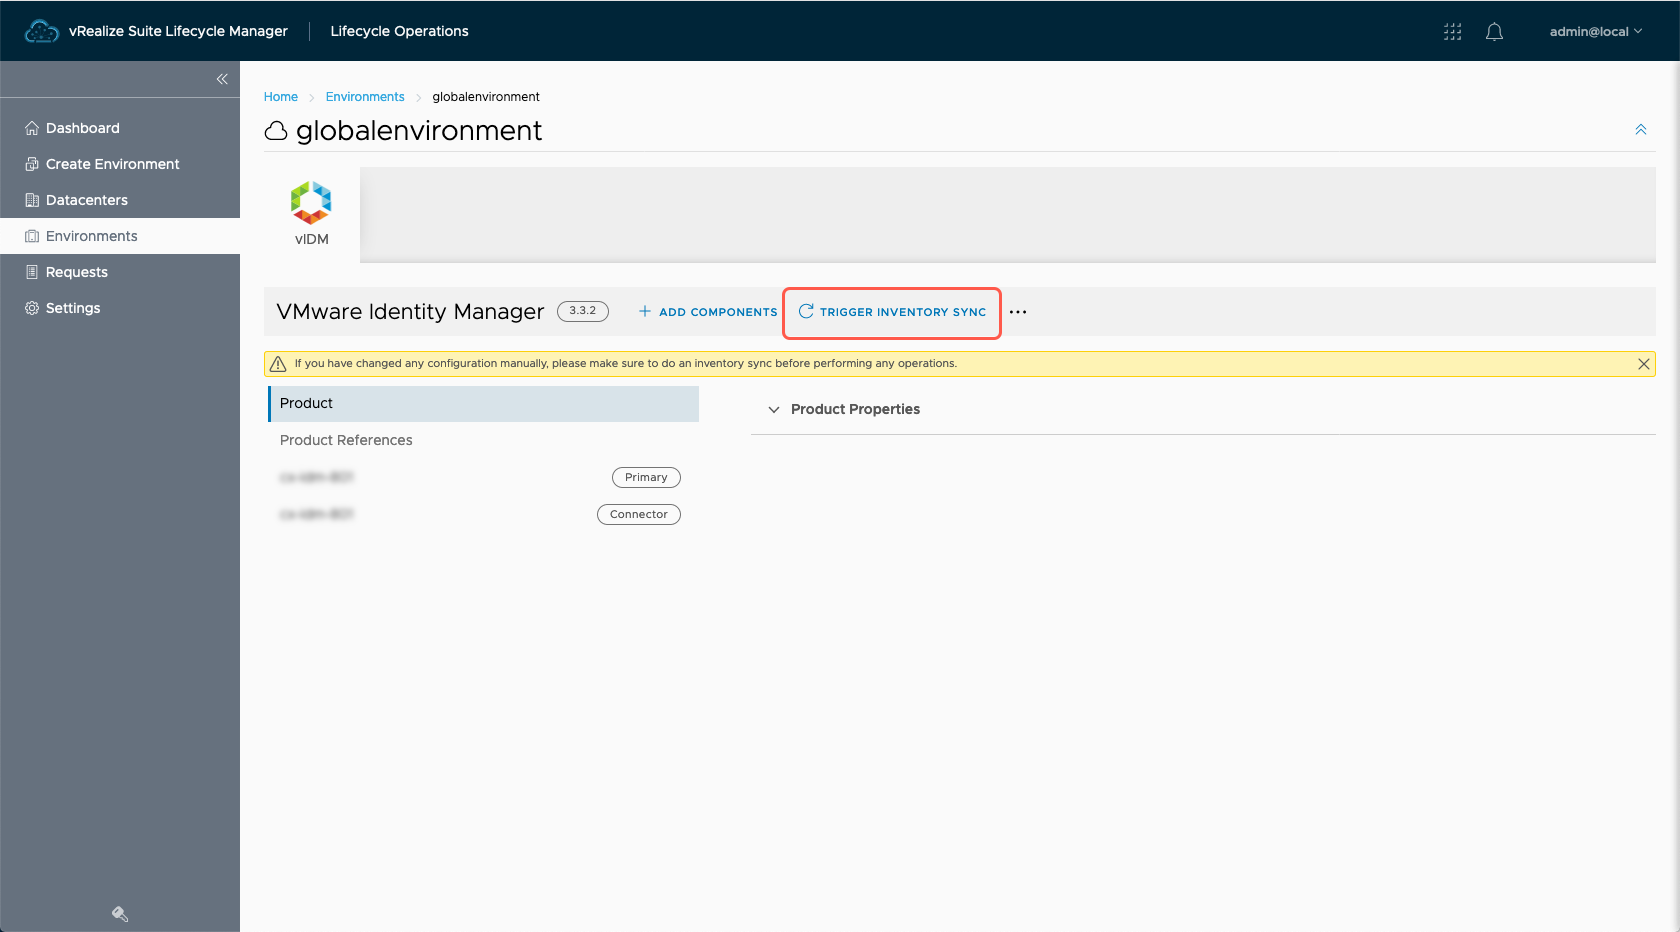
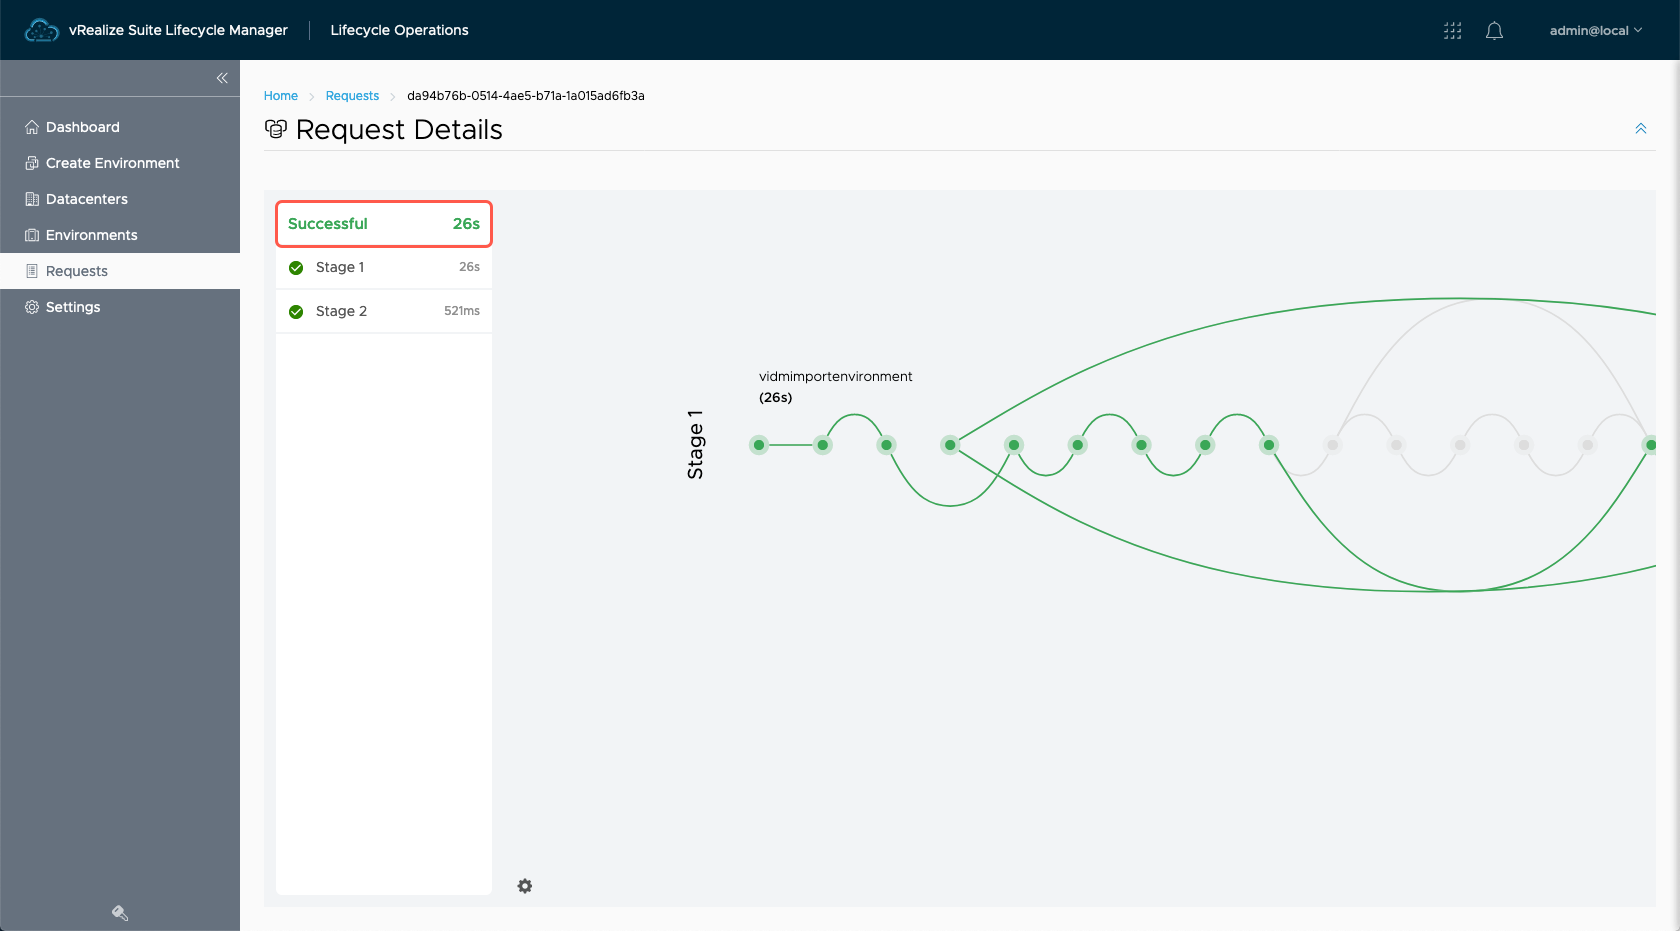
- Click Trigger Inventory Sync.
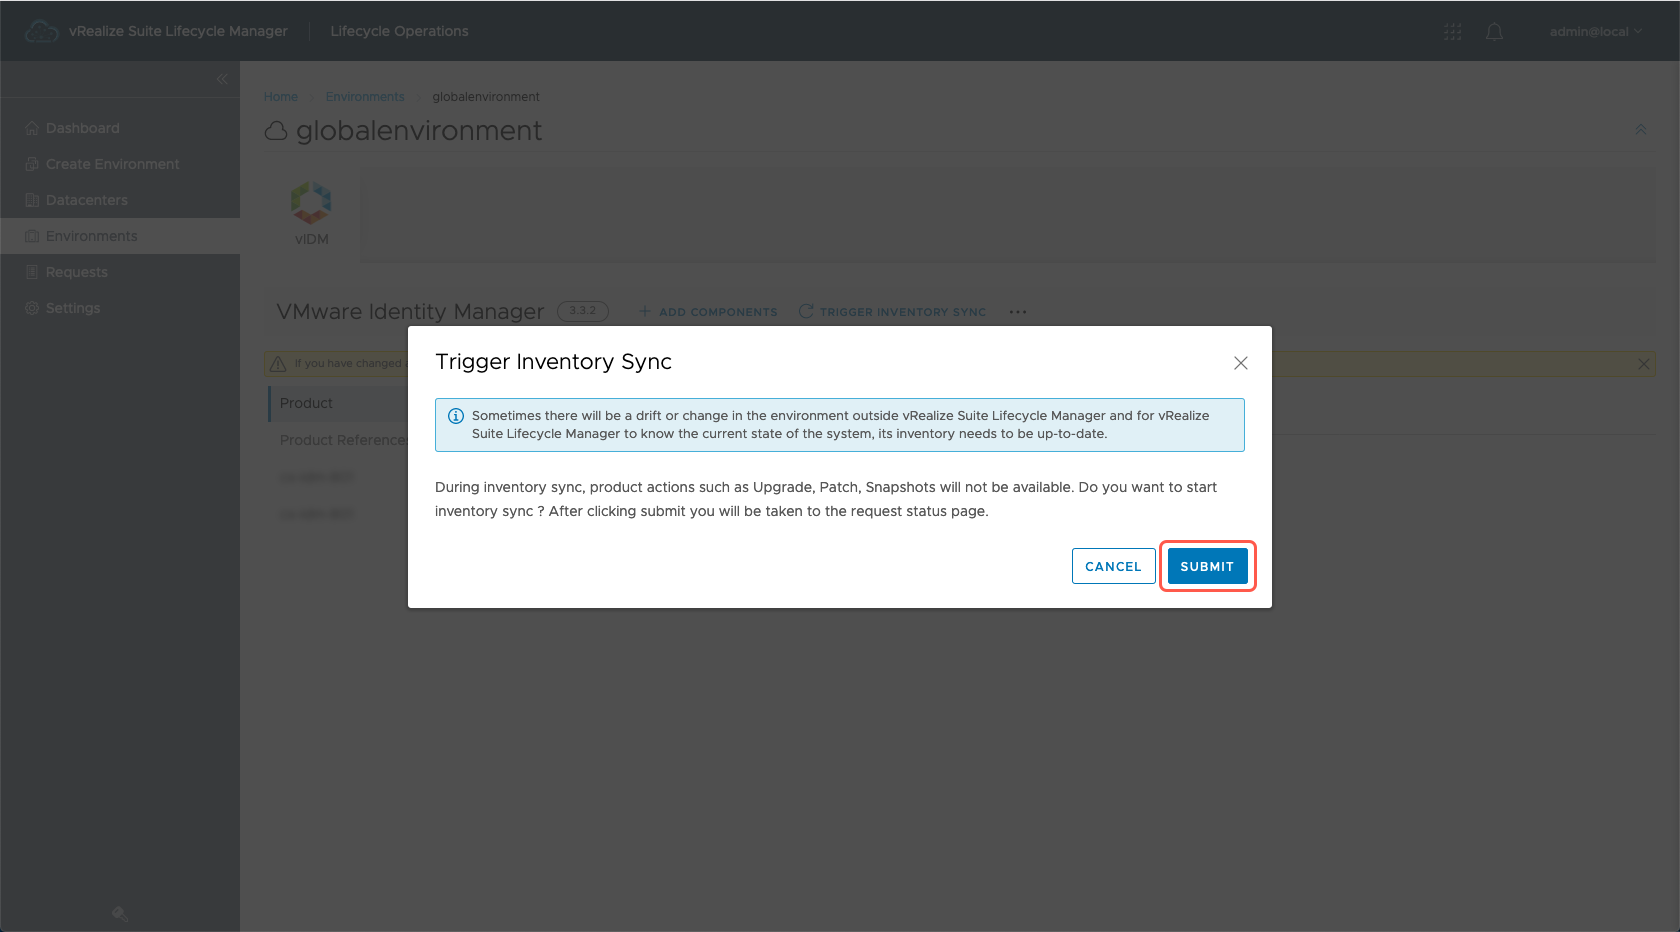
- At the Trigger Inventory Sync dialog, click Submit.
- Once this request completes successfully, follow Step 1 - Step 3 to get back to the Enviroinment Details view.
- Click … (next to the Trigger Inventory Sync link).
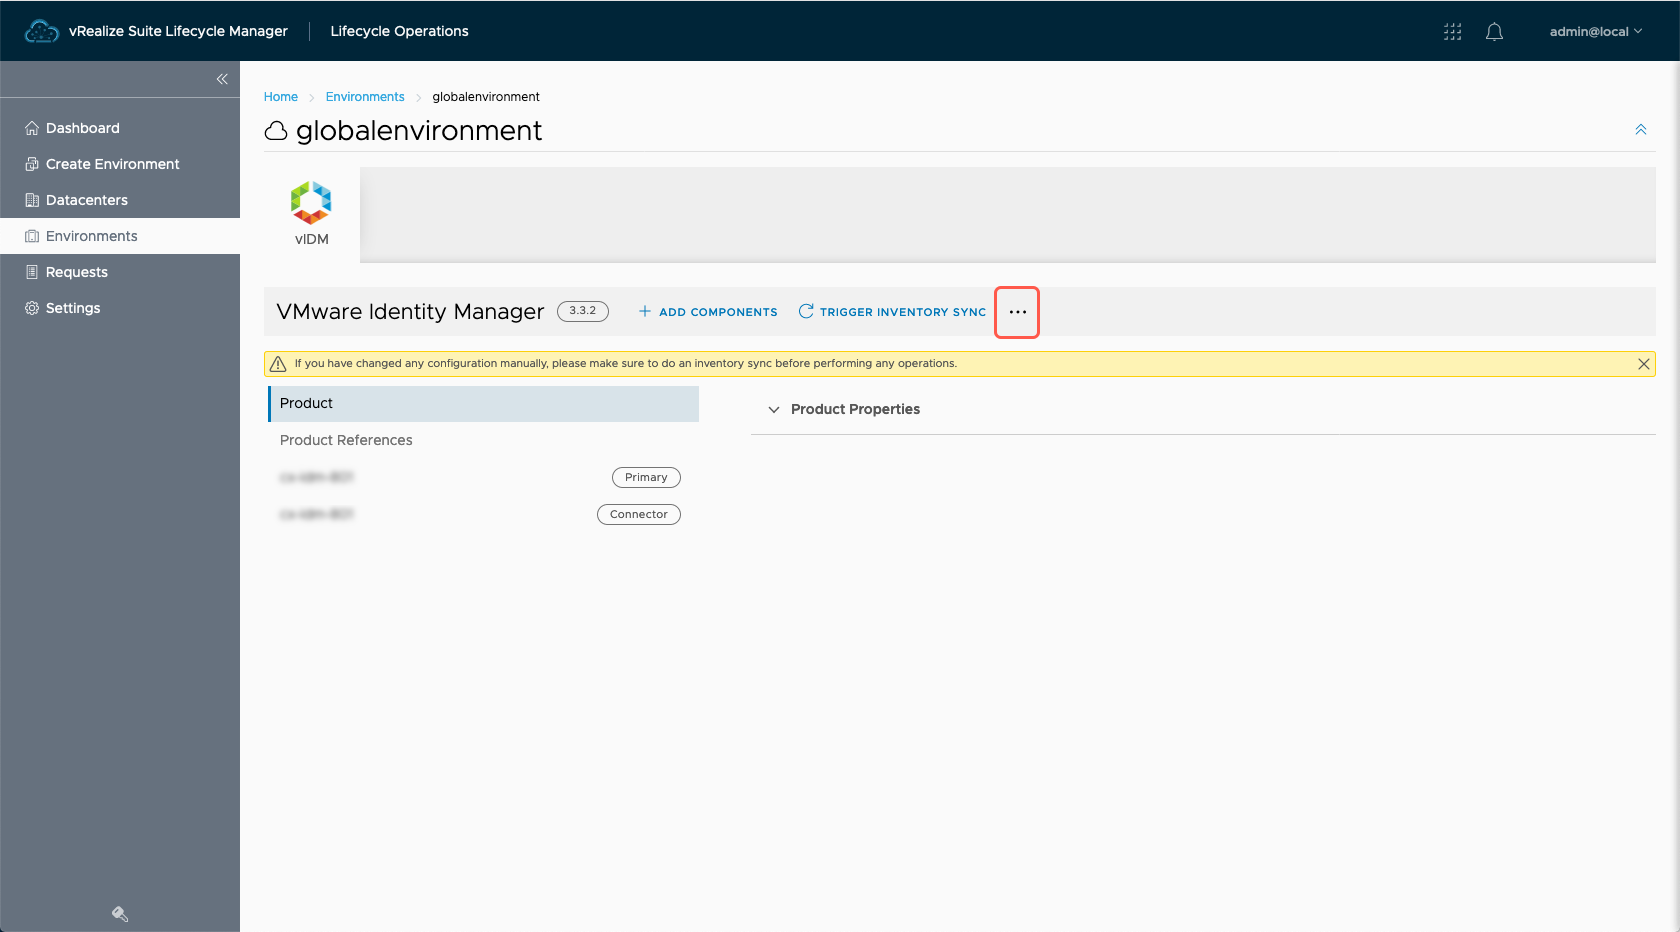
- Click Replace Certificate.

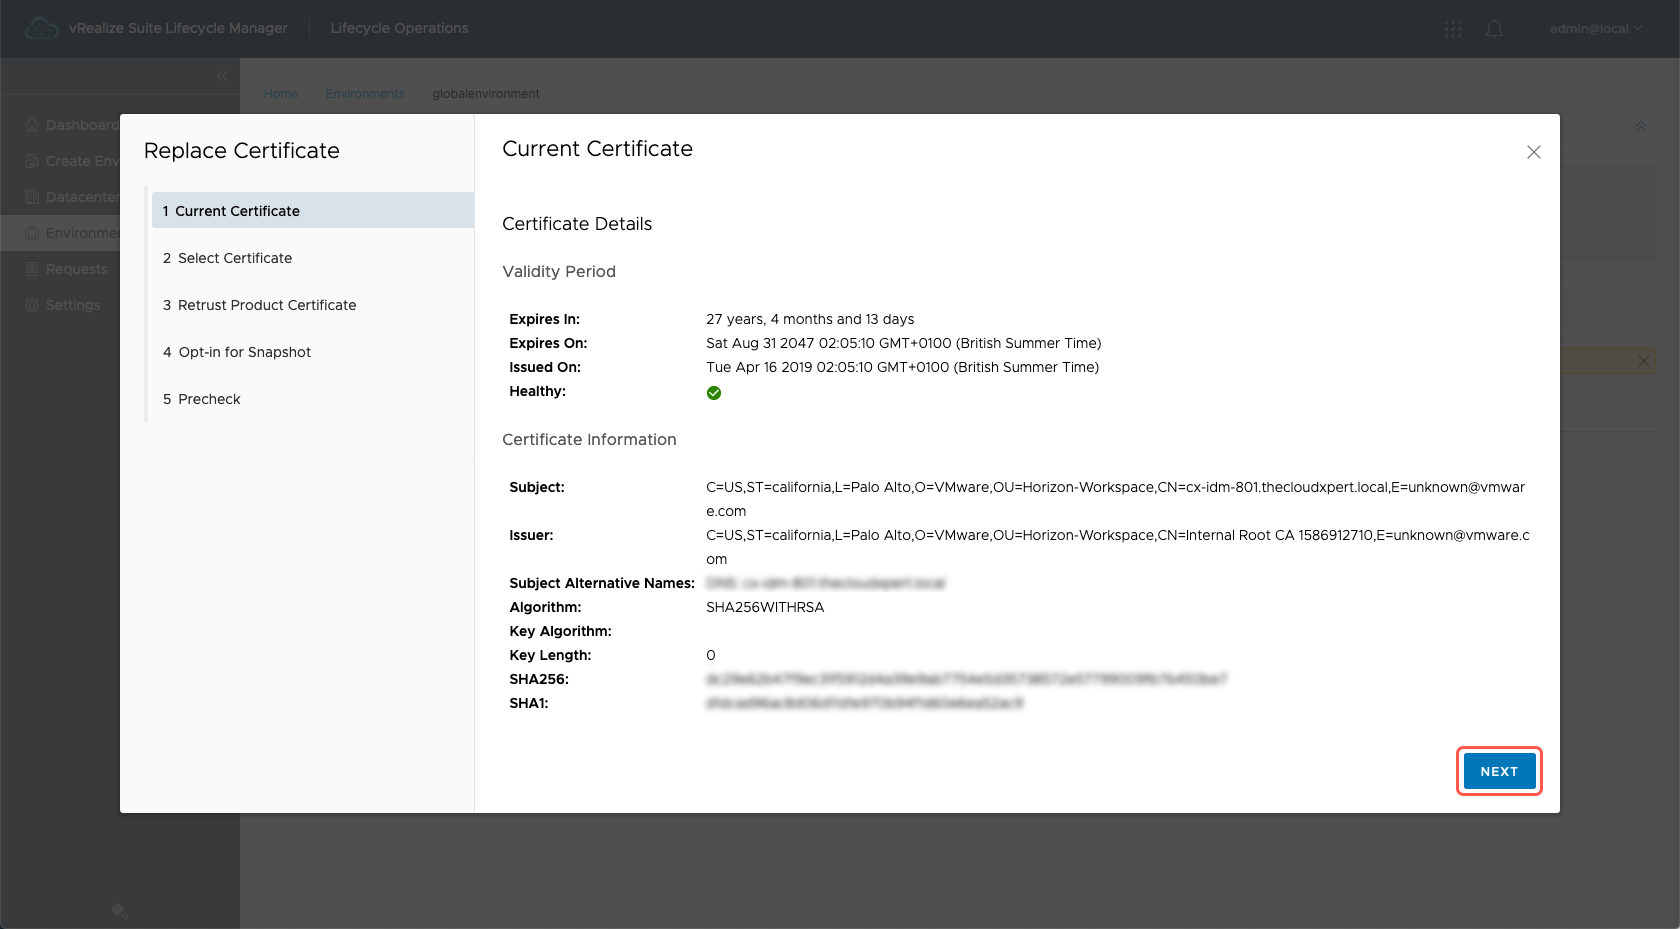
- At the Replace Certificate | Current Certificate dialog, click Next.
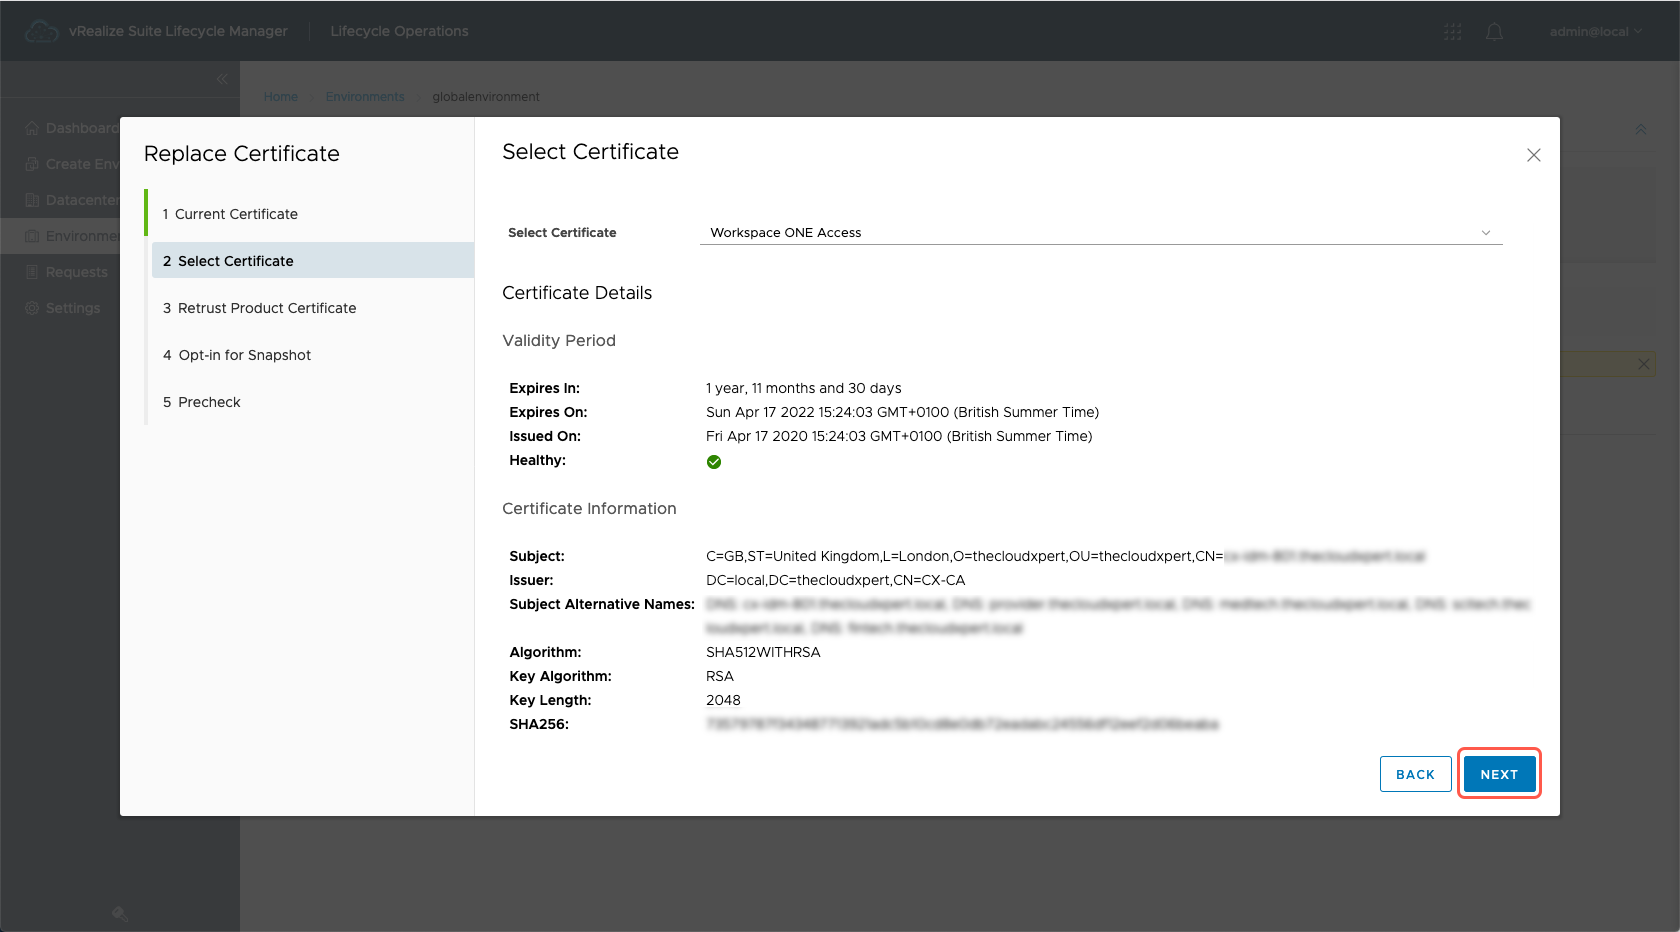
- At the Replace Certificate | Select Certificate dialog, select the WOrkspace ONE Access certificate from the Select Certificate dropdown.
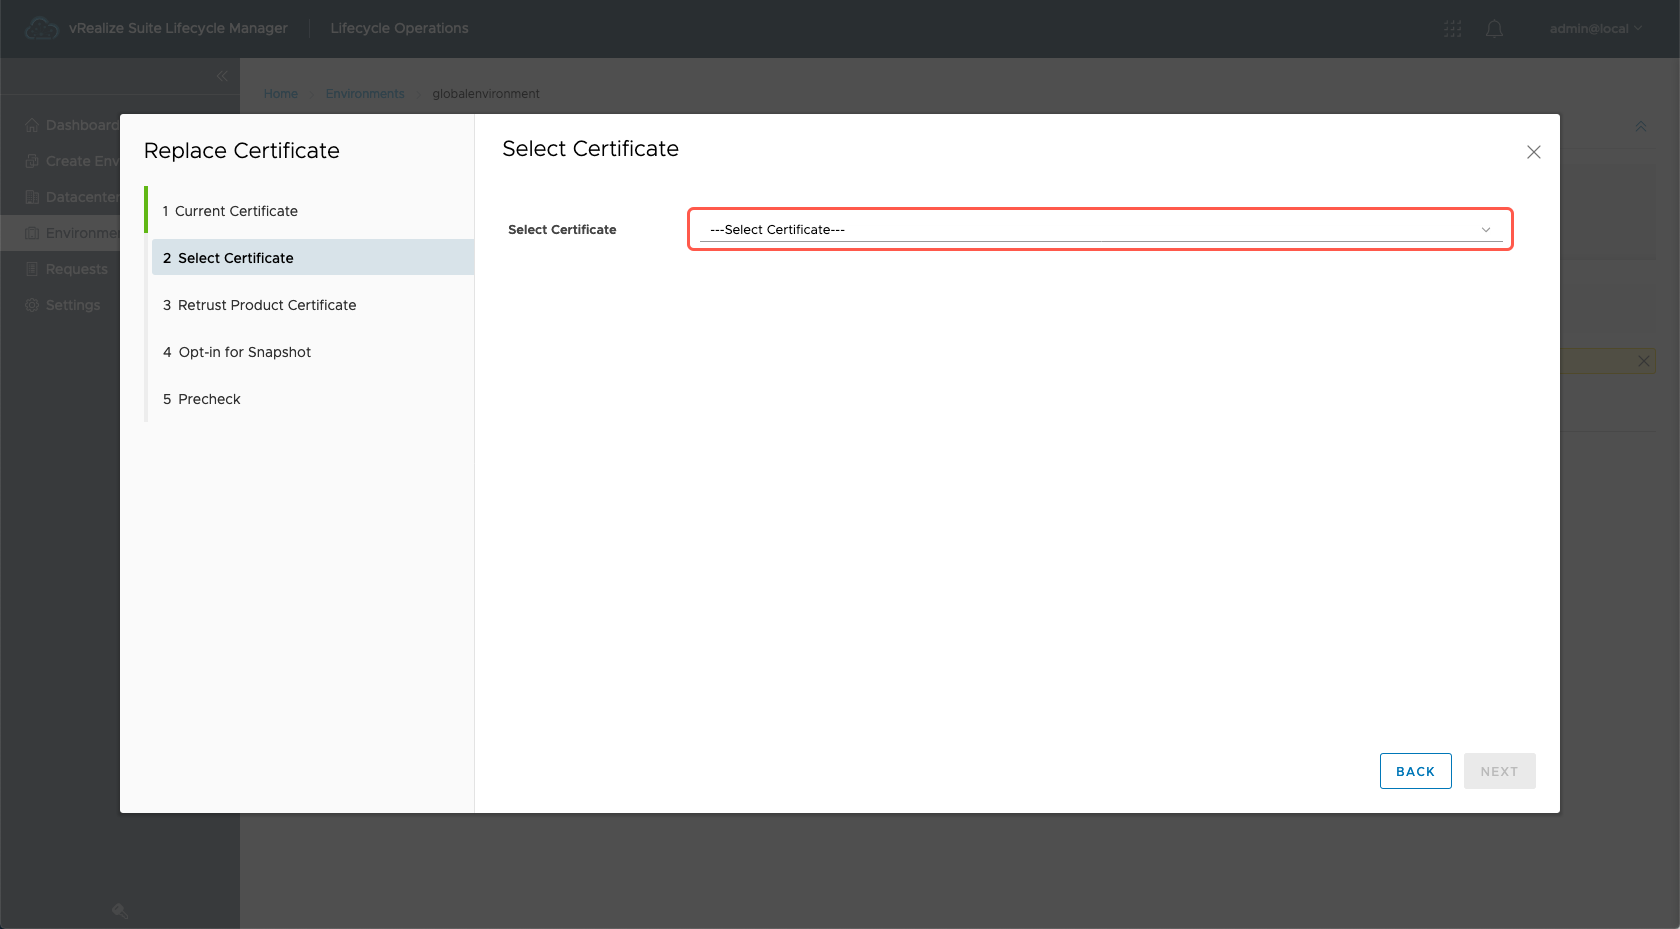
- At the Replace Certificate | Select Certificate dialog, Click Next.
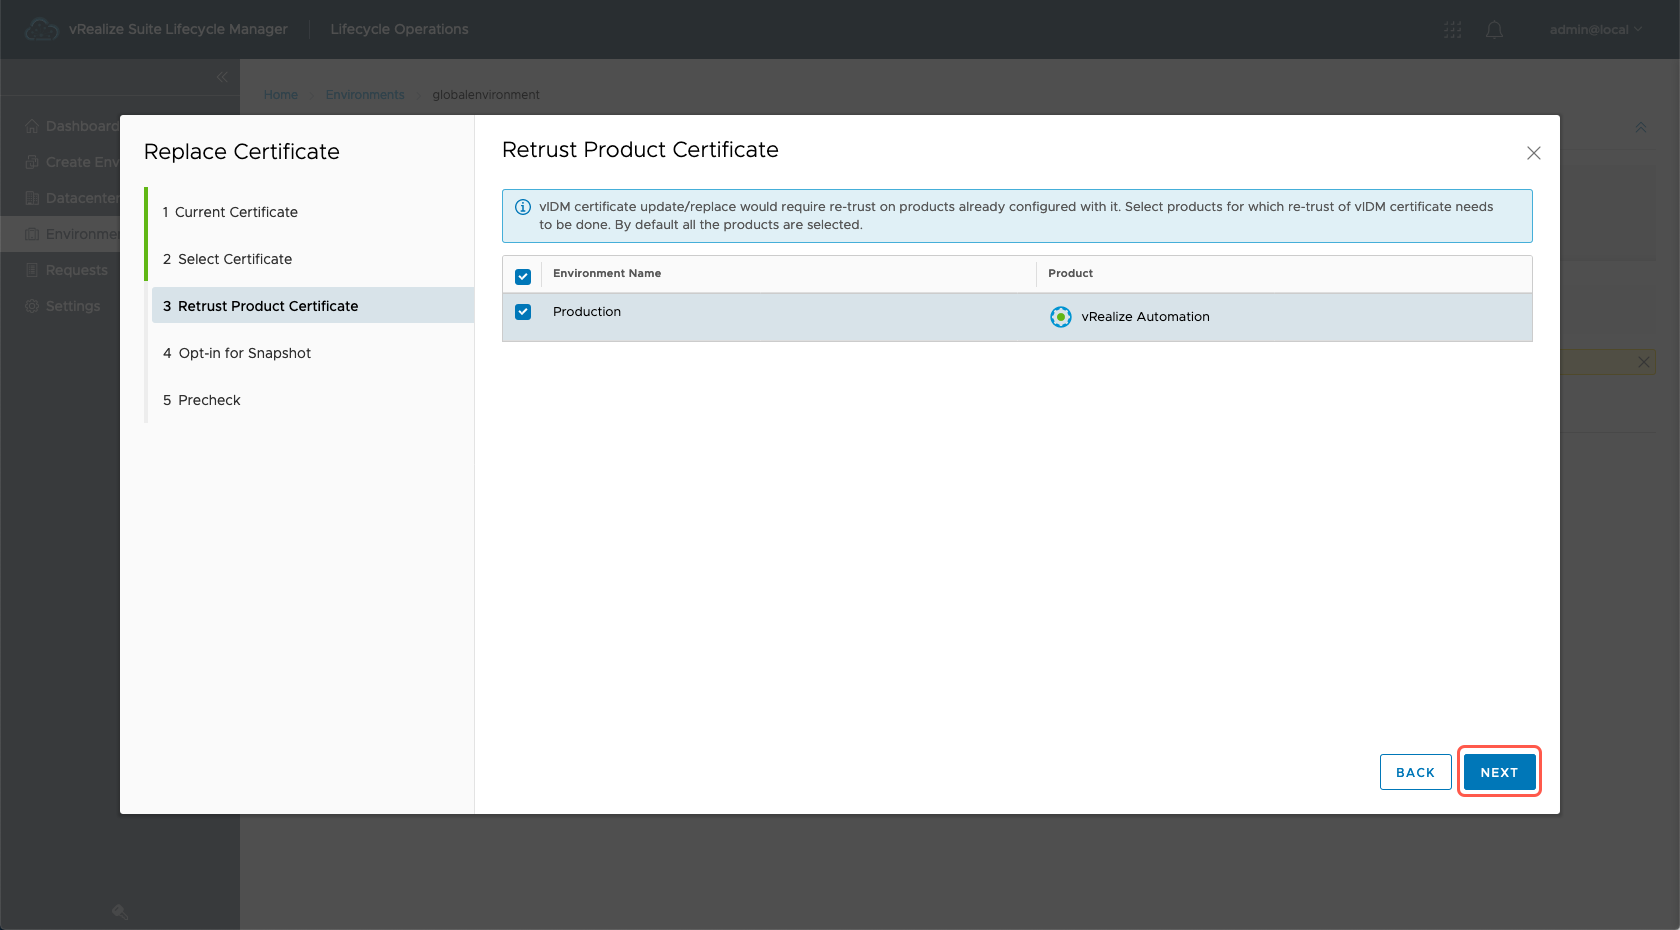
- At the Replace Certificate | Retrust Product Certificate dialog, click Next.
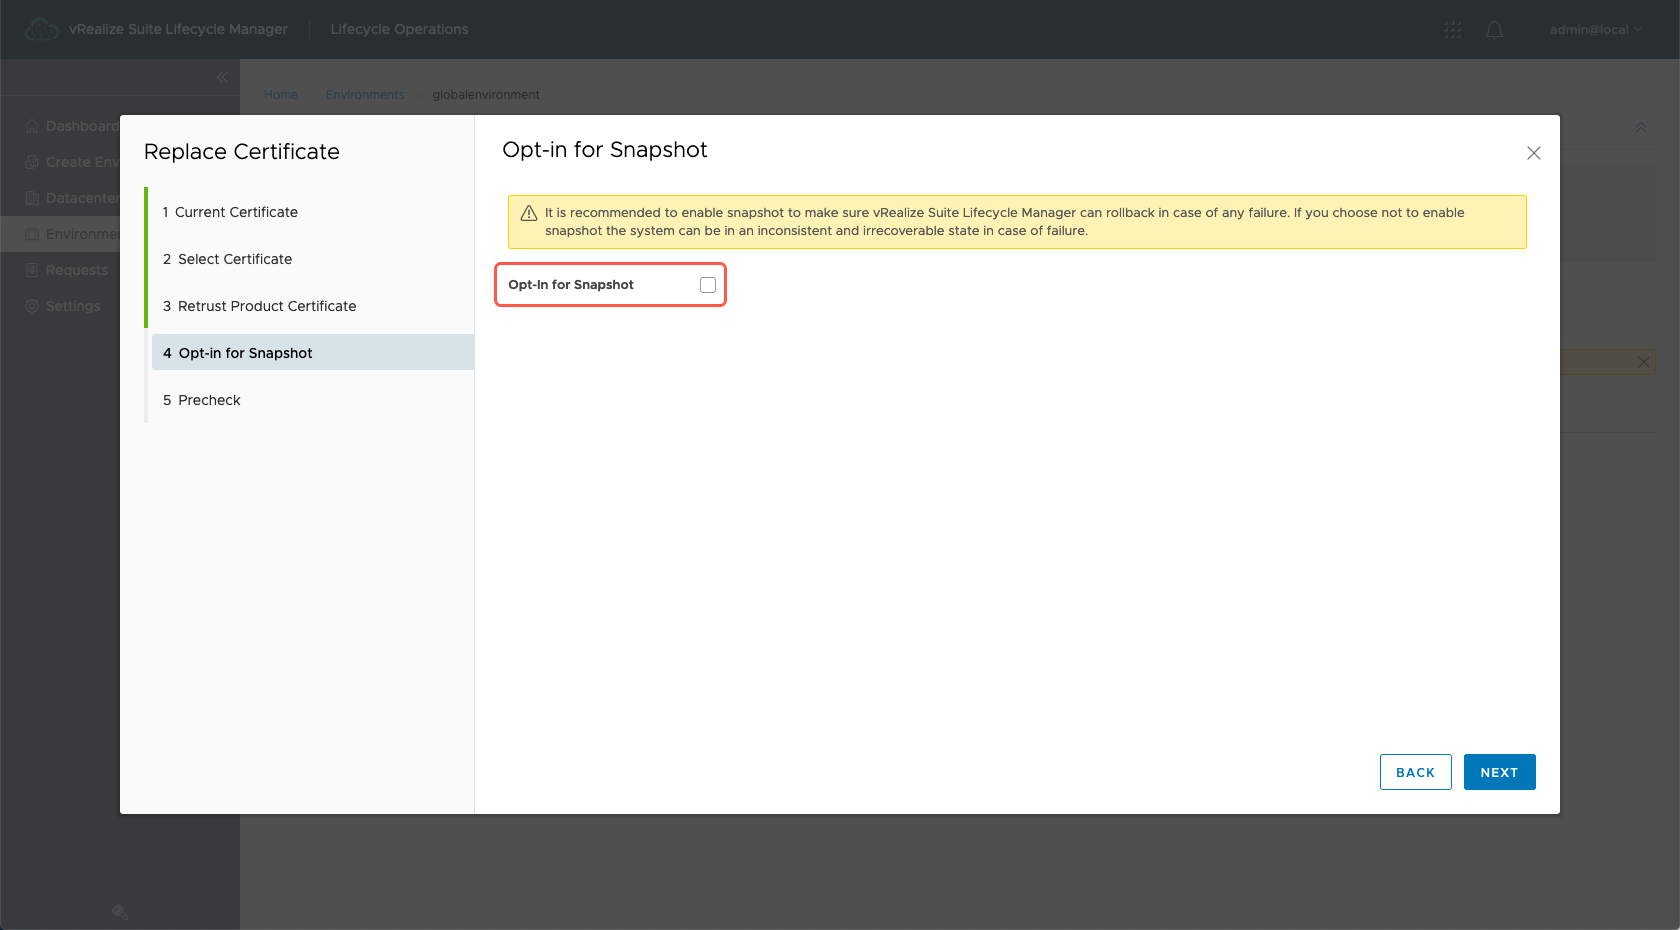
- At the Replace Certificate | Opt-in for Snapshot dialog, check the Opt-in for Snapshot checkbox.
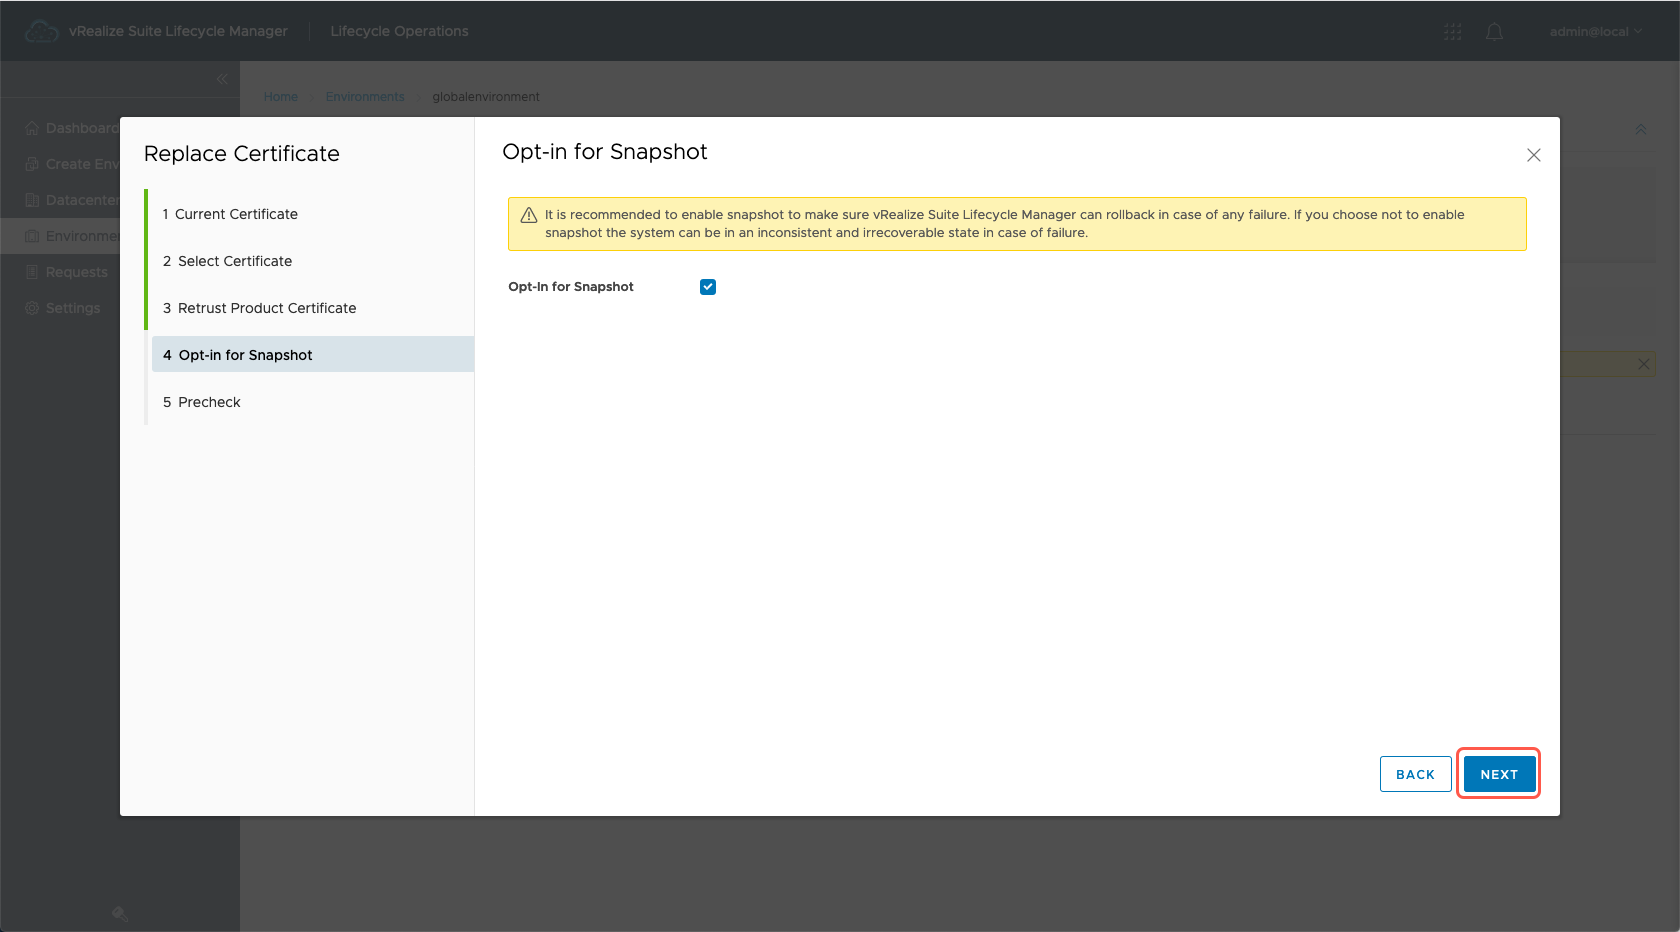
- At the Replace Certificate | Opt-in for Snapshot dialog, click Next.
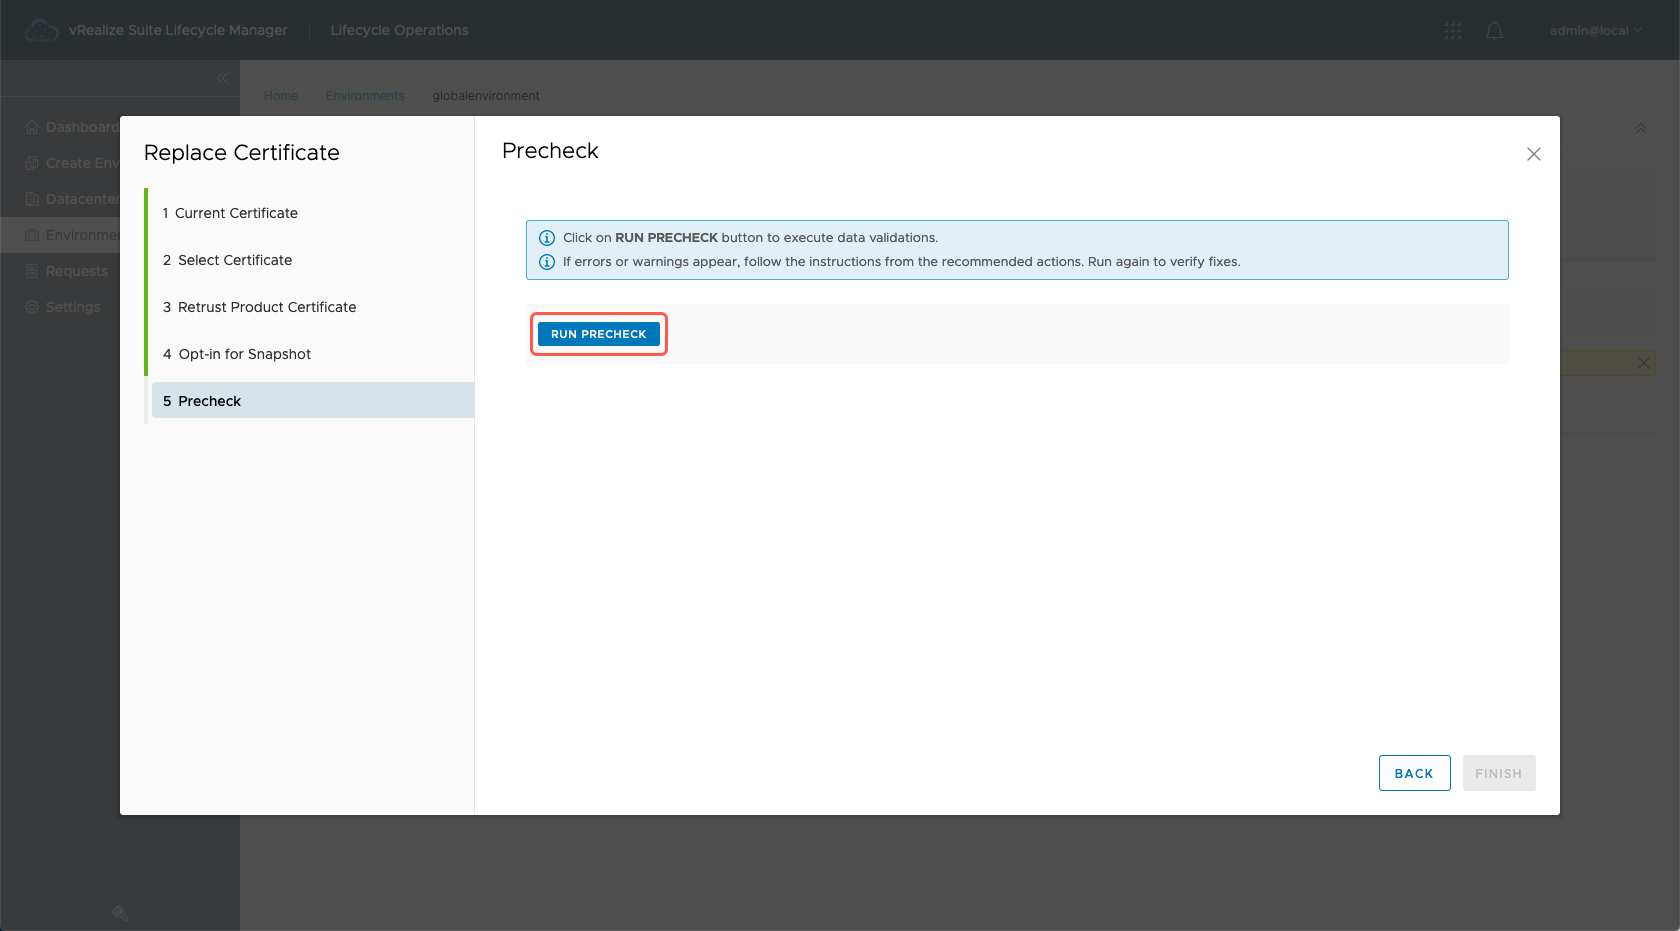
- At the Replace Certificate - Precheck Dialog, click on the Run PreCheck.
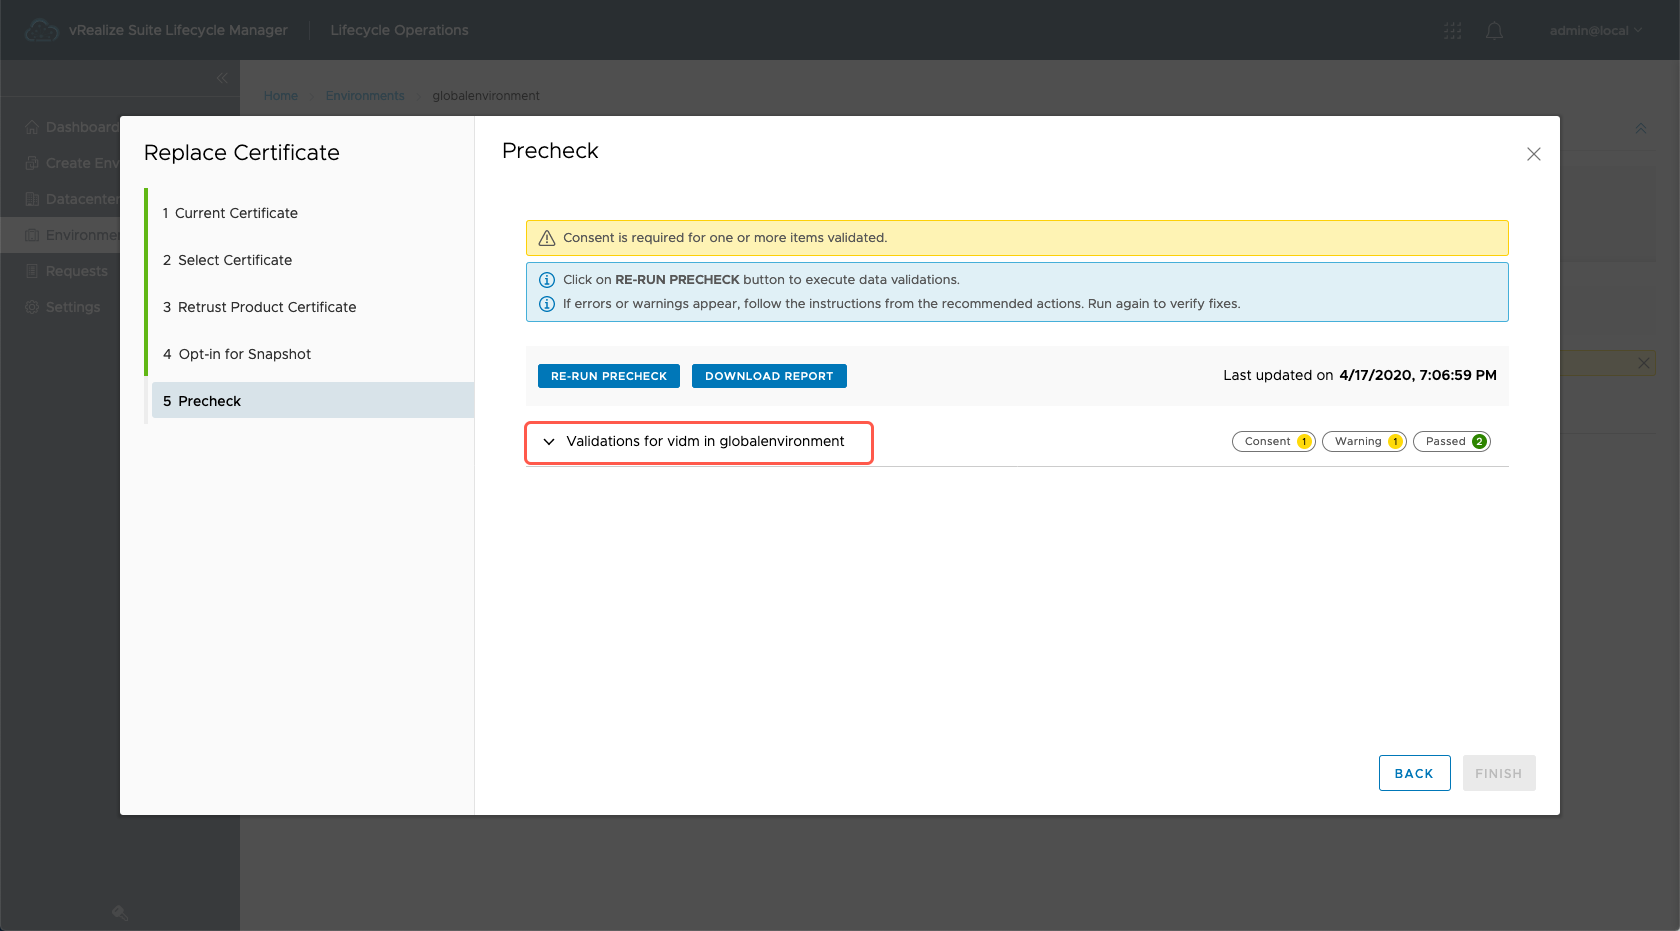
- At the Replace Certificate - Precheck Dialog, click on the validation for vidm in globalenvironment accordian to expand it.
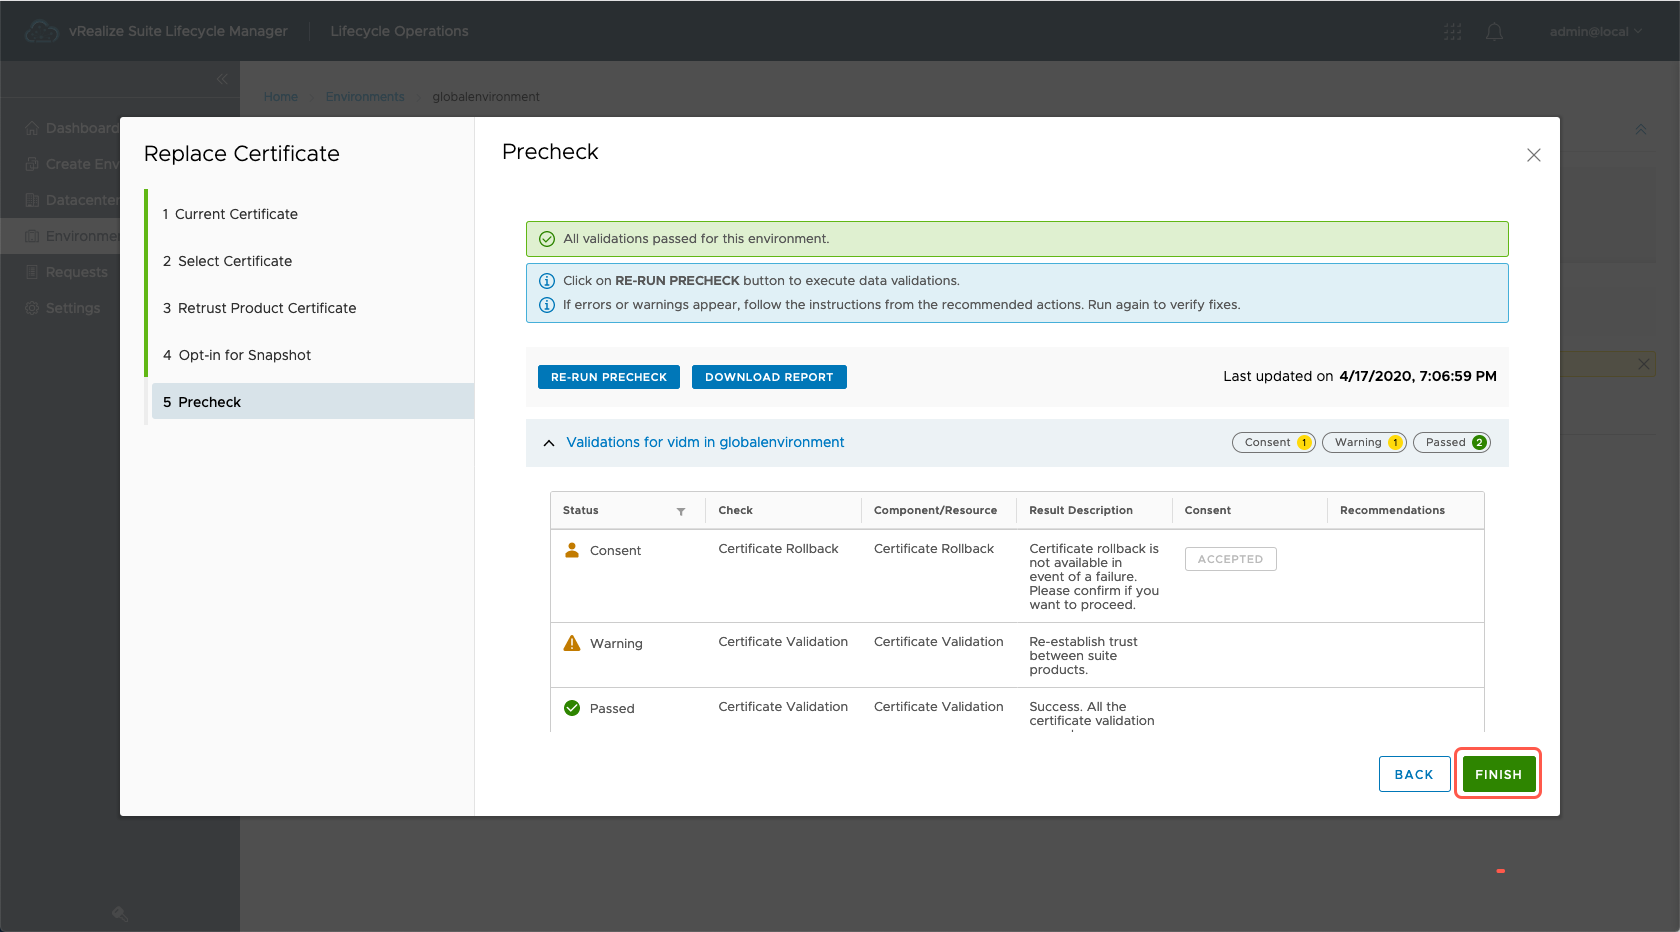
- At the Replace Certificate - Precheck Dialog, at Consent, click Accept.

- At the Replace Certificate - Precheck Dialog, click Finish.
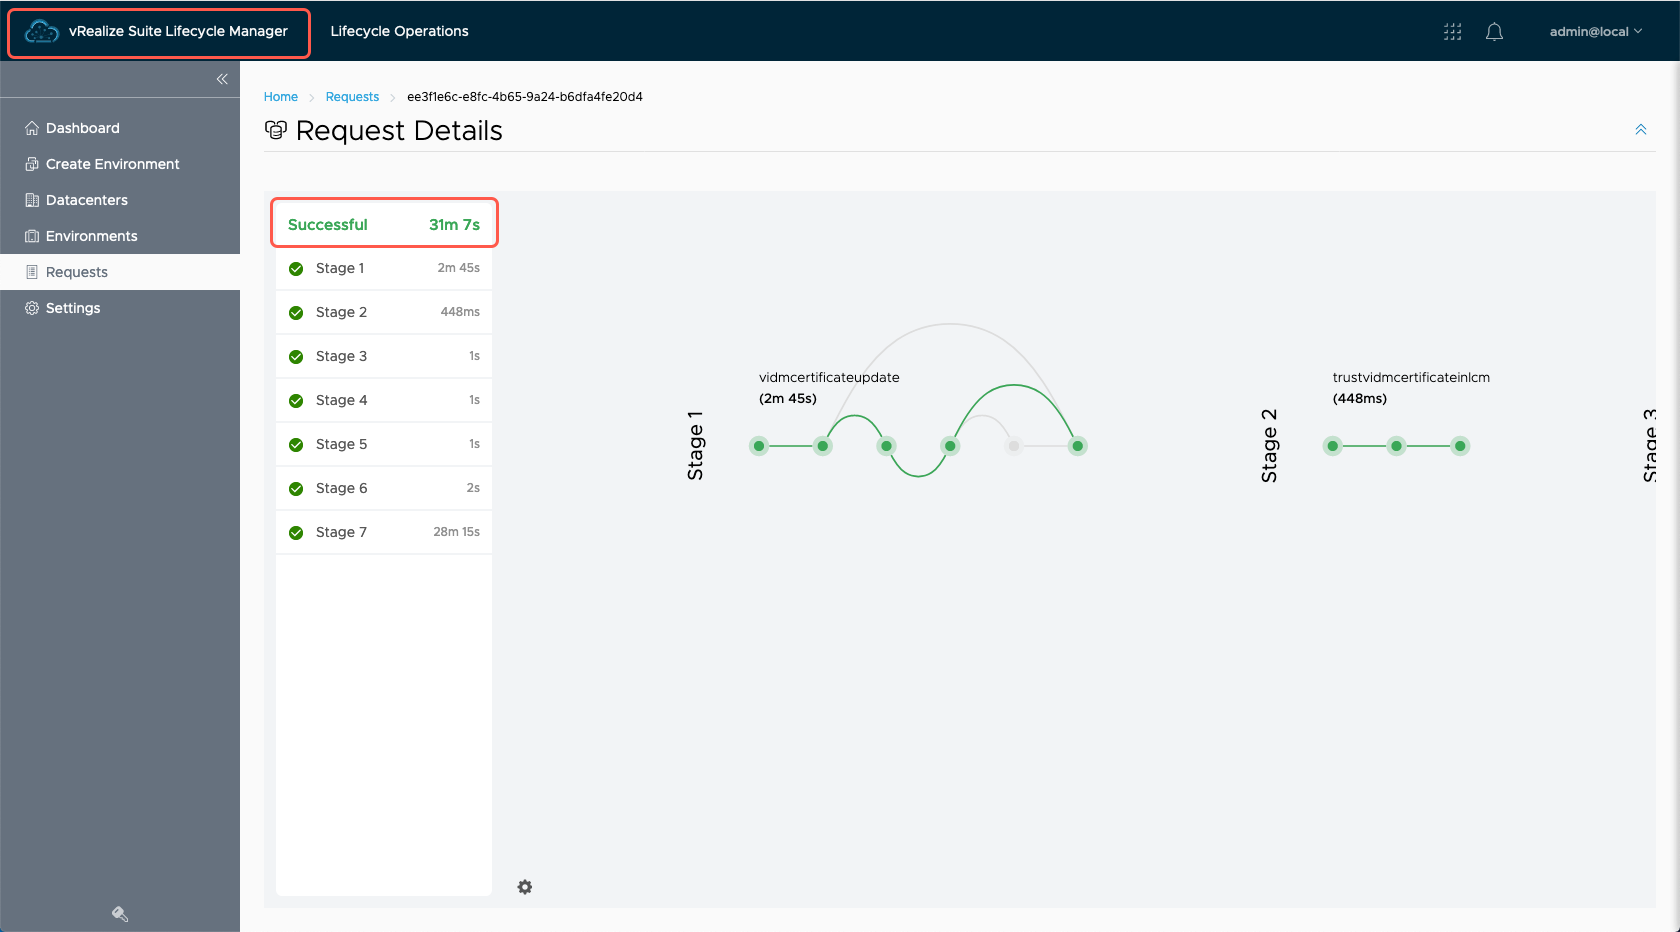
- Wait for the process to complete and then click on vRealize Suite Lifecycle Manager to return to the homepage.
We are now ready to actually enable Multi-Organization Tenancy, so lets get to it!
Enable Multi-Organization Tenancy
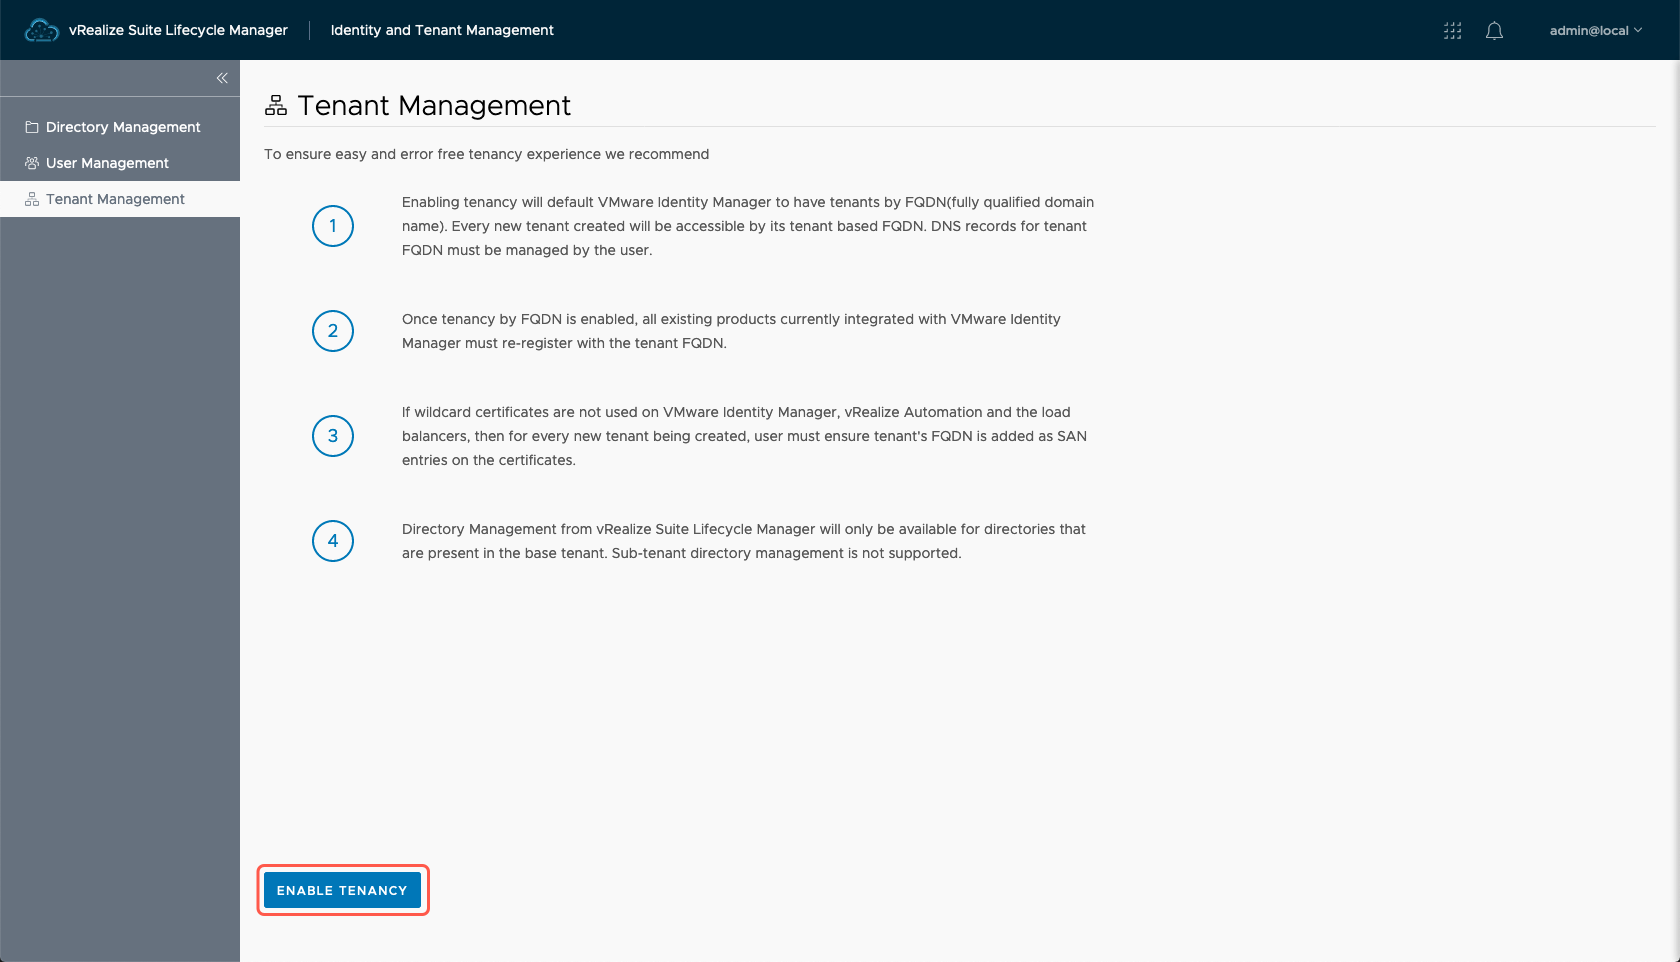
You enable multi-tenancy through the newly renamed Identity and Tenant Management section of vRSLCM homepage.
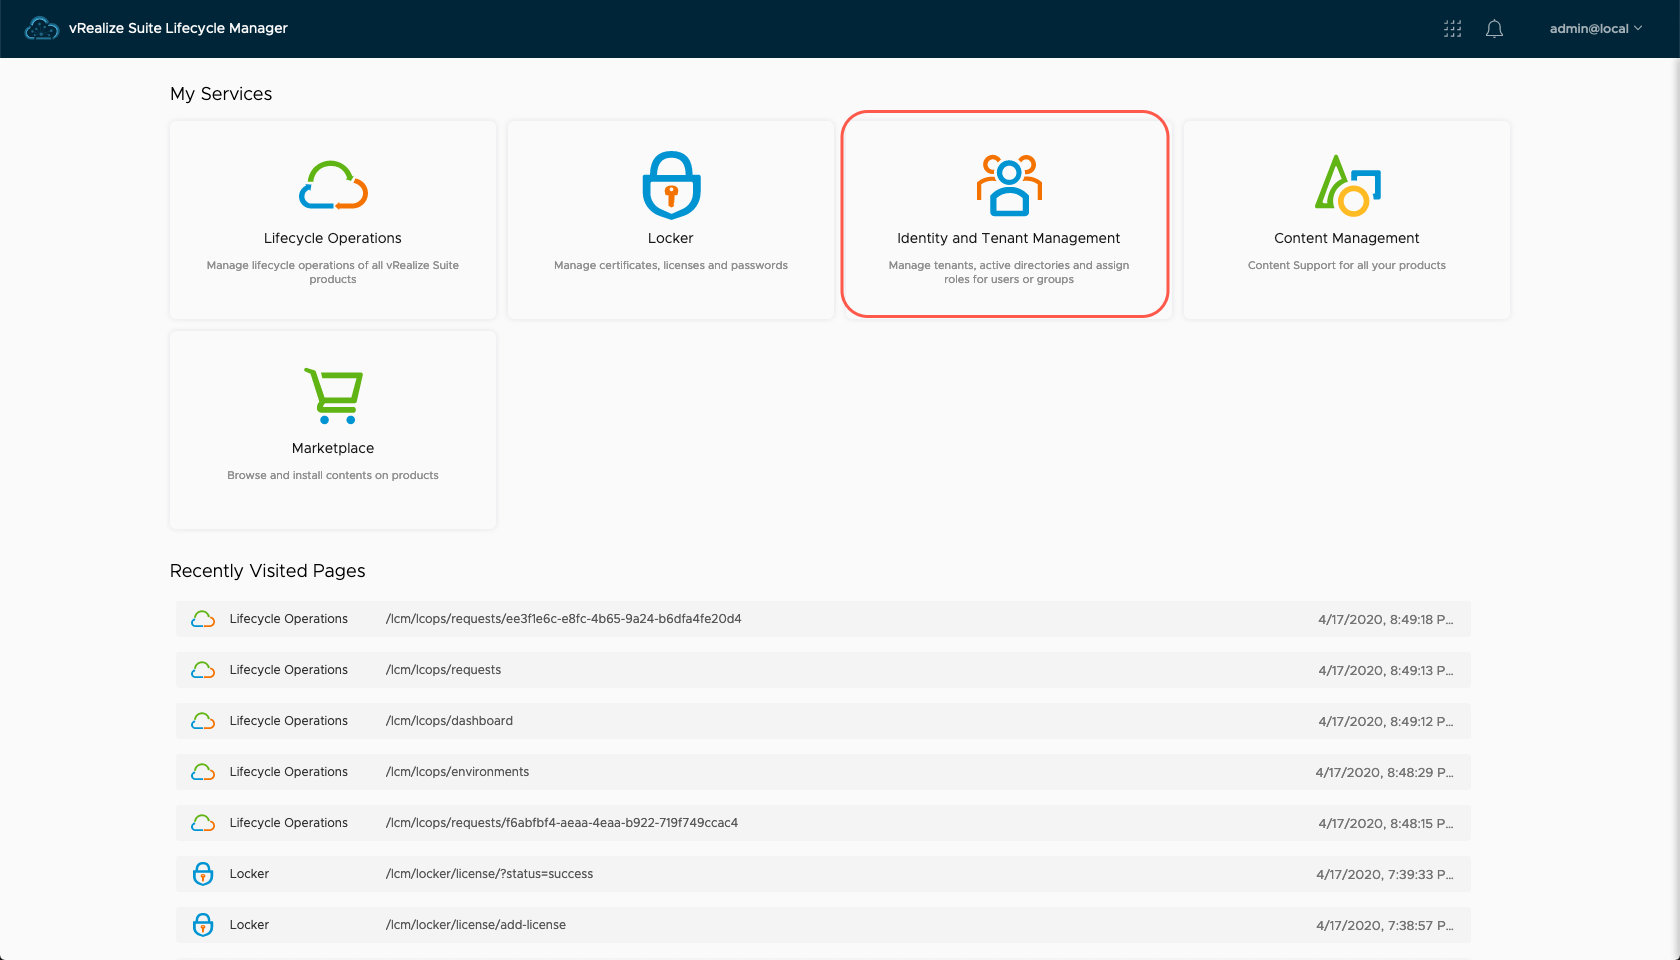
- From the vRSLCM homepage, click Identity and Tenant Management.
- Select Tenant Management.

- Click Enable Tenancy.
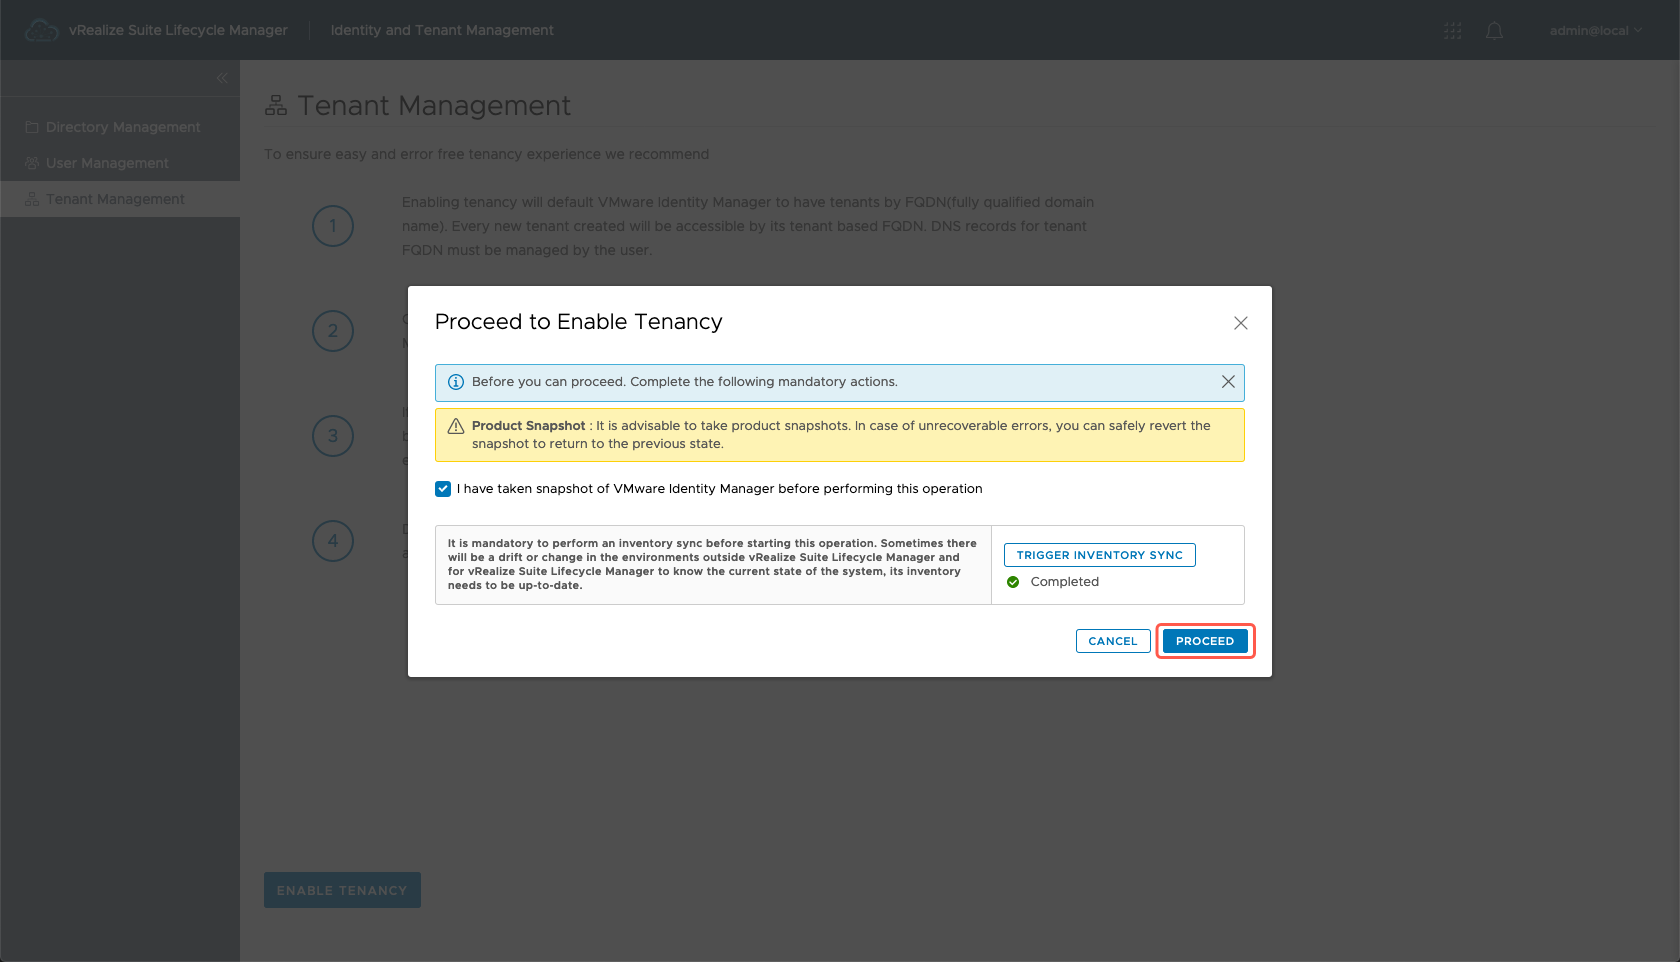
- Check the I have taken snapshot of VMware Identity Appliance Manager before performing this operation checkbox.
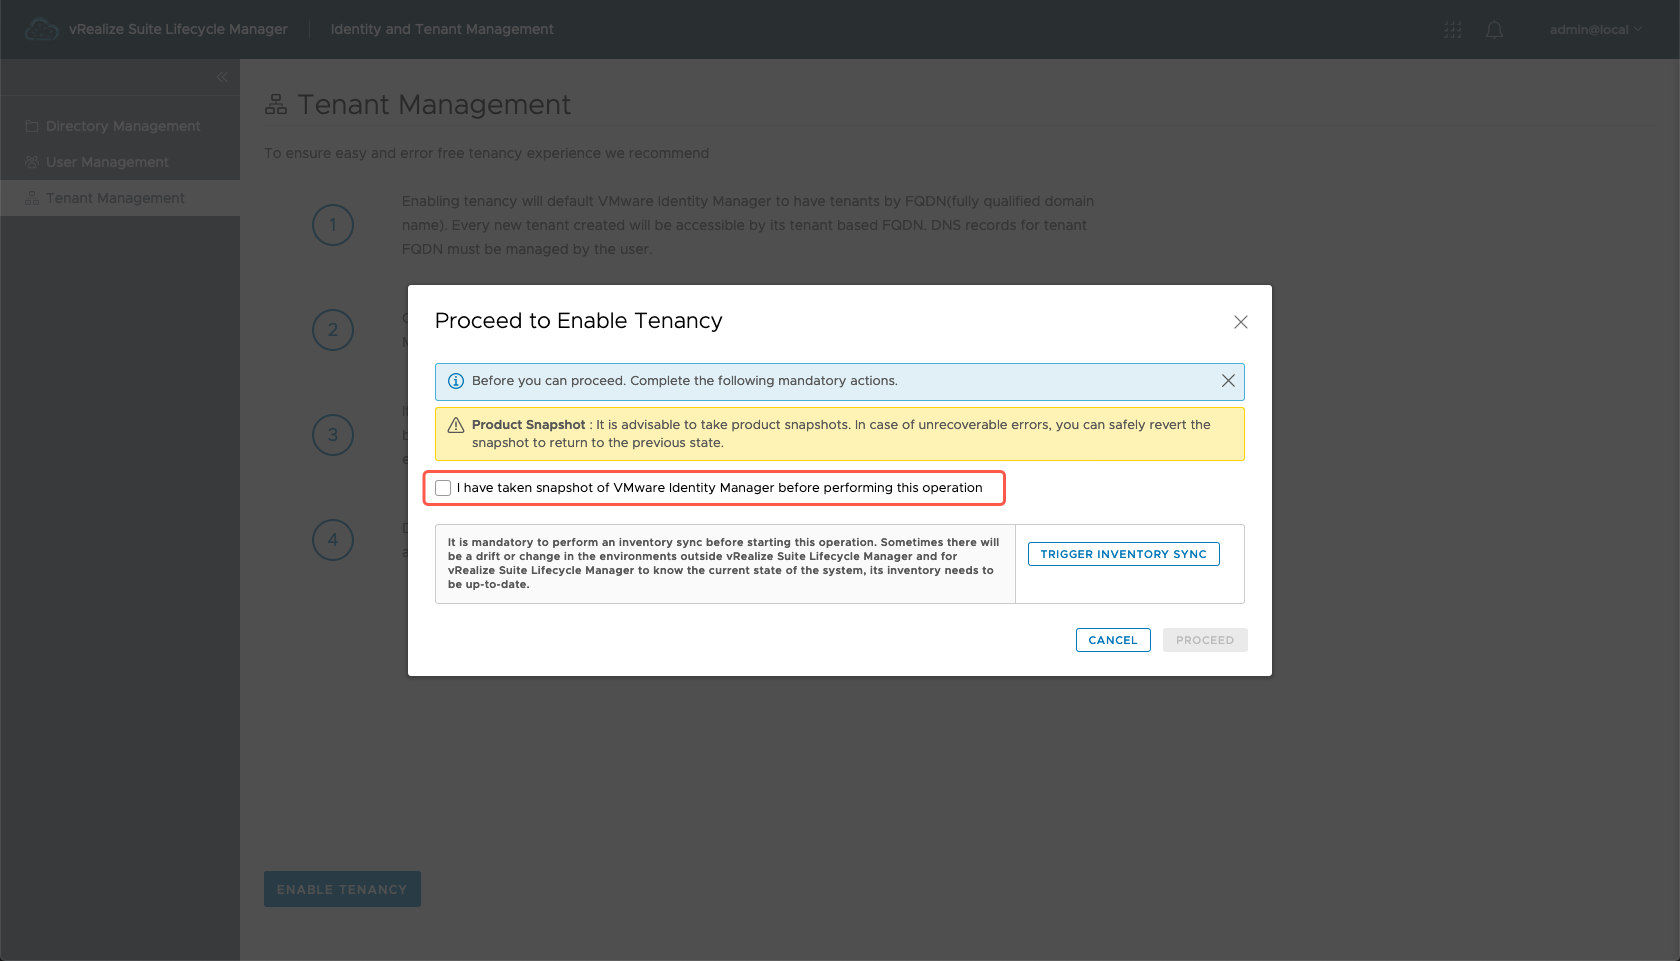
- Click Trigger Inventory Sync.
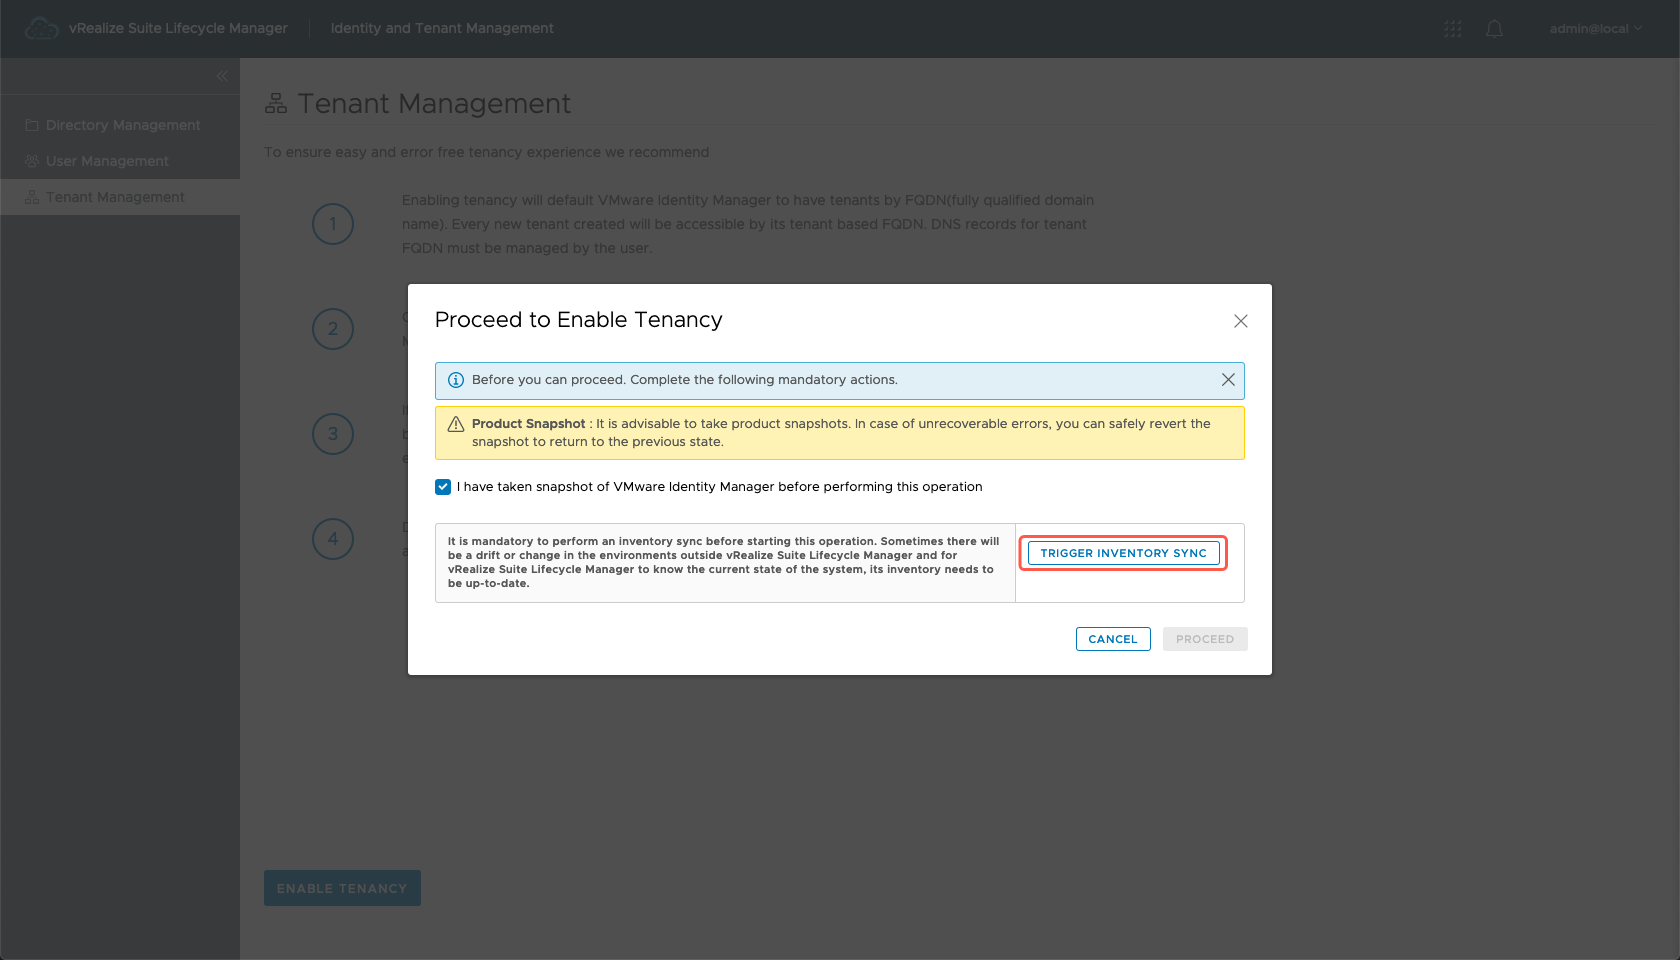
- Once the Inventory is synchronised, click Proceed.
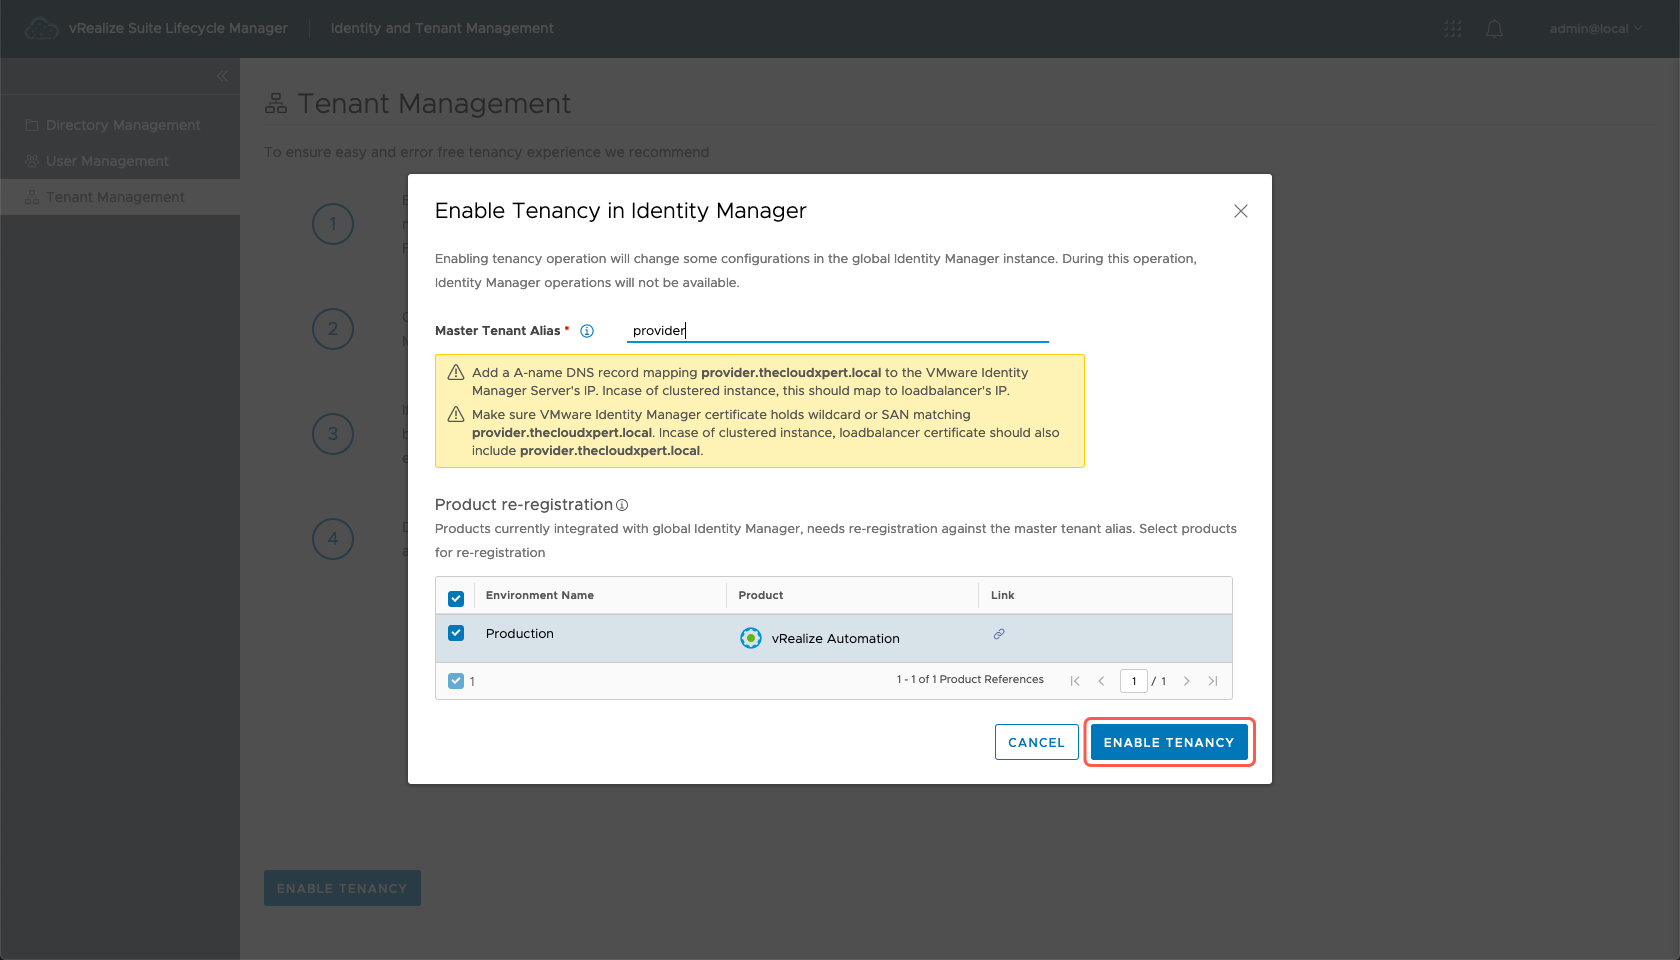
- Enter the name of the Master Tenant Alias into the text field.
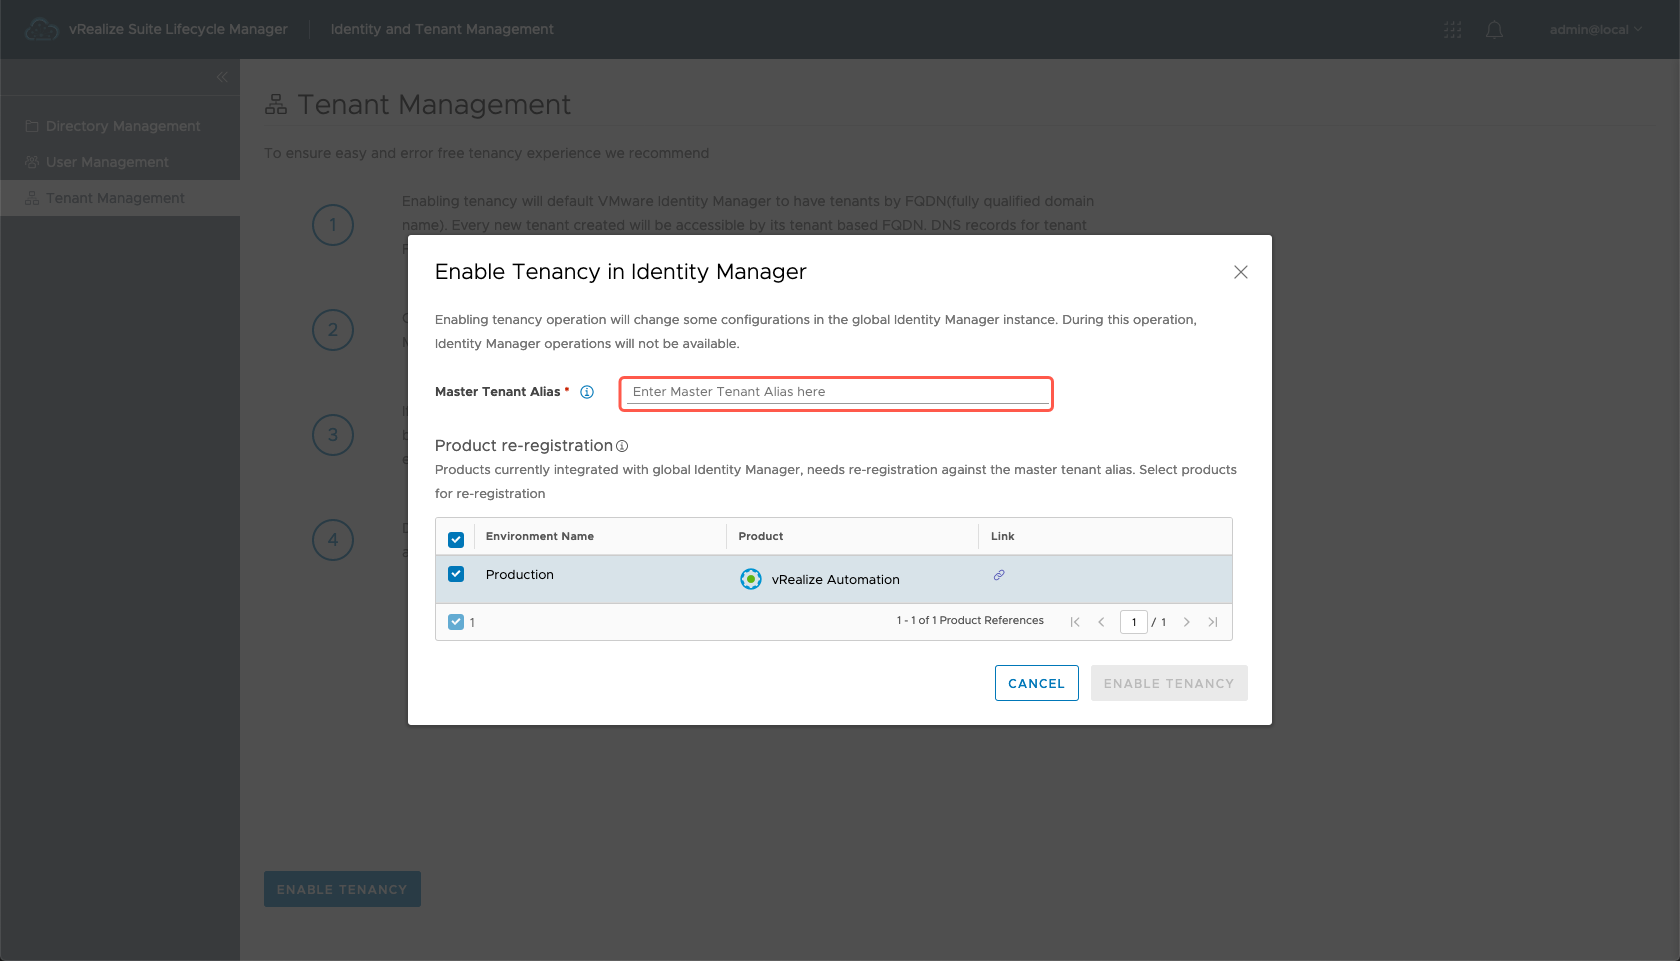
- Ensure that checkbox for the target vRSLCM Environment is checked, then click Enable Tenancy.
- Go grab a coffee because you could be waiting a while depending on the performance of your infrastructure!
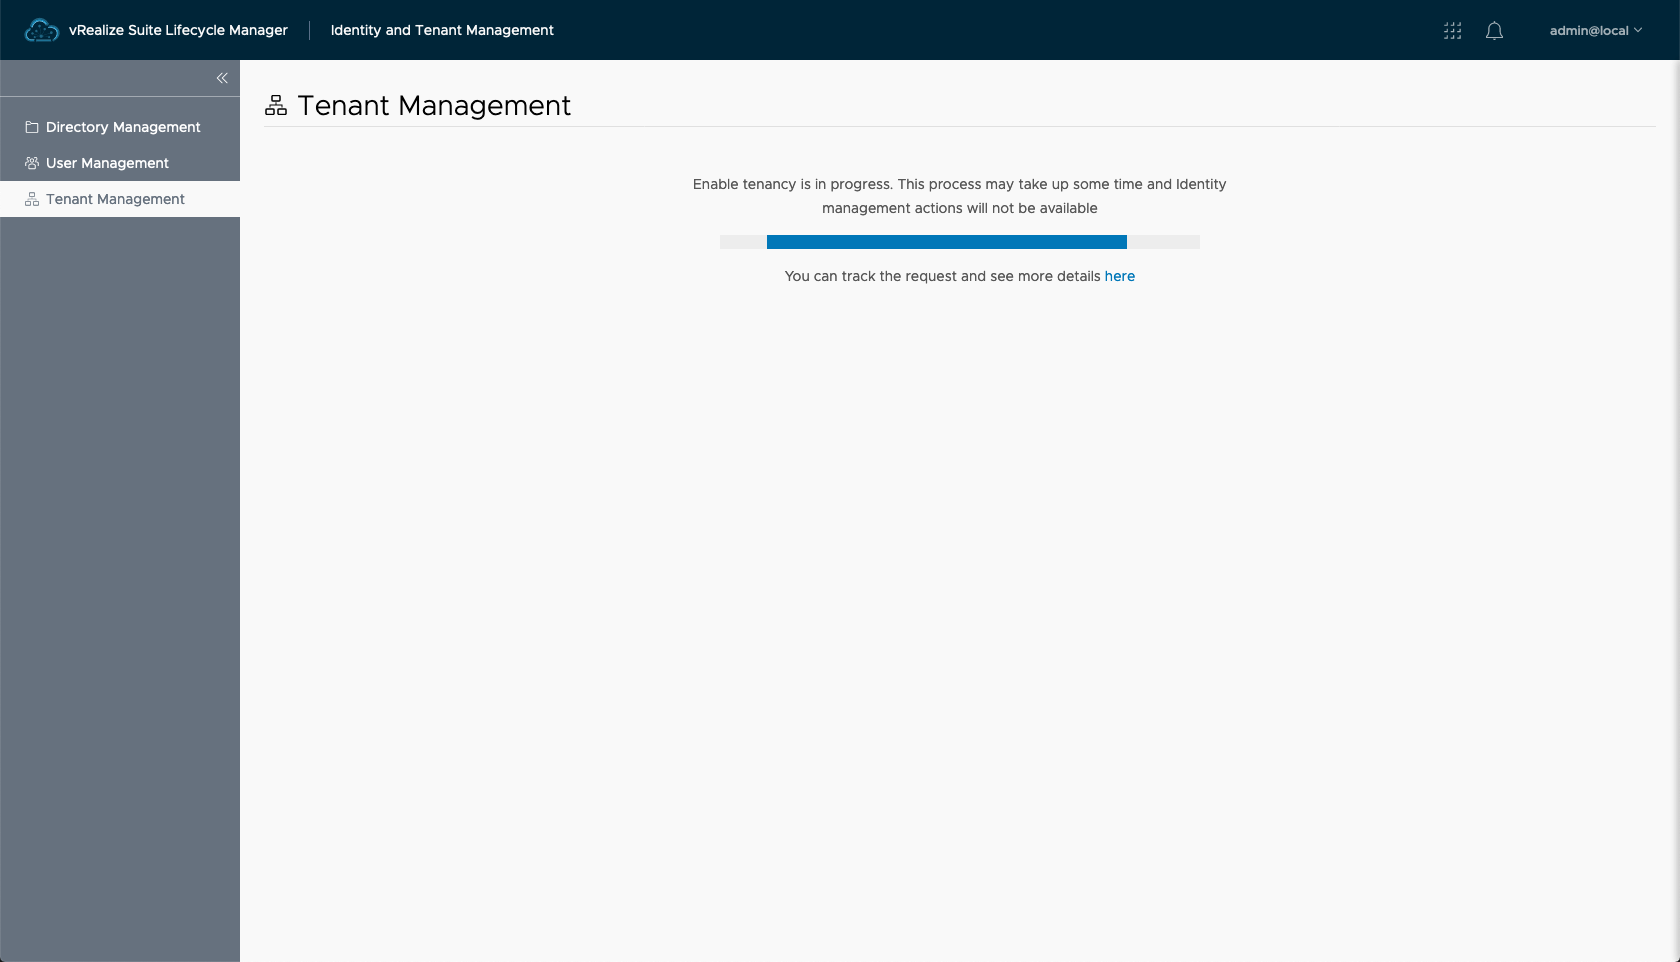
Once the request has completed, you will be able to now go back to the Identity and Tenant Management section and add new tenants!
Bringing it all together!
I definitely getting to understand that enabling vRA8 Multi-Organization tenancy is a much more complex configuration than in vRA 7.x. However, hopefully, if you are following along, you shouldn’t be worried about it too much!
Thank you for sticking with me in this series of posts. We are finally getting to the end of this series with only one more post to go. I originally only had 3 post in this series series, but as I was writing I realised it would be more palatable to the reader if I split Part 3 in two and so Part 4 was born!
Published on 16 April 2020 by Christopher Lewis. Words: 784. Reading Time: 4 mins.
- Configuring Multi-Org Tenancy in vRA 8.x - Part 2: SSL Cert Requirements ()
- Configuring Multi-Org Tenancy in vRA 8.x - Part 1: DNS Requirements ()
- Running Platypus on Docker with Synology NAS ()
- Updating the embedded vRealize Orchestrator 7.3 Certificate ()
- Replacing the vRealize Automation 7.3 IaaS Manager Service Certificate ()